


How to Pick a Press

How to Pick a Press
Which kind is right for you?
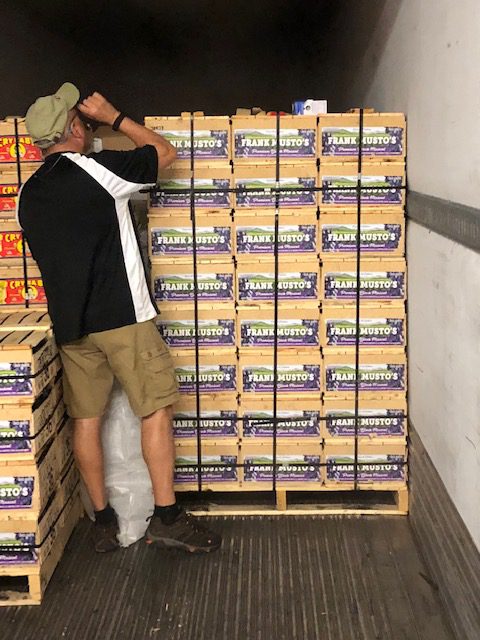
One of the most visually iconic and useful tools in winemaking is the wine press. It is the device that will separate the solids and skins from the precious juice or fermented wine. There are a couple different kinds you have to choose from, though they are at their core the same in that they use pressure to push hard against the skins to extract the remaining juice or wine that has not already become separated from the skins.
But upon investing in a wine press, how does one select a size and style? Here are some tips on selecting your first wine press:
Picking a Style
There is more than one way to press a grape! For home winemakers, there are two main styles of wine press that you can choose from: ratchet press or a bladder press.
- A ratchet press often has wooden sides and lid that hold in the grape must with a steel center rod and bottom juice tray. The grapes are loaded into the center of the press and large blocks are stacked on top of make up any lost volume. Then the lid is ratcheted down, applying vertical pressure from the top down upon the grapes. This style of press does an excellent job with extraction. The user must be careful not to exert too much pressure on the must as they are liable to crack seeds, which can release bitterness into the wine.
- A bladder press is similar in shape to a ratchet press but operates differently. Bladder presses have metal sides and lids to hold in the grape must along with the traditional metal bottom. They work via water pressure. Simply attach a garden hose to the inlet valve and the water will inflate a center bladder which exerts horizontal pressure against the grape must. This style of press exerts more gentle and even pressure to the grape must. The press must be filled up to the top to avoid “mushrooming” and bursting the center bladder.
Considerations
Choosing a reasonable size
When selecting a new press, the size options can be overwhelming. There are many different sizes of press, often measured in liters. Always take into account the must volume versus your end produced volume. If you anticipate to make 10 gallons of finished wine, you should anticipate on having 12-13 gallons of must, as the skins take up an additional 20% of the volume. You can always fill the press multiple times, but you should average at least an hour per press fill. Rather than do a huge load and then a much smaller one, it is preferable to split up each load so they will be pressed in roughly equal amounts. This will aid in giving the pressed juices/wines more uniformity.
Will your production size increase over time?
Also factor in the possibility of growth when selecting a press size. Winemaking is contagious and you may want to increase your batch size when you begin to drink your delicious results! It’s often wise to purchase a slightly larger ratchet press to accommodate for growth. If you purchase a slightly larger bladder press than what you may currently have for must, you can add rice hulls to the must to increase volume to properly inflate your bladder.
Other considerations
If you’re not a “sanitation is key” winemaker (and hopefully you are!) then a ratchet press may not necessarily be the best of these two choices. Since wood is porous, if you don’t remain cleanly every step of the way, then you may find yourself dealing with some very unwanted spoilage bacteria down the road. Getting a stainless steel bladder press will make it easier for you to be certain that every surface is completely cleaned and sanitized both pre- and post- use.
A wine press is a fundamental tool in home winemaking. It can dramatically increase your yield and quality. Knowledgeable staff at Musto Wine Grape can help you pick out the press that is the right fit for you!
The Joys of Racking Your Wine

The Joys of Racking Your Wine
Racking your wine is a necessary evil.
We know it can be tedious, but in the end it is so worth it.
Things to keep in mind when racking:
- Cleanliness: We cannot express this enough. The cleaner your cellar, the less risk you have of spoilage, the better your wine will be. Aka SANITIZE EVERYTHING!! (however if doing MLF rinse with hot water as not to agitate the ML bacteria)
- Primary Racking: Rack after your primary fermentation is complete. This protects your wine from any initial microbial fermentation issues.
- Secondary Racking: Rack after fermentation has finished. At the second racking you will want to rack your wine into an aging vessel. Whether that is a stainless steel tank or an oak barrel. Don’t forget to sulfite, unless you are doing MLF.
- Third and/or Fourth Racking: Is used more clarification purposes.
- Using a pump makes life so much easier. You can pretty much sit back and relax with a glass of wine while your juice in being transferred. If you don’t have a pump the best way to rack is by using a siphon and the gravity method. Put the primary vessel up some place high and rack into your new vessel.
Christina’s Black Muscat Rosé Recipe

Working with a new grape for the first time can be a little scary. But having a recipe to use a jump off point can help ignite creativity and make the winemaking go a lot smoother. Check out Christina’s Black Muscat Rosé Recipe for some Rosé winemaking inspiration.

Black Muscat Winemaking Recipe:
- Crush the Black Muscat into vat
- Add Potassium Meta to kill native yeast, let sit for 12 hours
- Add Cinn Free, stir must, let sit for another 12 hours
- Press juice after 24 hours on the skins
- Add Booster Blanc and Opti White (dilute in spring water, mix like pancake mix, dump into must, mix up)
- Pitch yeast after 24 hrs on skins, make sure juice is at 65 degrees. If not let it warm up. Use VIN13 yeast.
- Next Day: Add Fermaid O
- Monitor Brix levels daily
- At 1/3 of a drop in Brix (10-8 Brix) add Fermaid K
Please Note:
The color might be light. It darkened up over time. And if it doesn’t darken up enough to your liking I have some “pixie dust” that will help with the color during the aging process. Also, after fermentation I added Noblesse at my first racking. This is because I thought the acid was a little high and it helped soften the mouthfeel. Every year is different, so you might not need to do this. Taste it after fermentation and then decide.

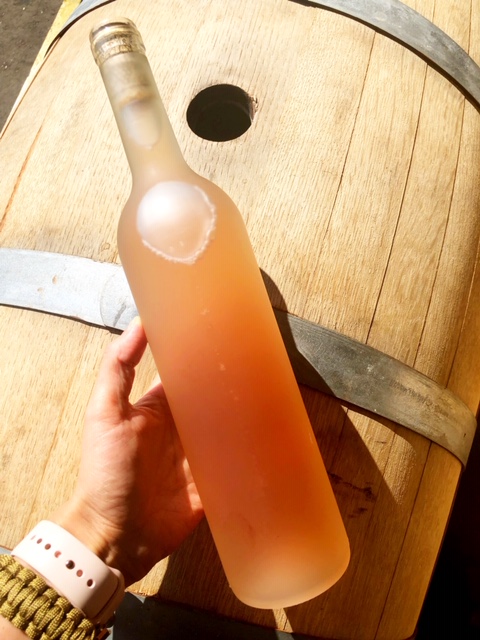
Wine Tasting Notes:
On the nose there is passion fruit, guava, sweet strawberry, sweet cherry, and papaya. The aromatics continue through the palate with a touch of crisp acidity. As a dry wine this light bodied Rose is full of complexity and flavor. If you’re more of a sweet winemaker, adding about 1-2% Residual sugar to this wine would make for a very aromatic and balanced sweet wine.
Recent Comments