


The Winemaker’s Think Tank: Vol 15 – How to work with Frozen Must

![]()
What’s the Winemaker’s Think Tank?
Every Thursday we will post about a few frequently asked questions that our winemaker has answered. If you have a winemaking question you would like to have answered, please email us at support@juicegrape.com and we will try to get into next week’s post. Cheers! 🙂
Simplifying Your Life with Frozen Musts
Life gets hectic. We totally understand. As the Fall and Spring wine grape harvest seasons approach, not everyone can just suddenly stop their normal life and shift into winemaking mode. Kids, vacations, work, weather and a myriad of other obligations can impact the ability of a winemaker to start a particular year’s vintage. And let’s not forget about those grapes – unfortunately they don’t seem to care much about your schedule. They ripen and arrive when it’s convenient for them, not for us. Fortunately there is a way to work with grape varietals anytime you choose by using frozen must.
Frozen must is exactly what it sounds like – fresh grapes that have been crushed and destemmed on site into must and then immediately frozen. Working with frozen must is very similar to working with fresh grapes, but there are some differences that winemakers should be aware of. With frozen must there is no need to take your crusher/destemmer out of storage and lift those heavy boxes of grapes into the machine. This part of the process is done for you already. If you were working with fresh grapes, the resulting must would be adjusted and then the winemaker would start the fermentation process. Yet by freezing this must we are basically halting the winemaking process by putting this must into a deep freeze – then the winemaker can thaw the must and continue the process when it is convenient for them.
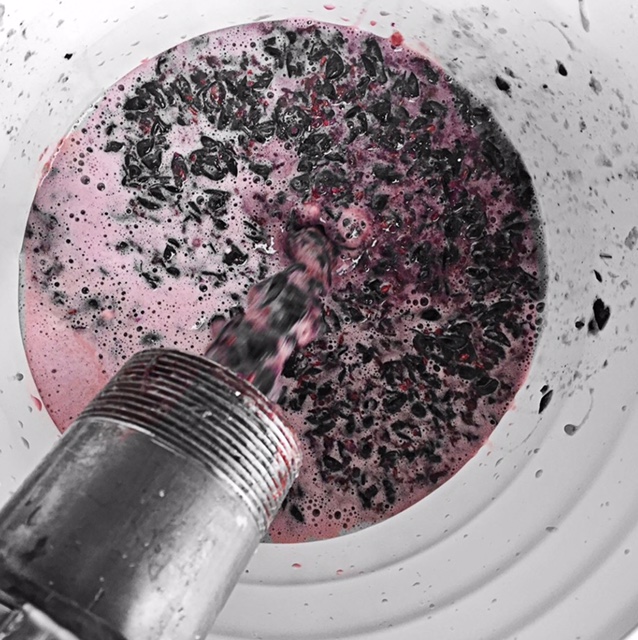
Besides the convenience of making wine around your schedule ( with less equipment and less preparation/cleanup), there is another helpful benefit when working with frozen red varietals – cold maceration! During the freezing and thawing process the prolonged skin contact at cooler temperatures can maximize color extraction. Additionally, the tannins extracted during this time are water soluble and will be softer than the harsher, alcohol soluble tannins imparted during primary/post fermentation maceration. Now that we have touched on the benefits of using frozen musts, let’s transition to working with it.
When you receive the pails/drums of frozen must, we need to get the must thawed and up to fermentation temperatures safely. All of our musts are sulfited to 50ppm – this will help to control any oxidation that may take place during the thawing process and also help to limit the formation of bacteria in the grapes. However it is still possible for some freezer-burned or moldy grapes to be present – remove any grapes that look questionable. Some winemakers like to slowly bring the must up to temperature over the course of several days, while some recommend getting to pitching temps as quickly as possible. A slow temperature rise will prolong cold maceration and its benefits, but remember that the must is susceptible to unwanted bacteria and other bugs until primary fermentation starts. We recommend keeping the pails at room temperature – they should thaw out in 2-3 days.
It is important to stir the must as it is thawing. During the freezing process it is common for the natural sugars and potassium bitartrates to settle at the bottom of the pail (very much like the frozen Italian ice cups you can buy in the supermarket. The best part is the bottom of the cup where all the sugary, sweet goodness has settled to). Stirring the must with a clean and sanitized utensil daily will help homogenize it so that it thaws evenly. Once the must is at pitching temperature, empty the pails into your primary fermenter and treat it just like you would freshly crushed-destemmed grapes. Remember to get all the juicy bits and tartaric crystals from the bottom of the pail! We recommend taking pH, TA, brix, and S02 readings and adjusting accordingly. These readings can vary based on the temperature of the must and how well it has homogenized during the thawing process, so it is best to wait until the grapes are at room temperature. While we will always recommend using commercial yeasts to help with a steady, clean fermentation, it is very important to use these types of yeasts when working with frozen musts.
So there you have it – using frozen must can simplify a winemaker’s life by making it easier and less hectic. Isn’t that what we all hope for during the harvest season?
(A big thanks goes out to Robert Herold for his original article Winemaking From Frozen Must which appeared in the December 2012 issue of Winemaker Magazine)
We hope this information helps with your winemaking. If you have any follow up questions or winemaking questions in general, please email us at support@juicegrape.com.
Notes from our Winemaker Frank Renaldi about the Chilean Sauvignon Blanc: Primary Fermentation

Notes from our Winemaker Frank Renaldi about the Chilean Sauvignon Blanc:
Primary Fermentation
“Wine fermenting for 7 days slow and steady. Down to 4 brix. Nice nose and color as we wind down. Wine did get near 65F. I wet a bed sheet twice a day with cold water and wrapped around stainless tank. This helped keep the temp at 60F – nice and cool for a white wine. Too hot and you will blow off the nose.”
Don’t forget to sign up for the Spring Bootcamp with winemaker Frank Renadli! Learn how to make great wine at home in just 5 weeks!
Video from Chile!

As the Chilean grapes start arriving….Here is a video from our grower – Correo Albano Vineyards – talking about the history of his vineyard, the region of Curico, and the 2017 Harvest. Cheers to 5 generations of growing the best wine grapes of Chile!
The Winemaker’s Think Tank: Vol 14 – What temperature should my juice be before yeast is added?

![]()
What’s the Winemaker’s Think Tank?
Every Thursday we will post about a few frequently asked questions that our winemaker has answered. If you have a winemaking question you would like to have answered, please email us at support@juicegrape.com and we will try to get into next week’s post. Cheers! 🙂
What temperature should my juice be before yeast is added?
The ideal temperature for most yeast strains to conduct a successful fermentation is between 60-70 degrees Fahrenheit. Be sure that the juice is at least 60 degrees before adding any yeast to ensure that the yeast will not die of cold shock when added to the wine.
Check out Musto’s Youtube Video below for Step by Step Yeast Starter Instructions from Winemaker & Bootcamp Professor Frank Renaldi.
We hope this information helps with your winemaking. If you have any follow up questions or winemaking questions in general, please email us at support@juicegrape.com.
Notes from our Winemaker Frank Renaldi about the Chilean Sauvignon Blanc: After the Press

Notes from our Winemaker Frank Renaldi about the Chilean Sauvignon Blanc:
After the Press
“Adjusted Brix to 21.5 (11.8% alcohol). Adjusted with Tartaric Acid to get pH = 3.24 and TA = .60. Will have to acidify after fermentation. Could have adjusted further, but ta would still be low (desired .7 – .9). Used Vin13 yeast – Very slow start. Took over 24 hours to get started. Still at 58 degree with a slow cool fermentation. No big nose yet. Looking forward to reporting more on the results once fermentation has completed.”
Don’t forget to sign up for the Spring Bootcamp with winemaker Frank Renadli! Learn how to make great wine at home in just 5 weeks!
Notes from our Winemaker Frank Renaldi about the Chilean Sauvignon Blanc

Notes from our Winemaker Frank Renaldi about the Chilean Sauvignon Blanc
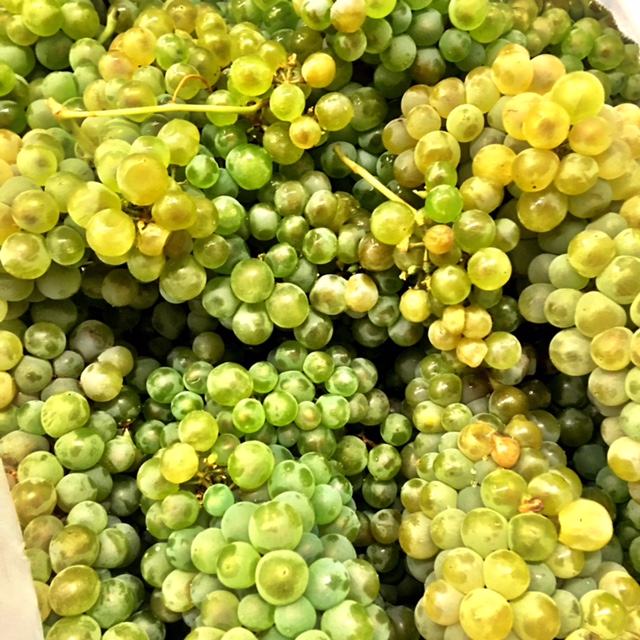
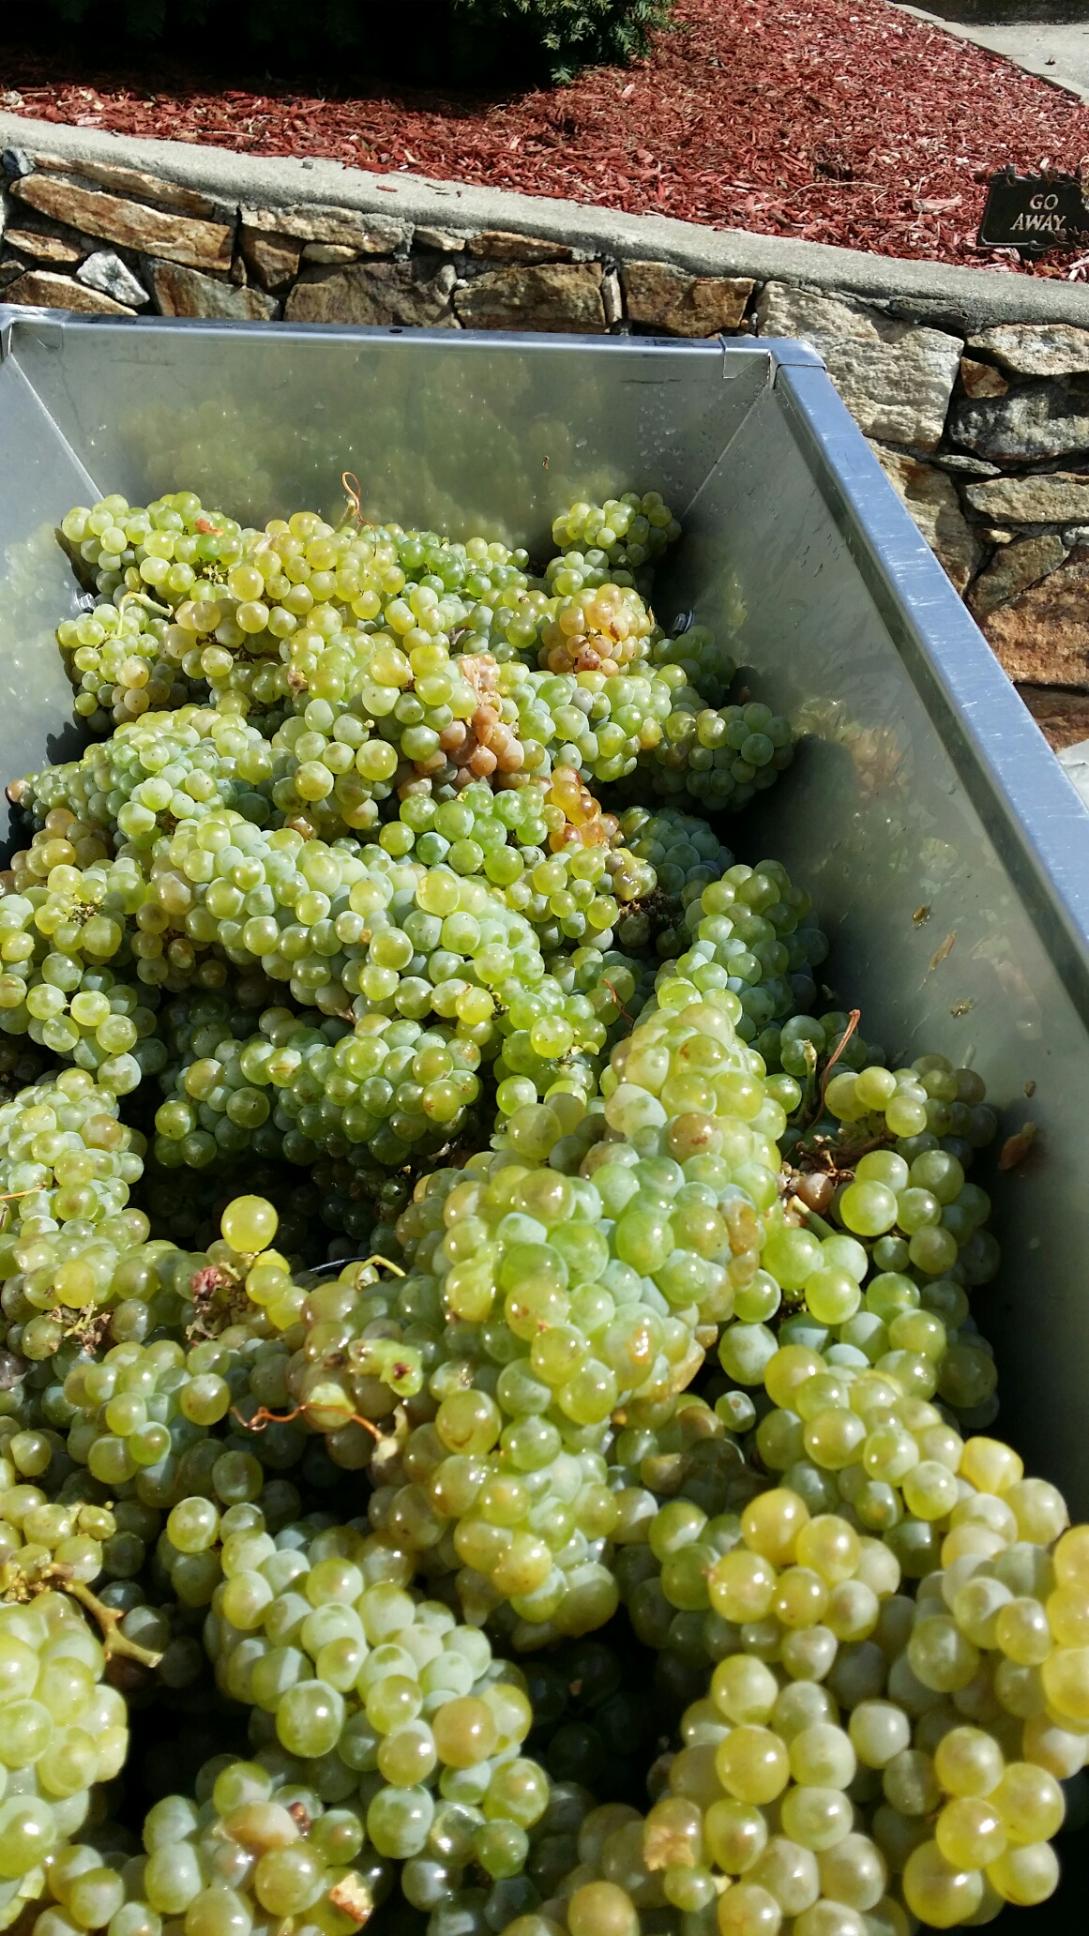
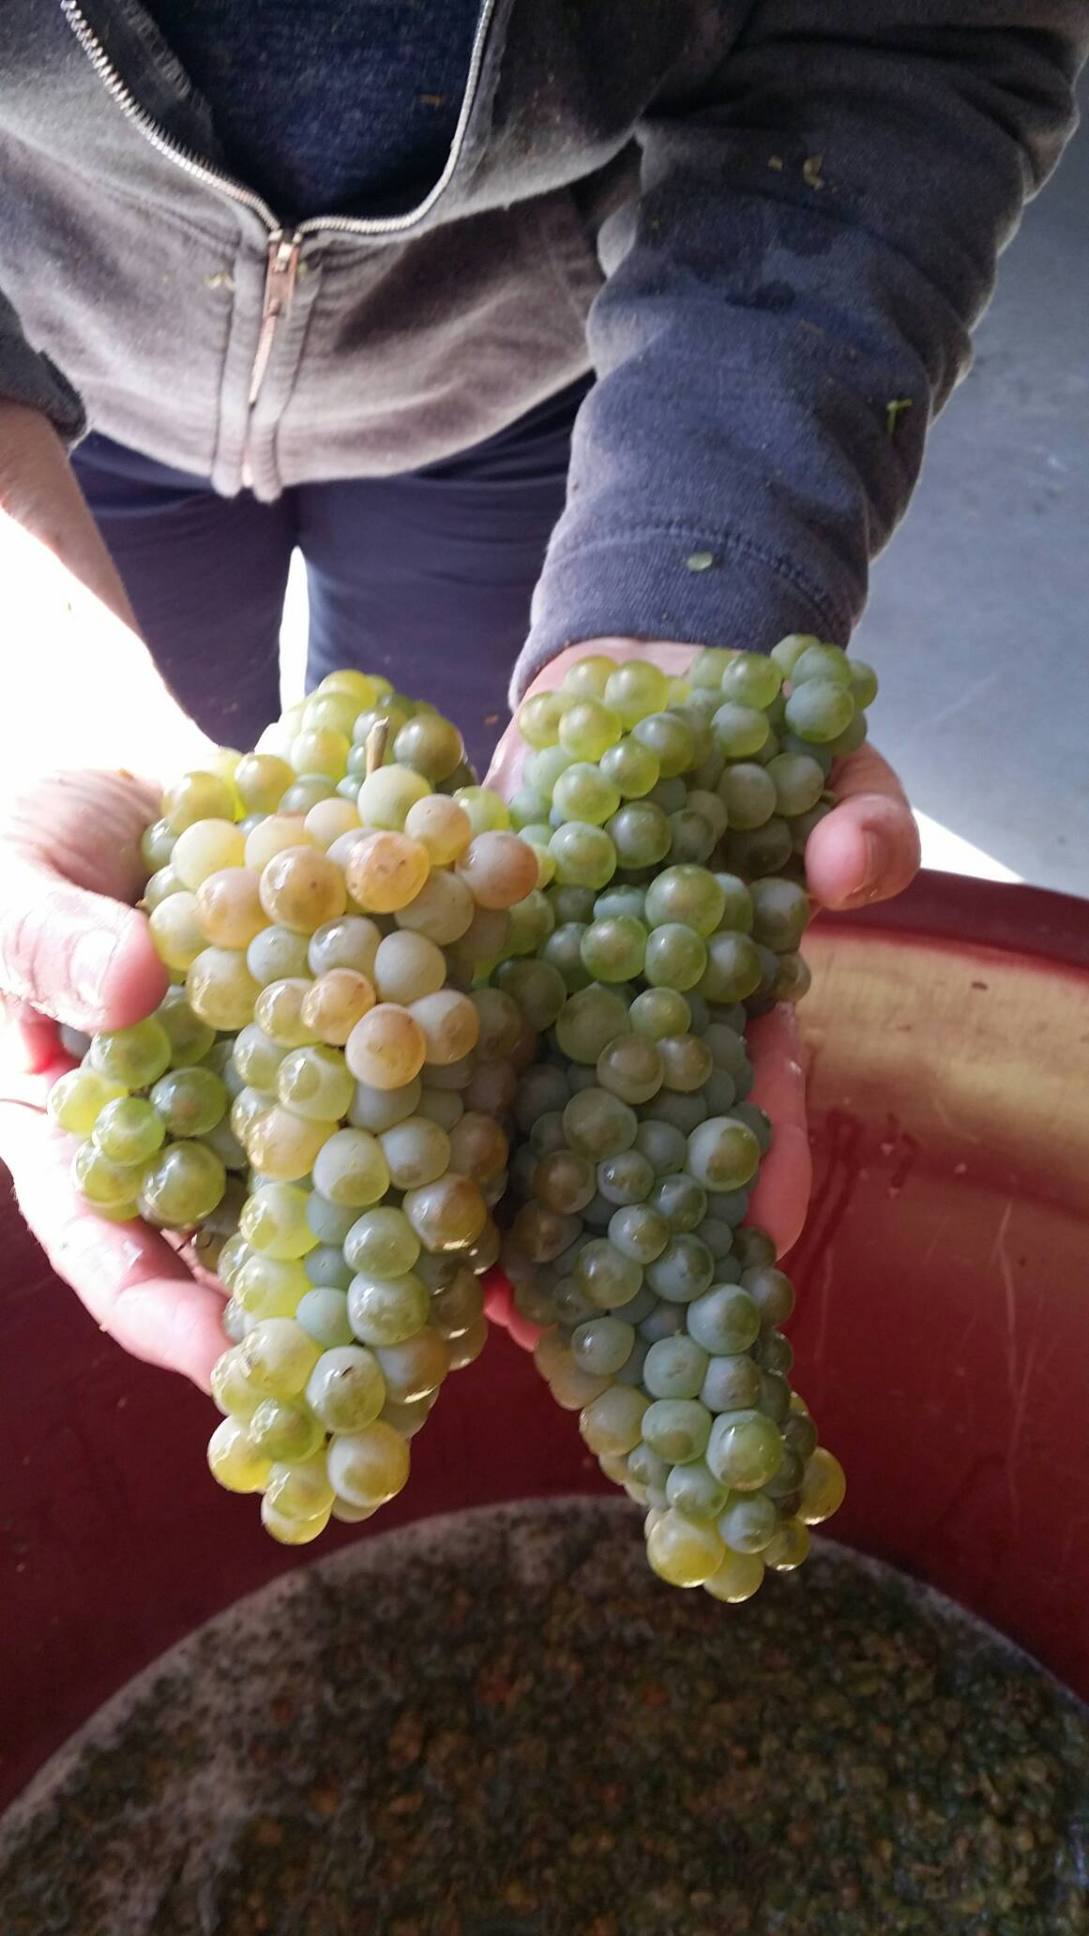
“Good day, Grapes looked really good. No mold, clean, juicy. Let set with enzyme for 5 hours. Good press. Tomorrow will measure, adjust and add goodies and pitch yeast.” – We are sold out of the white grapes but still have some reds grapes and white & red juices available Give us a call at the office to secure your order!
Don’t forget to sign up for the Spring Bootcamp with winemaker Frank Renadli! Learn how to make great wine at home in just 5 weeks!
The Winemaker’s Think Tank: Vol 13- What’s the best way to add sulfite to my wine?
Wine expert testing wine silhouette image
What’s the Winemaker’s Think Tank?
Every Thursday we will post about a few frequently asked questions that our winemaker has answered. If you have a winemaking question you would like to have answered, please email us at support@juicegrape.com and we will try to get into next week’s post. Cheers! 🙂
What’s the best way to add sulfite to my wine?
There are two effective methods of sulfite addition to wine. Campden tablets are small tablets of sulfite that are a pre-measured dose meant to add 25ppm to 5 gallons of wine. The drawback to these tablets is that sometimes they do not dissolve completely. The most effective way to add sulfites into wine is via powdered potassium metabisulfite. Winemaker Magazine offers a sulfite calculator on their website that is very useful in helping a winemaker figure out an exact dosage of sulfites for their wine. To use this calculator, one must know the volume and pH of the wine to be treated. The average rate of application for potassium metabisulfite is ¼ tsp/5 gallons to raise the sulfites by 50ppm. The sulfite calculator is a better option as it will help you find and exact dosage needed for your wine contingent upon the wines’ pH and stability.
We hope this information helps with your winemaking. If you have any follow up questions or winemaking questions in general, please email us at support@juicegrape.com.
The Winemaker’s Think Tank: Vol 12- Common Winemaking Faults and Flaws
![]()
What’s the Winemaker’s Think Tank?
Every Thursday we will post about a few frequently asked questions that our winemaker has answered. If you have a winemaking question you would like to have answered, please email us at support@juicegrape.com and we will try to get into next week’s post. Cheers! 🙂
In this week’s Winemaker’s Think Tank we outline the difference between flaws, faults, and how to identify them.
- Flaws
- Flaws are a mistake made in the winemaking process that leads to a property in the wine that is not characteristic of the varietal
- Stylistic Choice vs. Flaw
- Imbalance Flaw
- Acid vs Sugar, Oak Levels, Alcohol Level
- Visual Flaws
- Haze, Sediment, Effervescence, TA Crystals, Floaters, Lack of Color Saturation
- Aroma/Bouquet Flaws
- Lack of Aroma, Non-varietal aroma, Over-oaking
- Faults
- Faults are often a microbial or chemical reaction within the wine in some part of its life that significantly alters a wine, eventually leading to the point of spoilage.
- Oxidation Faults
- Acetaldehyde – oxidation of Ethyl Alcohol smells like sherry, or old apples, browning
- Causes: headspace, low sulfites, poor corks, bacterial contamination
- Acetic Acid – Vinegar
- Causes: Acetaldehyde, Acetobacter bacteria react with ethanol, Fruit Flie
- Ethyl Acetate – Nail Polish Smell
- Oxidation of Acetaldehyde and Acetic Acid
- Causes: headspace and bacterial contamination
- Acetaldehyde – oxidation of Ethyl Alcohol smells like sherry, or old apples, browning
- Sulfur Faults
- Hydrogen Sulfide – Rotten Eggs Smell
Causes: lack of yeast nutrients, yeast stress, sulfur sprays, yeast bi-product, high temps - Sulfur Dioxide – Burnt Match Smell
Causes: over sulfating, wild yeast - Complex Sulfur Faults- Mercaptans, DMS, DES, DMDS, DEDS
Causes: Hydrogen Sulfide reacting with Ethyl Alcohol
- Hydrogen Sulfide – Rotten Eggs Smell
- Microbial Faults
- Brettanomyces – Barnyard, Horse Saddle, Antiseptic Ointment, Band-Aids, Bacon, Clove
- Causes: spoilage yeast cells that are incredibly dangerous and difficult to eliminate. Most often found in contaminated barrels, winery cleanliness, resistant to acid and SO2
- Geranium Taint – Fresh cut geranium leaves
- Causes: Reaction of potassium sorbate with Lactic Acid Bacteria in the presence of Ethyl Alcohol
- Refermentation – Fizzy wine, popped corks
- Causes: Yeast or microbial fermentation of residual sugar
- Brettanomyces – Barnyard, Horse Saddle, Antiseptic Ointment, Band-Aids, Bacon, Clove
- Other Faults
- Cork Taint – Wet basement, wet old newspaper, mildew
- Causes: strain of trichloanisole on cork (cork taint); mold that contacts chlorine and wood
- Heat Damage – Cooked fruit smell, brick red color, similar to oxidation
- Causes: leaving wine in a hot car, in the sun, etc.
- Cork Taint – Wet basement, wet old newspaper, mildew
We hope this information helps with your winemaking. If you have any follow up questions or winemaking questions in general, please email us at support@juicegrape.com.
Recent Comments