How to Create a Charcuterie Board to Pair with Your Homemade Wine
You have worked hard to produce a wonderful Cabernet Sauvignon and you can’t wait to share it with your friends! You make the invite list, get the bottles ready, but then you wonder, how best can I present the wine to my audience?
Why not create a charcuterie board? They are all the rage right now and easy to put together.
Here are a few tips to make one for your next gathering.
Items for your board:
- Board itself
- Cheeses
- Crackers and Bread
- Nuts
- Meats
- Fruits or Veggies
- Other items – such as chocolate, spreads or flower garnishes
Consider how many people will be in attendance and then buy accordingly. A medium sized board – whether it’s a cutting board or a food safe tray – should work just fine. If you have a larger audience, you may want a larger board or include smaller plates with items to complement the main board itself.
Arrange the board with a variety of cheeses – 2 or 3 – one that is soft, one that is a little harder will work. You can always buy pre sliced cheeses too.
Having a few crackers – 1 to 3 types is a good idea – and helps if someone doesn’t eat cheese or would prefer to enjoy some salty eats while sipping on wine. Be sure to add some bread, like a baguette, sliced on the board as well.
Nuts are good to include – another salty option in addition to crackers. Or even olives or an olive tapenade can supplement the crackers or nuts.
Add in some meats such as salami, pepperoni, prosciutto or turkey slices as well as fruit such as table grapes or strawberries, or other berries like blackberries or raspberries.
In addition to these staples, other items to consider are a sweet element such as some dark chocolate or some spreads like a Dijon mustard. You can also include flowers to make the board pretty; make sure you let your attendees know that they are not edible!
Don’t over think the board or the items on it. Pick a few from each area and have fun with it!
Don’t have enough time to make one? Check out local charcuterie extrodinaire Make Food Lovely.
Written by Michelle Griffis aka the Nutmeg Nose for MWG
Source 1
Source 2
Source 3
How to Set Up Your Home Winery
Setting up your home winery
There are two factors to consider when you decide to build your home winery.
- How much money are you willing to spend to buy more equipment, build rooms, or add air conditioning?
- The second factor is how much room do you have to create your winery?
I converted my entire basement into a winery. But, I did it slowly, one room at a time. Let me walk you through that and see if what I have done could apply to your place for a home winery.
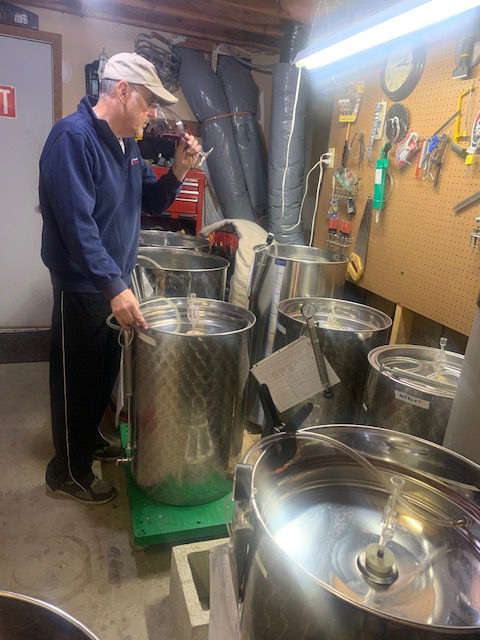
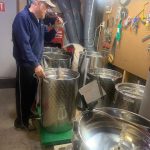
I have a room which holds my variable capacity tanks and carboys. This wine is aging and waiting to be moved into barrels. This room is air conditioned due to poor cellar temperatures at my home. I also have a sink in this room for cleaning and washing. I added a five foot counter to do all my lab work. Wine racks were added to the walls above the tanks to store all my 375ml bottles of port.
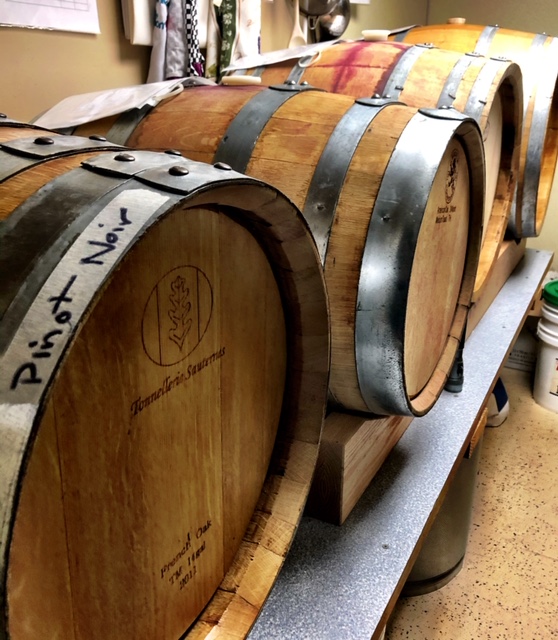
The next room I built was a barrel room. I finally took the step to barrel age my reds and have never looked back. The barrel aging makes the wine so soft and complex. I have seven barrels ranging from 15 gallons to 30 gallons. I suggest you stay in this range as a home winemaker. They are easier to handle and clean. You must also remember, you will need wine on “standby” to place into the barrel once you remove the existing wine to bottle. Plan well.
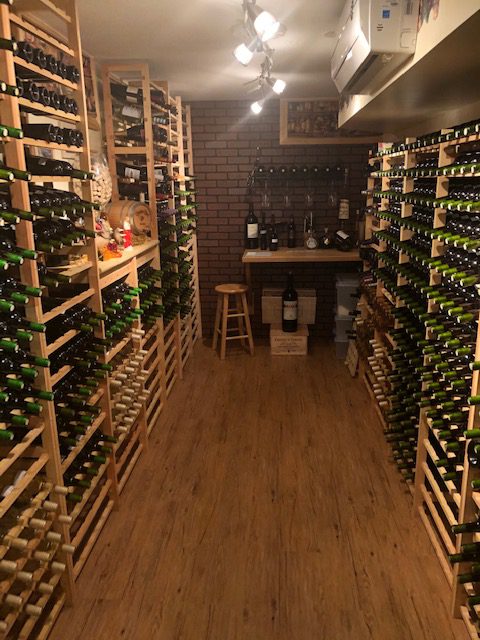
My final room was needed to store all the wine moving out of the other rooms – a bottles storage room. I bought wooden wine rack kits online, and after assembly I bolted them to the walls. I then put down a floor, nice lighting and a bit of decorating to tie it all together. The most critical thing I added was air conditioning, because bottle storage needs four things – cool constant temperature, darkness, proper humidity and no vibration. All the bottles are lying horizontally and peacefully aging.
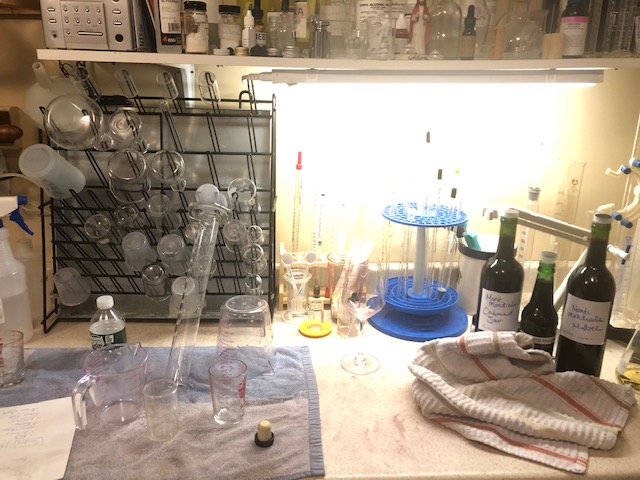
Besides proper areas to process your wine, you also need the tools to take care of this wine. Some of the “must have” tools are hydrometers, pH meters, pipettes, burrette, stir plate and an SO2 meter. These tools are needed to balance your grapes perfectly before pitching the yeast. They are also needed to adjust and protect your wine as it is aging.
Be sure to have other supplies on hand such as tartaric acid, potassium metabisulfite, fructose, tannins and oak. You will build your supplies and equipment as time goes on. Everything I talked about above will take you a level where you can become a dedicated, creative and proud winemaker!
Written by Winemaker Frank Renaldi


Recent Comments