


Uncorking Joy: A Beginner’s Guide to Making Wine at Home from Juice

There’s a certain magic in crafting your own wine at home, and it all starts with a humble bucket of juice. Whether you’re a curious DIY novice or a seasoned winemaker, making wine from juice is an accessible and enjoyable venture. Join us on a journey to uncork the secrets of home winemaking and savor the fruits of your labor.
Gather Your Supplies:
Before you embark on your winemaking adventure, gather the essential supplies.
- A food-grade fermentation vessel
- Carboy (glass or PET, can be used for fermentation and storage)
- Demijohn (glass, can be used for fermentation and storage)
- Variable Capacity Tank (stainless steel, can be used for fermentation and storage)
- Food Grade Fermentation Tub (for fermentation only)
- An Airlock and Bung that fits your fermentation and/or storage vessel
- A siphon tube (racking and bottling)
- Fermentation Supplies:
- Wine yeast
- Nutrients
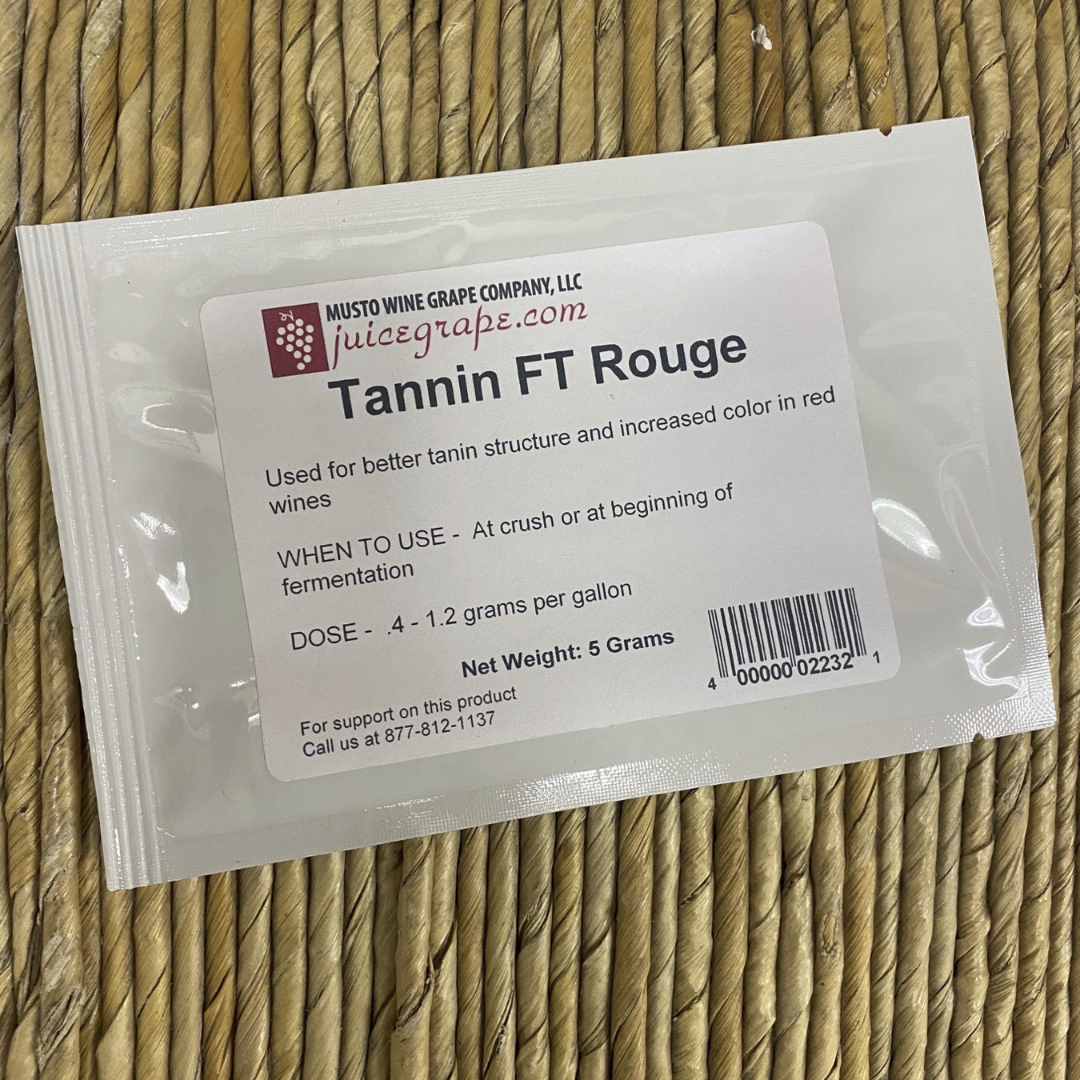
- Sacrificial Tannins
- Malolactic Bacteria and Nutrients (if making a red wine or chardonnay)
- AllGrape pack (if making a red and want to add more body and color to your wine) – for more information click here.
- Chemicals and Agents:
- Potassium Metabisulfite (for sanitizing equipment and for the preservation of wine)
- B-Brite (for cleaning)
- Juice
Choosing the Right Juice:
The beauty of making wine from juice lies in the variety of flavors you can explore. Select a high-quality juice. There are juices that are straight from the pressed grape skins, and others that are pre-balanced and have extra nutrients and tannins to help create a easy to ferment but delicious product.
Types of juices:
Fresh Juices:
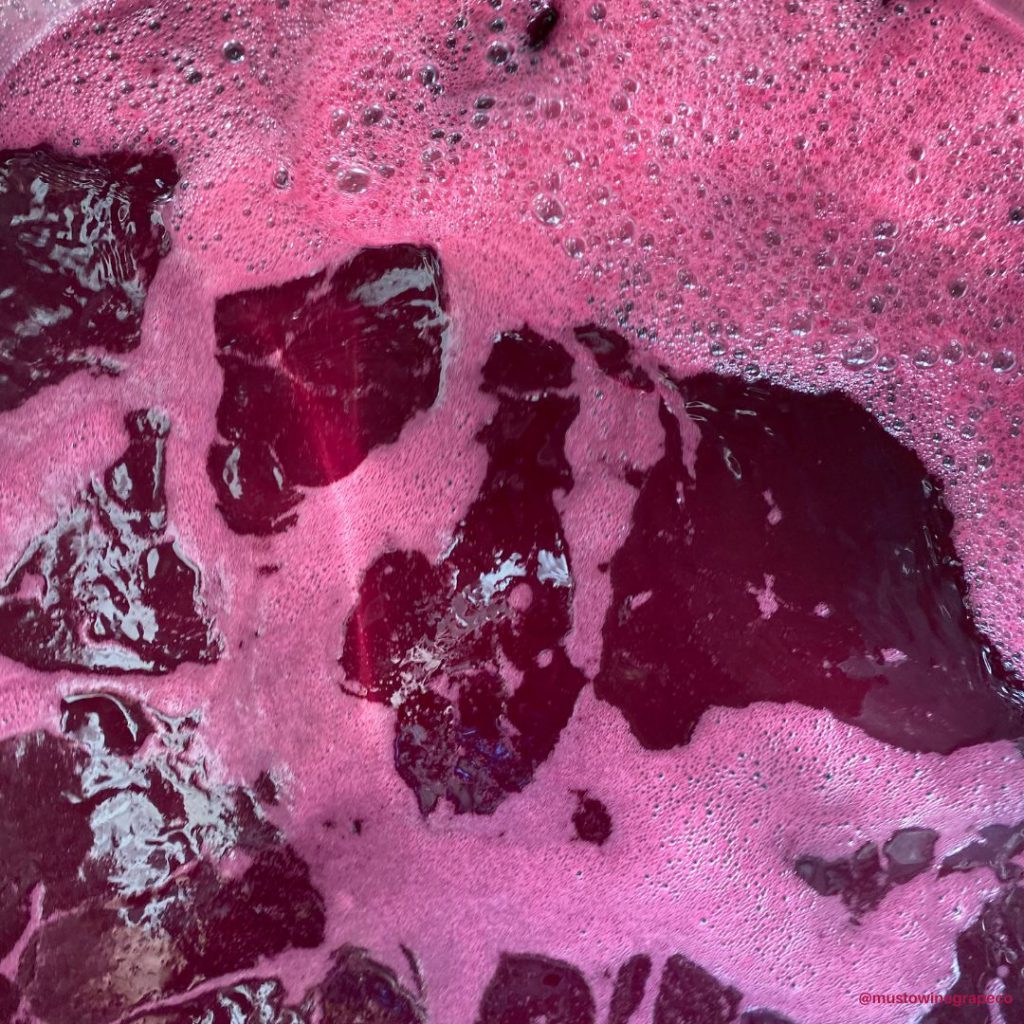
Our fresh juices are from the grapes that are crushed, destemmed, and pressed right into the pails. For white wine, this is as if you were crushing and pressing yourself. For red wine the grapes are run through a heat or “hot” press to extract the color. Once these pails come up to temperature they can kick off because of the native yeast from the original grapes, or you can kill the native yeast and pitch your own yeast to ensure a more successful fermentation. Either way you are working with the fresh juice, not from concentrate. A delicious wine that can be on your table soon!
Fresco Juices:
Mondiale Fresco is proud to be the only product to offer home winemakers their own vineyard in one unique package. Each pail of juice is pre-balanced and adjusted to ensure you have the best winemaking success possible. Just warm up the juice to fermentation temperature and watch it go. For more information on our Fresco Juices click here.
So What is the difference between Fresh and Fresco Juices?
The Fresh Juices are the straight from the press. The Fresco juices are straight from the press, but pre-balanced and have a few additions made to them to make fermentation easier on the winemaker.
Sterile Juices:
Made from 100% pure grape must. The Mosti Mondiale All Juice Sterile Juice Pails yields wine of unmatched structure and integrity. This juice can be shipped via UPS or Fedex. It has similar steps to a wine kit, however it is made from fresh grape must and not concentrate. Expect to get a more vibrant and complex product from our sterile juices versus a wine kit.
Starting the Fermentation:
- Choose a juice variety that speaks to you.
- Come to Musto Wine Grape and pick up your pail of juice.
- Bring it home, pop open that lid, and add 1/4 tsp potassium metabisulfite to it. Add pectic enzyme if you’re going to (5 drops per gallon of juice). Give it a stir.
- Allow it to come up to room temperature – we’re talking 60 degrees or so.
- Choose your fermentation vessel: will you keep it in pails or ferment it in a carboy or demijohn? Make sure everything is clean and sanitized. *Be sure there is enough room to account for fermentation foaming*
- If you are going to add fermentation tannins or additives (like oak dust, Booster Rouge, Booster Blanc) you can add that now. *Note: do not add tannins such as FT Rouge within 8 hours of adding enzyme*
- Pitch the yeast once the temperature has reached at least 60F. Yeast strain choices will vary depending on the juice you choose – ask a winemaker at Musto Wine Grape for a strain recommendation for the varietal you’re making. Follow the yeast starter directions to the T! Be very careful of temperatures, never adding yeast if there is more than a 18 degree difference between the yeast starter liquid and the juice.
- Carefully monitor the fermentation by checking Brix levels daily. Add yeast nutrients as needed if you choose to do so.
- If you are adding malolactic cultures to your wine, you may also choose to do this at 1/3 Brix depletion. If using a malolactic nutrient (Opti-Malo Plus) with the bacterial culture, hydrate the nutrient in a separate container from the bacteria and add to the must directly before the addition of the bacteria. Follow all directions on the bacteria and nutrient packets explicitly.
- When the fermentation is complete, rack off the lees and continue aging. Many wines are aged with oak – if you choose to do this, you can do so in oak barrels or with oak alternatives (such as chips or staves).
- For more detailed information or is if you have any questions, email sales@juicegrape.com to speak to a MWG winemaker.
Patience is a Virtue:
Fermentation is a magical process that transforms humble juice into wine. Allow the mixture to ferment for several weeks, checking the airlock regularly. Once the bubbling slows down, the primary fermentation is complete. Rack the wine into a clean vessel, leaving sediment behind.
Keep Good Notes:
Keep track of your starting pre-fermentation numbers, addition dates and amounts, SO2 levels, racking days, and so on. The better the notes you take, the better you can re-create your masterpiece from year to year!
Aging Gracefully:
Transfer your wine to a secondary fermentation vessel for additional aging. This allows the flavors to mature and the wine to clarify. The length of ageing depends on personal preference and the type of wine you’re making. Some wines benefit from months of aging, while others are best enjoyed when young. For more details on ageing your wine click here.
Bottling and Enjoying:
Once your wine has matured to your liking, it’s time to bottle. Use a siphon tube to transfer the wine into clean, sanitized bottles, leaving sediment behind. Cork the bottles and store them upright for a few days before laying them on their sides for long-term storage. Now, you’re ready to uncork and savor the fruits of your labor. For more information on bottling your wine click here.
Making wine at home from juice is a delightful blend of science, art, and patience. Whether you’re a weekend hobbyist or an aspiring vintner, this simple guide is your passport to a world of homemade delights. So, raise a glass to your newfound winemaking skills and the joy of crafting something truly special from the comfort of your own home.
We hope you have found some winemaking inspiration in this article. If you have any questions or would like to discuss making an order, please contact us at 877-812-1137 or via sales@juicegrape.com. Cheers!
Take the Guesswork Out of Harvest—We’ll Handle the Details

Did you know we offer complimentary, custom fermentation protocol creation for winemakers and wineries?
Tell us what you’re making—and we’ll map out your entire fermentation process down to the gram.
✅ Yeast + Nutrients
✅ Additions + Timing
✅ Step-by-step instructions tailored to your varietals, style, and winemaking goals
Why Pre-Order Your Protocol?
✔️ Save time during harvest — no scrambling at the cash register
✔️ Cut down on back-and-forth calls — everything ready and waiting
✔️ Streamline your season with a dialed-in plan built just for you
📞 Let’s get you set up early. Call us at 877-812-1137 or email sales@juicegrape.com to pre-order your fermentation protocol and supplies.
One quick call now = smoother harvest later. Let’s make this your most organized vintage yet!
Cheers,
The Musto Wine Grape Co. Team
When Should You Bottle Your Wine? Here’s What the Experts Say
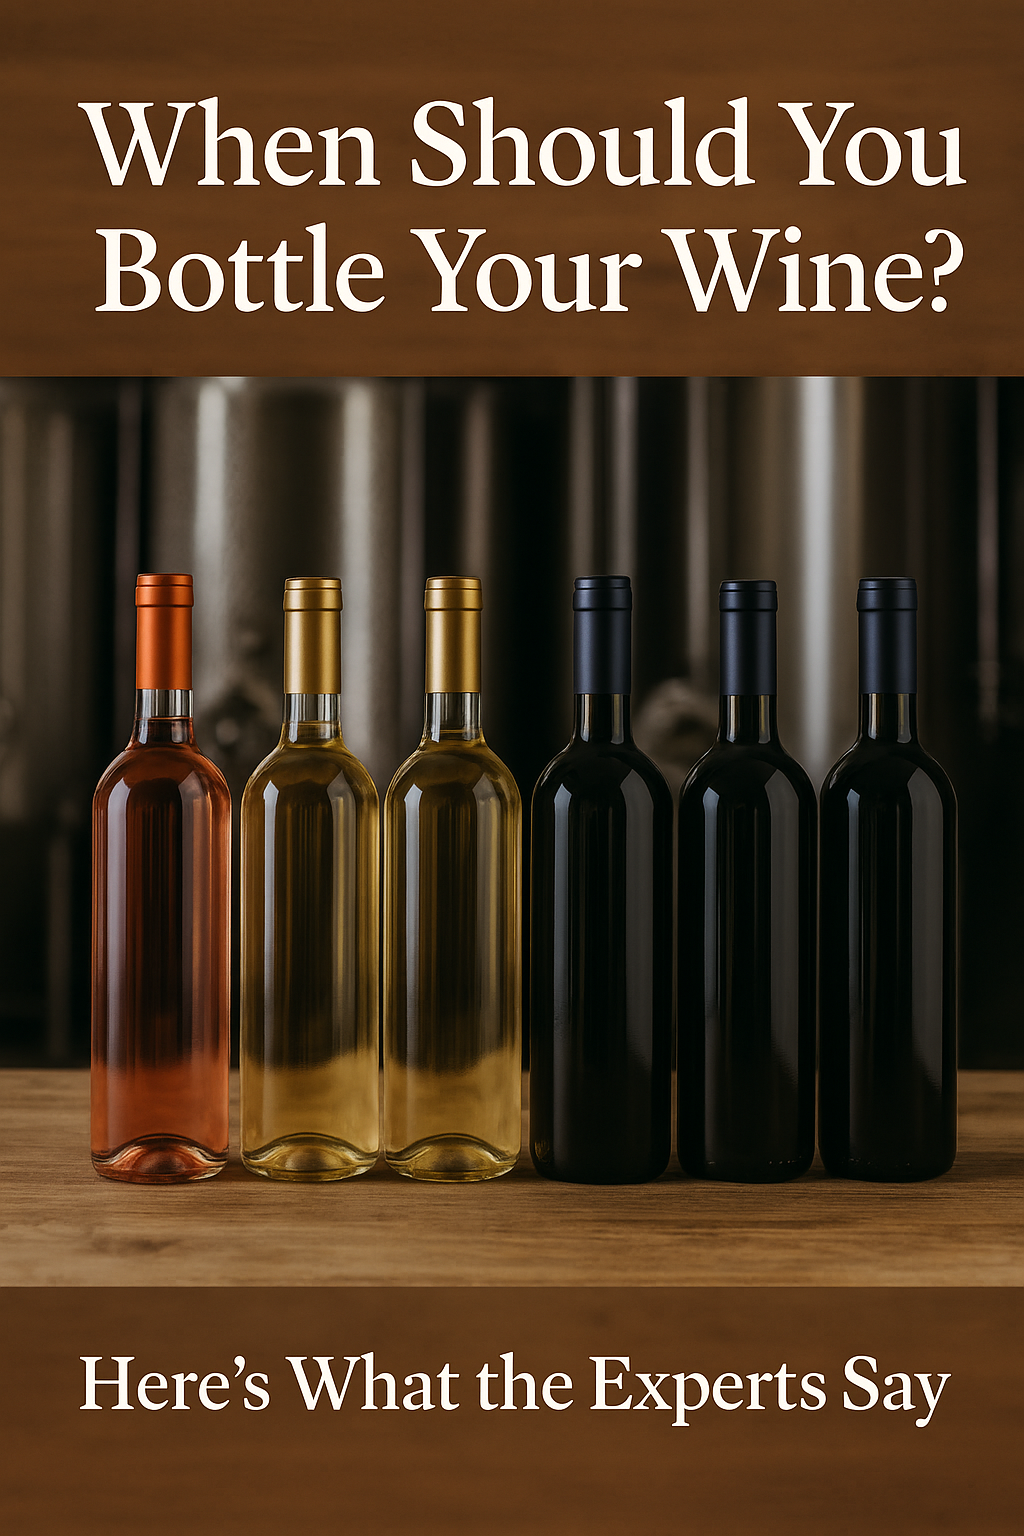
One of the most debated questions in winemaking is when is the right time to bottle your wine? As always, the answer is: it depends. There are many factors to consider—from tank space to taste, chemistry to calendar—and every winemaker has their benchmarks and traditions.
To help shed light on the process, we asked some of our favorite local winemakers across Connecticut to share their philosophies and practical tips on when they bottle their wines. Here’s what they had to say:
Marcelo of Paradise Hills Vineyard – Wallingford, CT
“The best time to bottle is when it rains. You can’t go outside, so if we get a rainy day, we make sure we’re productive and bottle. Especially with white wines, we taste for maturity and stabilization. If the nose and palate are up to our standards, it’s time. We check sulfite levels two days before bottling.”
Key Takeaway: Use rainy days wisely and ensure your wine, especially whites, is stable and mature before bottling.
Barry St. Pierre of Laurel Crest Vineyard & Resident Winemaker at Musto Wine Grape Co.
“When you need tank space! Or right before!”
Key Takeaway: Bottling is often driven by logistics—if your tanks are complete, it’s time to make room.
Maureen Macdonald of Hawk Ridge Winery – Watertown, CT
“Preparing to bottle should be a final and comprehensive evaluation of your wine. Heat and cold stability, free SO2 binding rate, and total SO2 counts all need to be checked. This is your last chance to correct flaws. There’s nothing worse than discovering a problem after bottling.”
Key Takeaway: Bottling is your wine’s final exam—make sure every detail is dialed in.
Arnie Schloemann of Crush Winery – Opening Soon in Wallingford, CT
“We bottle a lot in the spring to fill barrels for Chilean wines. Or we’re moving last fall’s California wines into the barrel. Lots of blending and bottling in the summer to make space for fall wines!”
Key Takeaway: Seasonal planning matters—bottle when you need to transition from one vintage to the next.
Frank Renaldi of Tranquility Vineyards – Middlebury, CT
“We heat and cold stabilize, adjust tannins and acid, and filter. White wines can be bottled as early as April or May and are ready to drink right away. Reds are bottled in July or August to make space for fall. Don’t forget to sanitize your equipment and make a final sulfite adjustment.”
Key Takeaway: Whites are ready sooner, and reds benefit from aging, but both need careful prep. Timing is often about getting prepared for the next crush.
Tom Mannello of Crystal Ridge Winery – South Glastonbury, CT
A fourth-generation winemaker, Tom shared how bottling timing has evolved in his family:
- Grandfather: “I bottle when I get thirsty.”
- Oldest uncle: “There are no more bubbles—it’s ready.”
- Father and cousins: “Whenever someone runs out of last year’s wine, it’s time.”
- Tom: “Red wines age at least a year in oak for fruity reds, two for Bordeaux varieties.”
Key Takeaway: Tradition meets technique—don’t rush the reds.
Final Thoughts: Make Bottling a Celebration
Bottling day isn’t just about finishing a wine—it’s about celebrating everything that went into making it. You put time, effort, money, sweat, and love into that bottle. If the wine tastes right and you have a few good hands to help, turn it into a shared moment. Good wine, good friends, and hopefully some food to go with it can make for a day not only to bottle the goods but also to make lasting memories for generations to come.
So, whether you’re a home winemaker or a pro prepping for the next harvest, the answer to when to bottle comes down to a mix of science, schedule, and a little bit of soul.
Need Help Bottling?
Check out our Bottling Equipment at Musto Wine Grape Co. We’ve got everything you need to make your bottling process smooth, sanitary, and stress-free. Contact us here or stop by the store for personalized support.
Recent Comments