Discovering an “Old World” Wine — Teroldego
Discovering an “Old World” Wine — Teroldego
By Winemakers Julie and Richard Chalifoux
By now, many of you are probably familiar with “Old World” wines such as Barbera, Gamay, and Nebbiolo. A wine which you may be less familiar with is Teroldego [teh-rawl-DEH-goh]. Teroldego is a red wine grape that is grown in the Trentino-Alto Adige region in northeast Italy. While it has been in Italy since the 15th century, it is not grown widely elsewhere. However, this grape has been receiving increased attention from California grape growers, primarily near Lodi in the Central Valley, because of its prolific growth, heavy yields, and consistent quality.
Teroldego is a sibling of Dureza, one of the parents of Syrah. You can easily see the connection to Syrah with its dark-skinned berry, fruity flavor, and medium to bold tannins. It is a wine worth making, since it can be drunk either young or well-aged.
Grape Selection
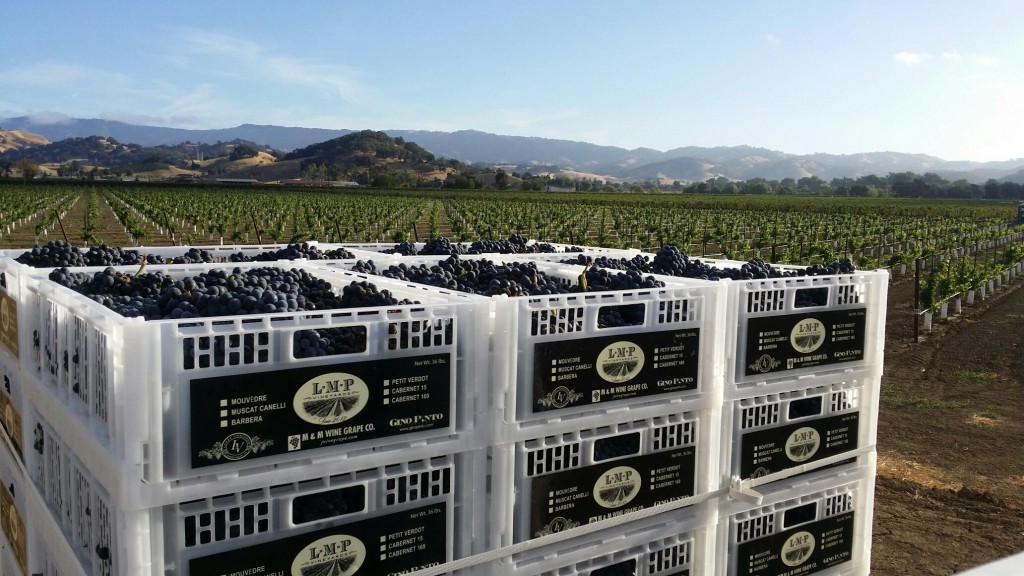
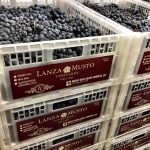
In 2018, Musto added Teroldego to their grape varietal selection. Hope you didn’t miss them this past season; these grapes were a must-see! They were exquisitely packaged and bigger than your hand – 36 grape clusters/36 lbs. What a presentation!
Teroldego is similar in nature to other wines we have made, so my husband and I decided to test our winemaking skills and try something new. We planned on making a small batch in a 5 gallon carboy, so there was not much room for experimenting. Through further research, we found it is an Italian grape that produces reasonable tannins, is easy drinking, and possesses intense fruity flavors with dark thick skins.
Balancing and Yeast Selection
The grapes were clean with huge clusters — we ran the pH and acid numbers, the acid was a bit low so adjustments were needed. Note: this will be an easy grape to blend with hybrid grapes that are typically higher in acid. It will enhance fruit characteristics, add tannins, improve acid, and bring a nice rich color to your wine.
There were a few yeasts that would be a good choice – ones that will enhance the fruit characteristics, keep the “Old World” Italian style wine, and work well with the tannins. We used BRL97, but any one of these would work. We have used this yeast on other wines we make with great success. We also use BRL 97 on our Tannat wine.
| Yeast Strain | Alc. Tolerance | Flavor Profile |
| D254 | 16% | Big mouth feel and rounding of tannins. Intense fruit: more dried than fresh with a focus on berry and jam characteristics. Helps with color stability and is useful for adding body to blends. |
| D80 | 16% | Big volume and fine grain tannin flavors of plum and spice. Great for bringing more positive tannin intensity to a blend. |
| BRL97 | 16% | Mainly used in Pinot Noir, Zinfandel, and Italian Wines. Enhances color stability, maintains structure and is favored when long aging is planned. |
Cold Soaking
This grape has thick skins, and experience has taught us that the thicker the skin, the longer the cold soak. Some of our hybrids have thicker skins like Teroldego and don’t like to release tannins easily. We treated this grape the same way: cold soak for 6 days, and be sure to add enzymes. Note: when cold soaking for a longer period of time (i.e. 6 days), watch the room temp. You really want it to be cold (below 40° F). Wild yeast will take over if your must is too warm.
Winemaking process
We do not alter the winemaking process, however, there are a couple things that we do faithfully.
- Feed your yeast – when pitching the yeast be sure to add the proper nutrients – around 3 days later or approximately 1/3 lower brix, feed your must, we use Fermaid O. Important to keep your grapes and yeast happy, happy, happy – no stuck fermentations. We also at this time, co-Inoculate with VP41 Malo, it does really well with BRL 97.
- Rack off the gross lees – when fermentation is done, don’t wait to rack off your wine! This is important to get good wine off of stinky lees.
Wine Recipe for Teroldego
| Wine Produced: | @ 5 gallons of wine (with 3 cases/36 lbs-case) |
| Finished pH: | 4.1% |
| Finished Acid: | .7g/liter |
| Brix at crush: | 25 (14% alc) |
| Cold Soak: | 6 days |
| Yeast used: | BRL97 |
| Malo: | VP41 |
| Lightly Oaked: | Medium French stick used 2 ½ spirals |
| Tasting Notes: | On the nose; butterscotch, vanilla, and black raspberry. This wine has nice acid, soft tannins, medium body – very easy drinking wine with tastes of mulberry, boysenberry and hints of herbs, cedar, and mocha on the finish. |
| Lessons Learned: | When the wine is young it takes on fruit characteristics, but it loves oak – as the wine ages more of the oak characteristics will come through. If you prefer lightly oaked wines use less oak sticks. |
Stay with me…I promise there is a recipe for you to try! This wine is food-friendly and very approachable. We recently opened a bottle after 2 years of aging it has really come into its own, with nicely-blended oak and a fruity flavor. The tannins we were able to release during cold soaking also mean that this wine will still be wonderful for a few years to come. Try it with smoky foods like wood fired pizza, burgers, stews, or any Italian cuisine with either red or white sauces. I encourage you to try something new, something bold – try making a lovely wine like Teroldego. Alla salute!
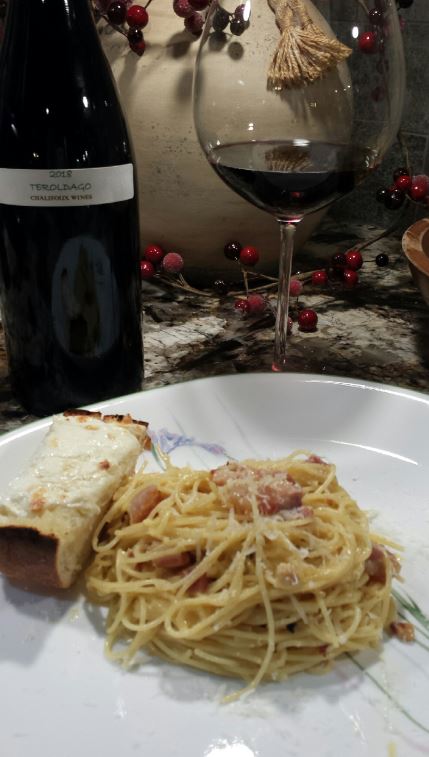
Spaghetti Carbonara
Teroldago is really yummy with Spaghetti Carbonara. For this wine, serve it in a Pinot Noir glass and it is recommended to open the wine 1 hour before serving. Recipe follows:
- Salt for pasta water
- 2 large eggs and 2 large yolks, room temperature
- 1 ounce (about 1/3 packed cup) grated Romano, plus additional for serving
- 1 ounce (about 1/3 packed cup) grated Parmesan
- Coarsely ground black pepper
- 1 tablespoon olive oil
- 3 ½ ounces of pancetta or bacon, sliced into pieces about 1/4 inch thick by 1/3 inch square
- 12 ounces spaghetti (about 3/4 box)
- Place a large pot of lightly salted water (no more than 1 tablespoon salt) over high heat, and bring to a boil. Fill a large bowl with hot water for serving, and set aside.
- In a mixing bowl, whisk together the eggs, yolks and Romano and Parmesan. Season with a pinch of salt and generous black pepper.
- Set the water to boil. Meanwhile, heat oil in a large skillet over medium heat, add the pork, and sauté until the fat just renders, on the edge of crispness but not hard. Drain fat and remove from heat to set aside.
- Add pasta to the water and boil until a bit firmer than al dente. Just before pasta is ready, reheat pork in skillet, if needed. Reserve 1 cup of pasta water, then drain pasta and add to the skillet over low heat. Stir for a minute or so.
- Empty serving bowl of hot water. Dry it and add hot pasta mixture. Slowly stir in the egg and cheese mixture adding some reserved pasta water if needed for creaminess. Serve immediately, dressing it with a bit of additional grated pecorino and pepper.
Ready to make your own Teroldego? Musto Wine Grape is here to supply you with everything you need to make the wine of your dreams. Email us at sales@juicegrape.com or call (877) 812-1137 to speak with someone who can get you started!
Wine Grape Spotlight: Mettler Ranch Zinfandel
Wine Grape Spotlight: Mettler Ranch Zinfandel
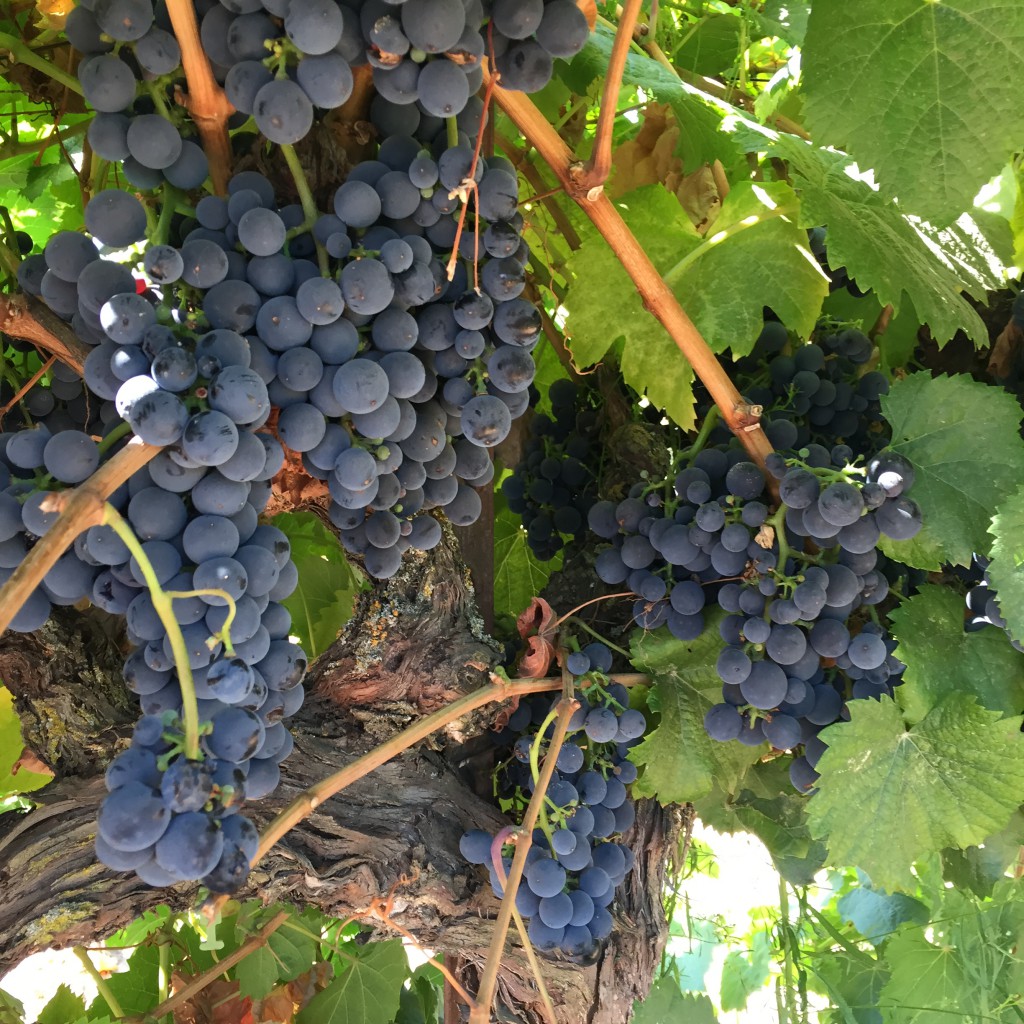
When making Mettler Ranch Zinfandel you can create a wine with earthy and smoky aromas. Along with a complex medley of flavors including plum, blackberry jam, tobacco, anise, and sweet oak. The sturdy but softly integrated tannins yield to subtle oak notes (if you make an oak addition) as the wine lingers on the palate. These grapes create a wine full of Zinfandel personality! Winemaker Adam Mettler suggests some light French oak to add a little extra complexity.
If you can hold off drinking your wine right away and lay it down for 1-2 years it will only gain more of that zesty, delicious personality. If you’re interested in trying out a different Zin this year, Mettler Ranch is a great choice. Email sales@juicegrape.com or call the office at 877-812-1137 for more details on how to reserve these grapes.
The Mettler Family has been farming wine grapes since the 1800’s. Recognized in the Agricultural Hall of Fame, they are 8th generation grape growers in Lodi, CA. With over 800 acres farmed in Lodi county, some vineyards being upwards of 100 years old, these vines are meticulously managed and maintained. All of their vineyards are LODI RULES certified and some are Certified Organic through the CCOF (California Certified Organic Farmers).
Lodi has a classic Mediterranean climate with warm, dry summers and cool, moist winters. The dry warm summer days allow Lodi grapes to develop full, ripe fruit flavors while the distinctive breezes maintain the natural acidity for structure and complexity in finished wines.
The Mettler Zinfandel is sourced from their vineyards by the Mokelumne River, referred to as “Old Lodi.” The soil is sandy and this sub appellation is known for being an epicenter for Old Vine Zinfandel. The vines are 50 years old, sustainably farmed, and certified through LODI RULES.
Making Mettler Ranch Zinfandel (5-6 gallons):
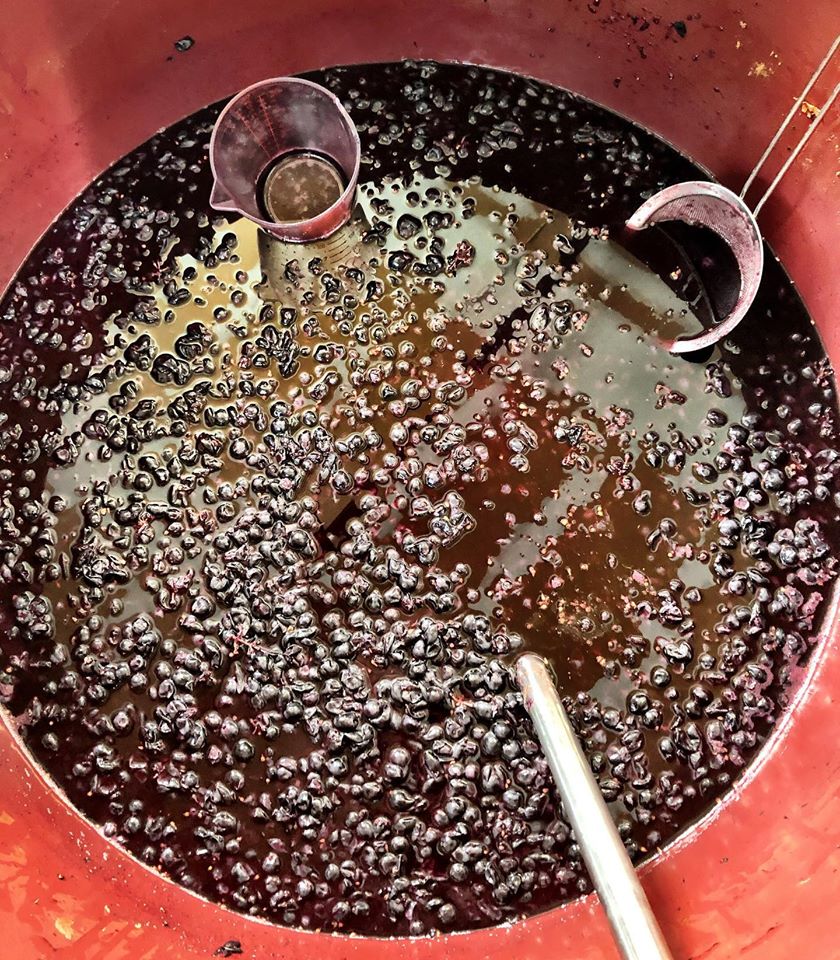
Ingredients:
- 2-3 cases (36lbs) of Mettler Ranch Zinfandel grapes
- 1.6 gms of Potassium Metabisulfite
- 3mL of Color Pro
- 1 – 6gal package of Go-Ferm
- 1 – 6gal package of chosen yeast (see yeast suggestions below)
- 1 – 6gal package of Fermaid K
- 1 – 6gal package of Fermaid-O
- 1 – 6gal package of Malolactic Bacteria
- Optional Additives:
- 1 – 6gal package of Tannin FT Rouge
- 1 – 6gal package of Opti-Red
- 1 – 6gal package of Booster Rouge
- .9oz of French Oak Dust
Yeast Suggestions:
Equipment:
- 1- 6 gallon carboy
- 1 – 5 gallon carboy
- 1- 50LTR fermentation pail w/lid
- 1- Crusher Destemmer or utilize Musto’s Crush/Destemm service
- 1- Press
- 2 – Airlocks
- 2- Drilled Bungs to fit Carboys (#7)
- B-Brite
- Potassium Metabisulfite
- Racking equipment
- Hydrometer
- Thermometer
- Ability to test for Total Acidity (TA), pH, and MLF
- Must punch down tool or stainless steel spoon
Winemaking Steps:
- Sanitize and Crush and Destem – Inspect your grapes. Crush and destem into clean and sanitized food grade 50LTR fermenting tub. Always allow an extra 20% of volume for fermentation purposes as the wine will “expand” throughout fermentation. Always rinse your fermentation vessel with a sanitizing strength potassium metabisulfite solution (2oz/gallon or 3tbsp/gallon). Make sure that the sanitizing solution touches all the surfaces of the fermentation vessel and that the vessel is completely emptied out of all sanitizing solution after. Shake free any drops as best you can from the fermentation vessel. Having remaining sulfite liquid in the vessel will prohibit fermentation. Do not rinse the sanitizer off with water after sanitizing as that will reintroduce bacteria to the environment.
- Once all of the grapes are crushed, try to accurately measure your quantity of must. Add ¼ tsp of potassium metabisulfite for every 5 gallons of must that you have. Mix up the must thoroughly.
- ALWAYS record the additions you make to your grape must!
- Wait for 6-8 hours after the sulfite addition and then add color pro to the must. Always mix it with water to create a 10% solution (if you use 5mls of enzyme, mix it with 45mls of water). The water allows it to better circulate throughout the must. Allow the pectic enzyme to work for 12 hours before yeast set.
- Twenty four hours after crushing the grapes, mix the container thoroughly and take and record your measurements. Measure Brix, pH, and TA. If you need to adjust your must at all, this is the time to do it. Ideally your Brix should be between 23-28 degrees, the pH between 3.4-3.7, and the TA between 6-7g/L. Your initial Brix reading, multiplied by .55, will give you a close estimate of your ending alcohol by volume percentage.
- If you would like to use fermentation tannins (FT Rouge, oak dust) or fermentation nutrients such as Opti-Red, add them after measurements and adjustments have been made. Mix any of these ingredients in thoroughly.
- After measurements have been taken and any adjustments have been made, it is time to set yeast if you are using a cultured yeast strain. Follow the yeast set directions on the packet explicitly.
- After you get to temperature and add your yeast, you may cover the vessel lightly with an old sheet or towel or place the lid gently on top of the bucket.
- Obtain a must punch tool, a long stainless steel spoon, or your bare hands, and sanitize your tool or hands with sulfite sanitizer. This is what you will use to “punch down” or mix up the must three times a day. Try to mix everything very well, pushing all of the skins back down to the bottom, getting them very wet, and bringing up the piqued from the bottom. This should be done as often as possible, preferably three times a day. [Before work (7am), after work(5pm), and before bed (10pm)] When punching down every evening, take a sample of the liquid and using your hydrometer, track the Brix depletion. You should notice a drop in Brix daily. Always record your additions to your must, your brix depletion, and punch downs.
- If you are using additional yeast nutrients to assist in fermentation you will add them after fermentation has started. Fermaid O is added at the beginning of fermentation (1 day after yeast set) and Fermaid K will be added at 1/3 depletion of the Brix (2/3 of the beginning amount of Brix). Follow the directions for the individual yeast nutrient, hydrating with water and mixing thoroughly.
- If you are adding malolactic cultures to your wine, you may also chose to do this at 1/3 Brix depletion. Follow all directions on the bacteria and nutrient packets explicitly.
- Punch down and take Brix measurements daily. When your hydrometer reads 0.90, you have fermented to dryness. At this point your malolactic fermentation may still continue, but the primary alcoholic fermentation is complete. You may now press the wine. Wash the press and sanitize using potassium metabisulfite. Again, make sure the press does not have any excessive puddles or lingering amounts of sanitizing solution remaining. Sanitize the receiving container carboy and any pumps or tubing that you may use. Anything that comes into contact with the wine should be rinsed with sulfite sanitizing solution. Place a screen (also sanitized) inside of the press to hold back any extra skins or seeds from getting through. Start scooping up the must and placing it in the press. Some of the liquid will immediately flow through, this is the “free run”. When the press is full, slowly begin pressing. Do not try and press every last drop out of the must as this can lead to seed cracking and bitterness in the wine. Fill each container to within ½” of the top and secure a bung and airlock in place. Malolactic fermentation will exude a small amount of carbon dioxide and there will be trapped gas within the wine that will need to escape the container.
- Allow the wine to sit for 2-3 weeks. You can conduct malolactic chromatography or bring a sample to a winemaker at Musto Wine Grape for analysis to ensure that your secondary fermentation is finished. At this point you should see a nice thick layer of lees in the bottom of the carboy. You will want to place the full vessel onto an elevated surface such as a table and place the new, sanitized, empty vessel on the floor below. Using a sanitized siphon, rack the wine into the new carboy. You may have space at the top which will need to be “topped off” with more wine. You can either use wine from another container, or finished wine to do this. It is very important that there is less than a 1/2” of headspace in each container. At this point you should also add 1/4tsp of potassium metabisulfite per 5 gallons of wine.
- Now it is time to let your wine age. You will need to rack it and add additional SO₂ every 3 months. Make sure you sanitize all equipment and containers when racking and keep them topped off within ½”. Come visit Musto Wine Grape for bottling advice and supplies.
For more winemaking details check out the posts below:
- Adjusting your grape must
- Racking your wine
- Post fermentation tips
- Finning agents and why they help
- Aging your wine
- Finishing your wine
Awards won by Mettler 2017 Lodi “Epicenter” Old Vine Zinfandel:

- 93 Points, Best of Class & Gold Medal – 2019 Los Angeles Wine Competition
- 91 Points – Wine Enthusiast Magazine (February 2020)
- 91 Points & Gold Medal – 2019 Sunset Int’l Wine Competition
- 91 Points – 2019 California State Fair
- Gold Medal – 2018 San Francisco International Wine Competition
If you are interested in purchasing wine grapes or winemaking juices this fall please email sales@juicegrape.com or call 877-812-1137 for pricing and information. We are looking forward to speaking with you about your 2020 vintage!
How to Set Up Your Home Winery
Setting up your home winery
There are two factors to consider when you decide to build your home winery.
- How much money are you willing to spend to buy more equipment, build rooms, or add air conditioning?
- The second factor is how much room do you have to create your winery?
I converted my entire basement into a winery. But, I did it slowly, one room at a time. Let me walk you through that and see if what I have done could apply to your place for a home winery.
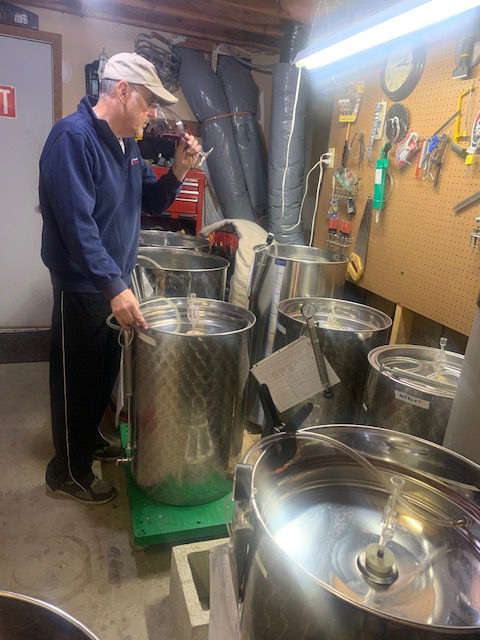
I have a room which holds my variable capacity tanks and carboys. This wine is aging and waiting to be moved into barrels. This room is air conditioned due to poor cellar temperatures at my home. I also have a sink in this room for cleaning and washing. I added a five foot counter to do all my lab work. Wine racks were added to the walls above the tanks to store all my 375ml bottles of port.
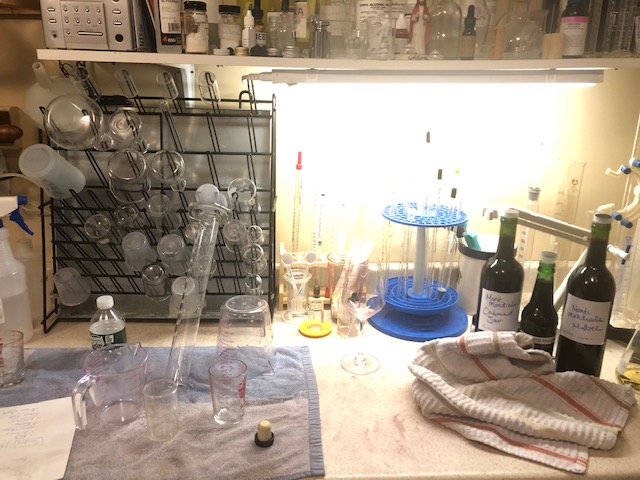
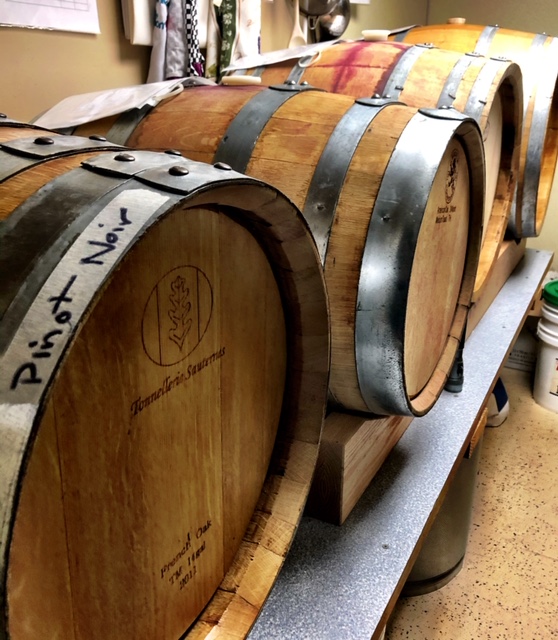
The next room I built was a barrel room. I finally took the step to barrel age my reds and have never looked back. The barrel aging makes the wine so soft and complex. I have seven barrels ranging from 15 gallons to 30 gallons. I suggest you stay in this range as a home winemaker. They are easier to handle and clean. You must also remember, you will need wine on “standby” to place into the barrel once you remove the existing wine to bottle. Plan well.
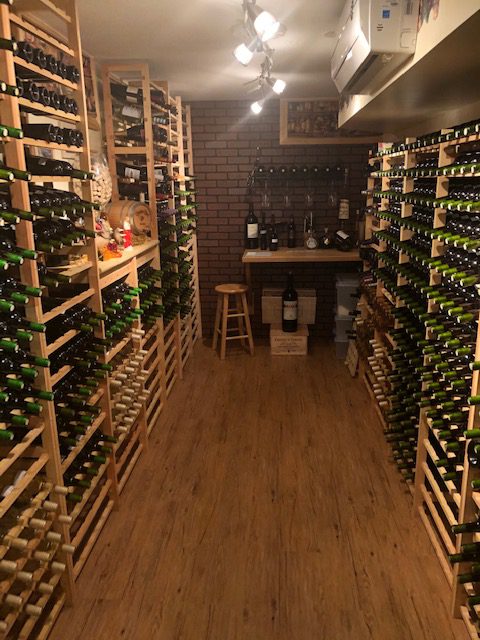
My final room was needed to store all the wine moving out of the other rooms – a bottles storage room. I bought wooden wine rack kits online, and after assembly I bolted them to the walls. I then put down a floor, nice lighting and a bit of decorating to tie it all together. The most critical thing I added was air conditioning, because bottle storage needs four things – cool constant temperature, darkness, proper humidity and no vibration. All the bottles are lying horizontally and peacefully aging.
Besides proper areas to process your wine, you also need the tools to take care of this wine. Some of the “must have” tools are hydrometers, pH meters, pipettes, burrette, stir plate and an SO2 meter. These tools are needed to balance your grapes perfectly before pitching the yeast. They are also needed to adjust and protect your wine as it is aging.
Be sure to have other supplies on hand such as tartaric acid, potassium metabisulfite, fructose, tannins and oak. You will build your supplies and equipment as time goes on. Everything I talked about above will take you a level where you can become a dedicated, creative and proud winemaker!
Written by Winemaker Frank Renaldi
How much wine will my case of California grapes make?
Crates, pounds, liters, gallons, must, finished wine, juice… there’s a lot of terms and volumes floating around in your head during winemaking season. Simplify your life with the following explanation of how much volume you should expect to be getting from your grape order.
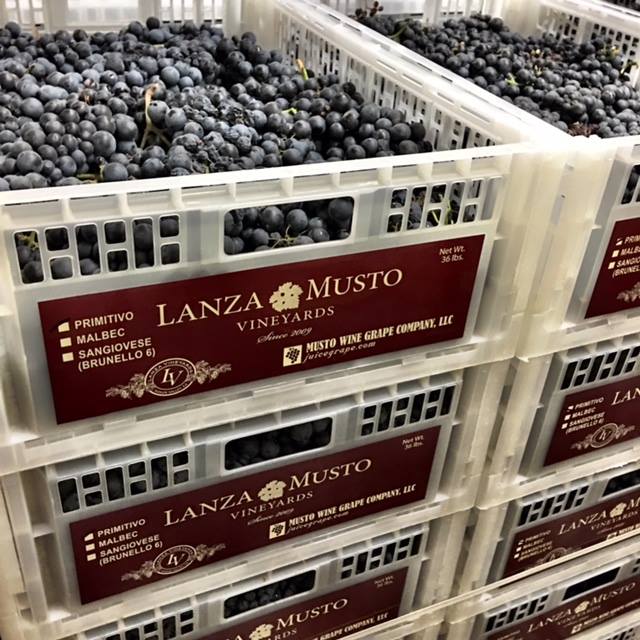
Each case of wine grapes from California and Washington State is 36lbs. Depending on the grape variety, you should yield about 2-2.5 gallons of must per case.
*Keep in mind that all of these are estimates. Some grapes will yield a bit more and some a bit less depending on the variety.*
A good rule of thumb is that 20lbs of grapes will yield roughly 1 gallon of finished wine. So each case should give you about 1.44 gallons of finished wine, equating to about 7 bottles of finished wine generally speaking..
If you want to make 5-6 gallons we suggest using 3 cases of grapes. The extra case will give you room for error when pressing and racking, plus extra wine for topping off during the aging process. If you use only 2 cases of grapes, make sure you have a 5 gallon carboy handy in case you loose a little juice during the winemaking process. You don’t want any headspace in your carboy.
For more information regarding the Fall Harvest please feel free to contact us at sales@juicegrape.com or give us a call at 877-812-1137. We are looking forward to helping you with your next great wine!
Muscat: An ancient and beautiful grape variety
Fruity. Floral. Aromatic. Golden. Perfumey. Unique.
Meet Muscat.
What’s so great about this grape? With tons of variations and seemingly even more names, it’s known all over the world for producing an absolutely delicious wine.
It can be made dry, sweet, or even fizzy. With its beautiful floral aromatics (think orange blossom, white flower, honeysuckle) you’re bound to make a wine that impresses!
Muscat Winemaking Recipe
- Crush/destem and press your Muscat into your fermentation vessel
- Add potassium metabisulfite to kill off any native yeast present on the grapes
- Let sit for 12 hours.
- Add Cinn Free and stir well.
- Add Booster Blanc and Opti-White to the juice.
- When the juice reaches about 65 degrees, pitch your yeast. QA23, Vin13 and Alchemy I are good options for keeping the aroma in this wine alive and bright.
- When you see the Brix drop by 2-3, add Fermaid O and mix well.
- Check Brix daily – when Brix drops by 1/3 of the starting number, add Fermaid K
- Rack off gross lees when alcoholic fermentation is complete and add potassium metabisulfite
Helpful tips:
- Don’t lose out on Muscat’s incredible aromatics by exposing it to excessive oxygen. Be sure that as soon as alcoholic fermentation has completed that it’s not sitting out without an airlock.
- Focus on yeasts with the most aromatic potential
- Since this is low acid grape, you’ll want to retain any acidity or semblance of freshness present within the finished wine. Do this by preventing malolactic fermentation from occurring (which can drop the acid) by being sure to add potassium metabisulfite as soon as fermentation ends.
- Consider sweetening your muscat if you’re looking to try making a wine style different than fermenting to dryness.
Christina’s Black Muscat Rosé Recipe
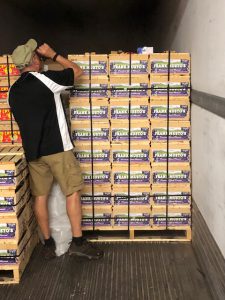
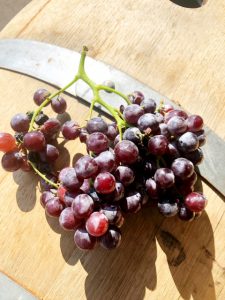
Working with a new grape for the first time can be a little scary. But having a recipe to use a jump off point can help ignite creativity and make the winemaking go a lot smoother. Check out Christina’s Black Muscat Rosé Recipe for some Rosé winemaking inspiration.
Black Muscat Winemaking Recipe:
- Crush the Black Muscat into vat
- Add Potassium Meta to kill native yeast, let sit for 12 hours
- Add Cinn Free, stir must, let sit for another 12 hours
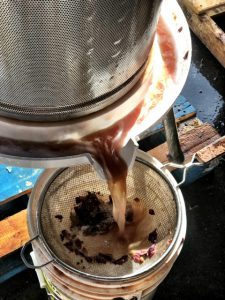
- Press juice after 24 hours on the skins
- Add Booster Blanc and Opti White (dilute in spring water, mix like pancake mix, dump into must, mix up)
- Pitch yeast after 24 hrs on skins, make sure juice is at 65 degrees. If not let it warm up. Use VIN13 yeast.
- Next Day: Add Fermaid O
- Monitor Brix levels daily
- At 1/3 of a drop in Brix (10-8 Brix) add Fermaid K
Please Note:
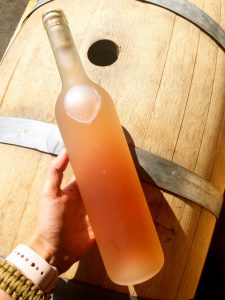
The color might be light. It darkened up over time. And if it doesn’t darken up enough to your liking I have some “pixie dust” that will help with the color during the aging process. Also, after fermentation I added Noblesse at my first racking. This is because I thought the acid was a little high and it helped soften the mouthfeel. Every year is different, so you might not need to do this. Taste it after fermentation and then decide.
Wine Tasting Notes:
On the nose there is passion fruit, guava, sweet strawberry, sweet cherry, and papaya. The aromatics continue through the palate with a touch of crisp acidity. As a dry wine this light bodied Rose is full of complexity and flavor. If you’re more of a sweet winemaker, adding about 1-2% Residual sugar to this wine would make for a very aromatic and balanced sweet wine.




Recent Comments