Have you tried Super Smoother?
Have you tried Super Smoother?
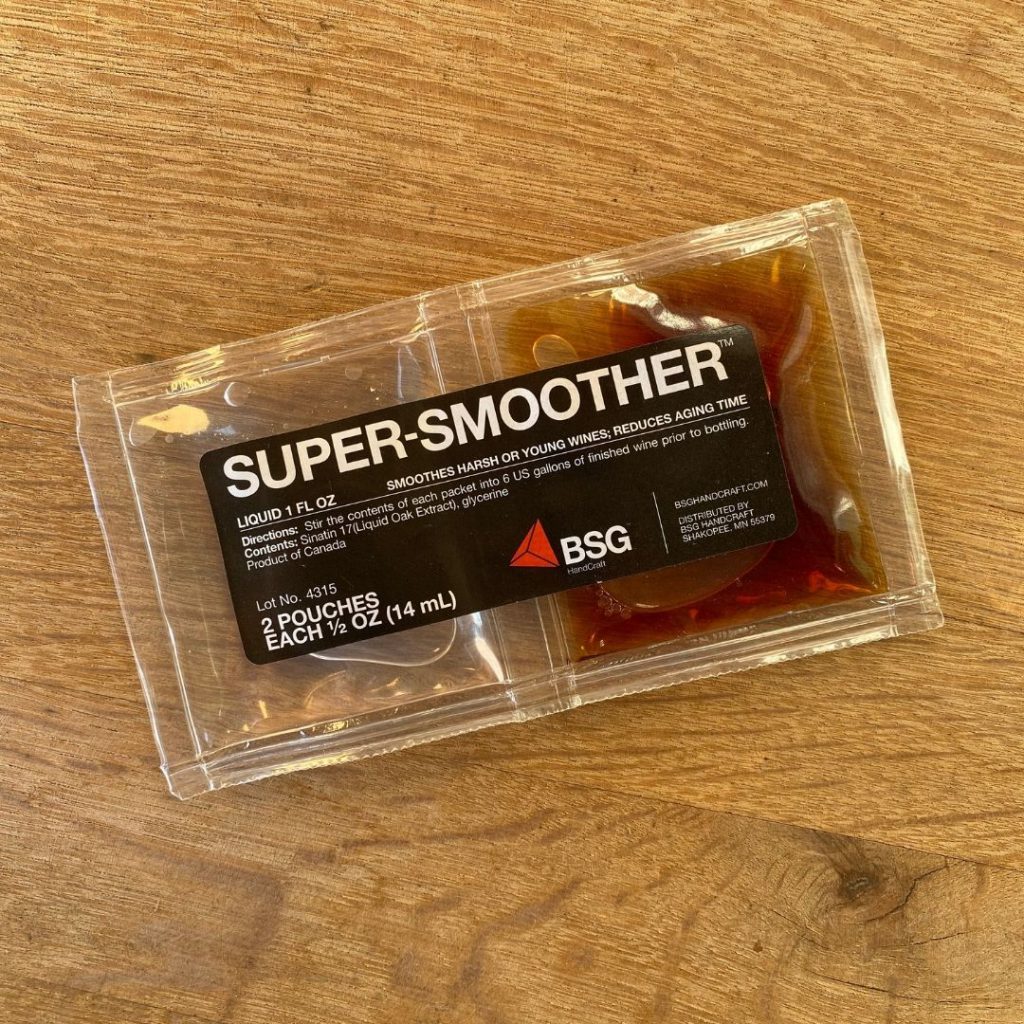
Super Smoother is great tool that’s ideal for home winemakers because it comes in small packages intended for 6-gallon (23-L) batches.
It contains glycerin and liquid oak extract. The combination of these two adds a subtle oak flavor while softening harsh tannins and smoothing out wine mouthfeel.
How Much Wine will a Case of Grapes Make from Chile?
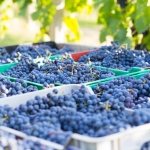
Each case of wine grapes from Chile is 18lbs. Depending on the grape variety, you should yield about 1.5-2 gallons of must per case.
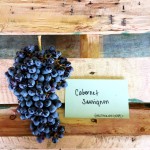
However, keep in mind that certain wine grapes are “juicier” than others. For example, Syrah is considered a “juicer” grape than a Cabernet. If you look closely, you can see the difference in the shape of the berries. The Syrah grape has more of an “egg” shaped berry to it. The Cabernet is more of a circle shaped berry. The berry size, climate, soil, and vineyard practices will all help determine how much juice is produced in each berry, and the berry intensity.
Usually each case of 18lb wine grapes will yield about 1.25-1.50 gallons of finished wine.
That equates to about 7 bottles of wine.
Other factors that influence how much must and/or juice you yield per case:
How your rollers are positioned in your crusher destemmer
How much you press after fermentation is completed
How much wine you loose during racking
If you barrel age your wine
If drink a lot of wine during bottling
Keep these topics in mind when you are deciding on how many cases of grapes you want purchase versus how much wine you want to make. If you ahve any questions do not hesitate to reach out to us via email (sales@juicegrape.com) or phone (877-812-1137).
How to Make Chilean Cabernet at Home
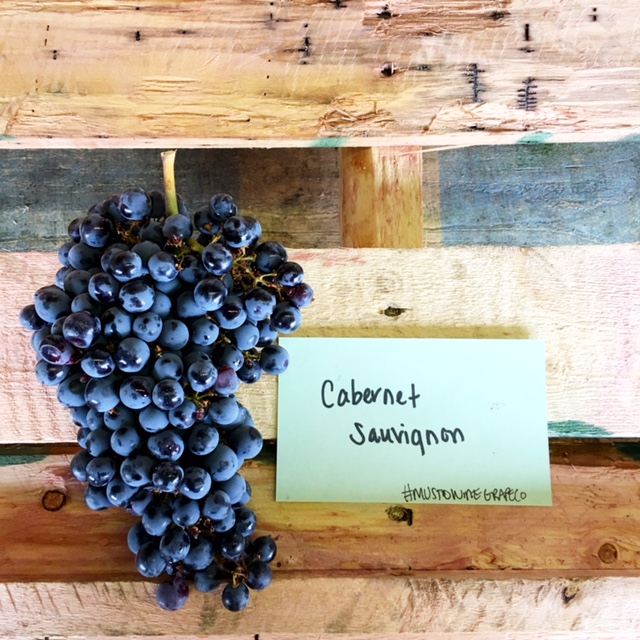
Cabernet is King, no matter the region. At MWG we are grateful to be able to bring in Cabernet grapes and juices frrom Chile for wineries and home winemakers. Cabernets from Chile are very bold with notes of blackberry, casis, and plum. The tannins are medium to medium plus on the palate make this a great wine to enjoy with a steak or a hearty meal. Introducing oak into this style of wine only helps create more complexity on the palate and finish. Some winemakers also blend thier California Cabernet with thier Chilean Cabernet to create an “International” Cabernet Wine. There are lots of fun things to try when making Cabernet from Chile!
- Crush Cabernet grapes into a sanitized bin or tub. (Each 18lb crate will make 1.25 gals of finished wine).
- Apply 50ppm of Potassium Metabisulfite and stir well. Allow to sit for 8-12 hours.
- Apply .5ml of Color Pro Pectic enzyme per box diluted into a 10% solution with water to the must and stir. Allow to sit for another 8-12 hours.
- Mix Booster Rouge, FT Rouge, and Opti-Red, with spring water until it is the consistency of pancake batter and pour over top of crushed grapes. Mix in well.
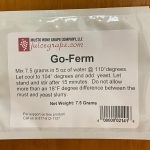
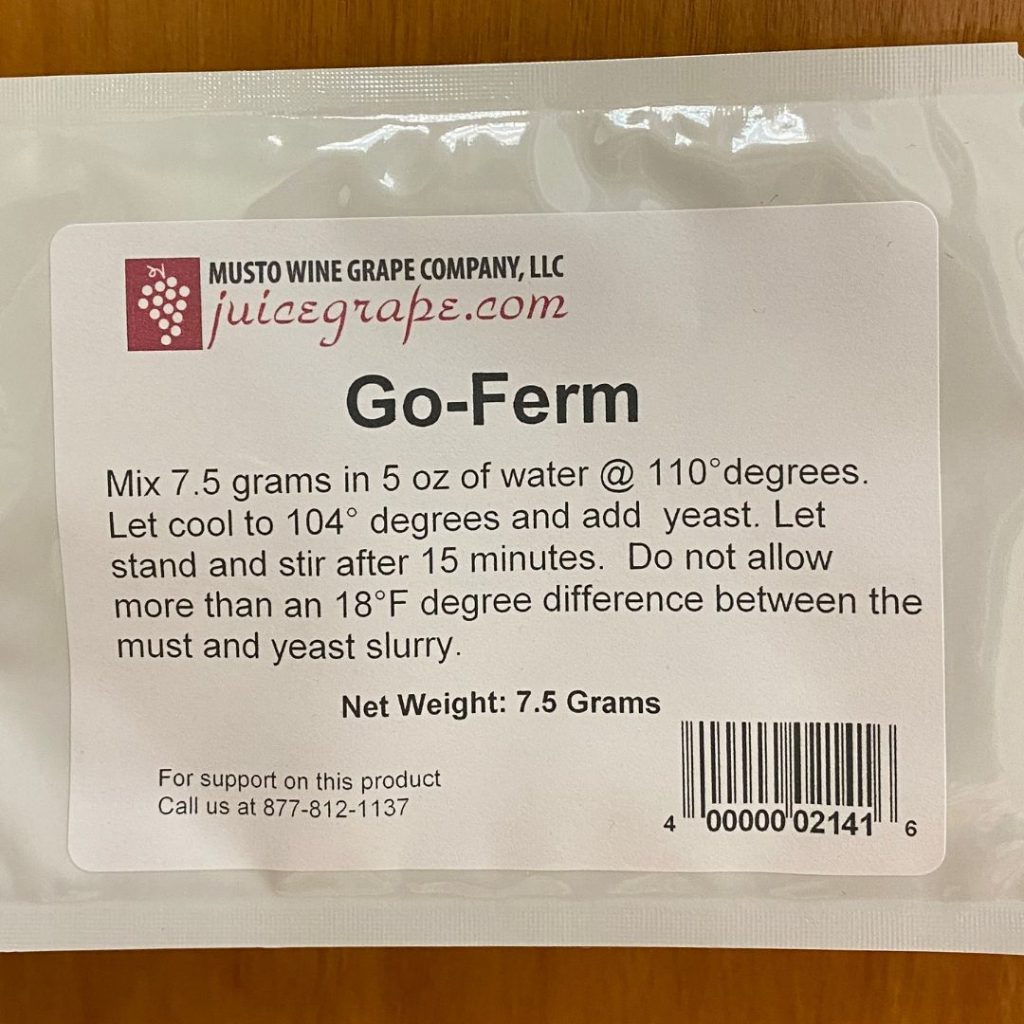
- Add rehydrate CSM yeast (1g/gal) with Go Ferm rehydration nutrient and warm water. Allow to sit for 15 minutes and pour over top of crushed grapes.
- Punch down grapes 3 times per day throughout the duration of fermentation and monitor temperature and Brix levels daily. Use a hydrometer to test sugar content in a strained juice sample. Make sure the temperature does not exceed 85F.
- One day after adding the yeast, add Fermaid O, mixed with spring water in to the pancake batter style slurry. Dump into grapes during a punch down.
- After the depletion of 1/3 of the Brix (when the Brix level is between 16-11), add Fermaid O that is mixed with spring water into the pancake batter style slurry. Dump into to grapes at a punch down.
- Add Malo-lactic bacteria the same day as the Fermaid K. If you are using liquid cultures, just pour over the grape must and mix. If you use the dry cultures, rehydrate them in warm spring water according to their specific directions, utilizing any rehydration nutrients recommended.
- When the Brix have dropped below zero, press the wine into a sanitized tank, carboy, or demijohn. Make sure the vessel is topped up all the way to the top of the neck and sealed properly with a bung and airlock.
- Rack after 48 hours and then again in a week. Allow MLF to complete before adding sulfites.
- Allow the wine to age and rack it every 2 months and add sulfites when racking.
Recipe by the Winemakers at Musto Wine Grape
Interested in making your own wine? Musto Wine Grape Company is here to help! Musto’s New England’s largest supplier for home winemaking products and services. Visit juicegrape.com or give us a call at (877) 812 – 1137 to learn more.
Spring Harvest Menu
The Spring Harvest Menu is now available to download HERE
Browse what’s available to create this Spring and give us a call (877-812-1137) or email us (sales@juicegrape.com) to secure your order!
Top 7 Winemaker Resolutions
It’s that time again! Where you start to reflect on the past year, look forward to a fresh start, and set forth some new year’s resolutions. But resolutions don’t just apply to weight loss and self improvement, they can also apply to winemaking. According to the Merriam-Webbster Dictoinary a resolution is defined as “to make a definite and serious decision to do something“. So what do we want to decide and do, when it comes to our winemaking? What can we do to elevate our winemaking? Or better yet, make the type of wine we love drink to and share.
We’ve come up with a few resolutions for the winemaking year ahead. Many of them come from our own mistakes during the winemaking process, tips and tricks we’ve learned along the way, and some of it is super fun.
7 Suggested Resolutions for Winemakers in 2022
Be more detailed when recording winemaking notes.
You know how it is. You’re exhausted from crush day. You’re covered in must, sticky, maybe a little tipsy from enjoynig last year’s wine while crushing (we all do it, and love it ;)), and the last thing you want to do is record your starting must numbers. No matter which way you slice it, detailed winemaking records aid us in creating wines without flaws, keep us on track, and help us create our favortie wines. Need help with record keeping? Email cmusto@juicegrape.com for an example.
Have that blending party.
Wine blending can be meticulous for some, but really, it’s a great excuse to get togther and enjoy the fruits of your labor. Blending wines is one of the best ways to tweak your wine to make it even more delcious than the year before. There’s a great free video you can watch on WinemakingInstructions.com for inspiration as to how to throw a wine blending party.
Visit the grapes….FINALLY
That’s right I said it, it’s time to go see the grapes. If you haven’t been out to visit Lanza-Musto Vineyards it’s time. It’s finally safe to travel again and Suisun Valley is right next to Napa. So it’s part research, part vacation, or maybe it’s just all vacation. Either way you’re in California, enjoying wine country. Who wouldn’t want to do that? If you’re interested in visiting Lanza-Musto Vineyards email cmusto@juicegrape.com to learn how you can set up your vineyard visit. Musto Wine Grape is very transparent about who we source from and are happy to introduce you to our growers.
Read that wine book
Who doesn’t have a wine book laying around that they have been meaning to read? I know I have at least three. My list includes Daniel Pambianchi’s newest book – Modern Home Winemaking, The Academie Du Vin Wine Cellar Book by Steven Spurrier, and I Taste Red by Jamie Goode. A second part to this resolution is to take notes on each book. Kind of like a book report you did back in school. Nerdy I know, but it helps me retain the information better. Plus I have a feeling I’ll be refering back to all of these texts. Which books are on your list? Suggestions are welcomed, feel free to email me -cmusto@juicegrape.com.
Visit more local wineries, breweries, distilleries, and cideries
Inspiration can come from anywhere. Many wineries were inspired by distilleries and the flavor profiles they produced with thier bourbons, igniting the bourbon barrel aged wine trend. And who doesn’t like supporting local? Plus getting to know your local fermentors can help if you ever have questions or need help with your fermentations. Plus it’s always a ton of fun. So get tasting!
Clean that wine room
You knew I was going to bring this up. Clean, sanitize, repeat. It is one of the best ways to ensure your wine turns out the way you want it. Cleanliness is key and my cellar needs some sprucing. How about yours? Here is a great blog post with best practices.
Plan out your winemaking year
Perfect the process. Every year harvest sneaks up on us, yet we know when it will happen every year. Put a reminder in your phone and on your calendar for the start of the Spring and Fall seasons. South African grapes/juices usually arrive around late March, Chileans late April / early May, California starts in early September, and Washington State starts in October. Think about what you want to make (new varieties to try?), your fermentation protocols (any new yeasts you want to try?), your fermentation and aging vessels (should I spring for the stainless?), and how much wine you need to get bottled before they all arrive. Plus if you plan ahead you’ll have more time for blending parties, bottling parties, and good old fashioned friend get togethers where you share your wine.
We hope you enjoyed some of our resoultion tips and look forward to seeing you all in the new year. Cheers to 2022 Winemakers!
Christina’s Mulled Wine Recipe
It’s the holidays and what better way to to make your home smell like it than with some Mulled Wine!
Below is Christina’s recipe. We suggest pairing it with friends by the fireplace and a tasty charcuterie plate.
4 cups apple cider (or can use apple juice if you want it a little sweeter)
1 bottle of red wine (suggest cabernet, merlot, or a blend of both)
1 tablespoon – 1/4 cup of honey (depends on your sweet tooth)
2 cinnamon sticks
1 orange – juiced and zested
4 whole cloves
2-3 stars of anise (do to taste)
orange peels/wedges for garnish
Add the apple cider/juice, wine, cinnamon sticks, orange zest, orange juice, and cloves to a saucepan. Bring to a boil. Add stars of anise and honey to taste. Let it simmer for 8-10 minutes. Pour into mugs, add an orange peel/wedge for garnish, and enjoy!
Happy Holidays Winemakers!
EC-1118 Wine Yeast: Product Spotlight
What makes EC-1118 so great?
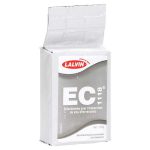
EC-1118. It’s an excellent strain to be used in a wide variety of wines. This includes red and white, including sparkling, fruit wines, late harvest wines and cider. It has a strong competitive character that will inhibit wild yeasts, and restart stuck fermentation due to it’s great alcohol and sulfate tolerance. Being a very neutral yeast, it will have very little effect on the varietal character of the grape. It ferments fully, and flocculates well, producing compact lees. It has extremely low production of foam, volatile acid and hydrogen sulfide (H2S) and it ferments well over a wide range of temperatures (50 to 86 degrees Fahrenheit), making it one of the most favorable and popular wine yeasts.
Considering EC-1118 for your next wine batch? Click here to be directed to our store to purchase online, or call us at (877) 812 – 1137 to place an order with one of our associates. We can also provide a step-by-step instructional for re-hydrating your yeast and adding it to your wine. Whether you’re a newbie home winemaker or a pro, we’re here to help!
Pairing Wine with Salmon
What kind of wine should you pair with your salmon, and why?
It mainly comes down to how you prepare the salmon that really determines what wine to pair with it. Salmon is a fatty fish, so it needs a stronger wine to stand up to it. It has rich fats, making a bitter and acidic wine a good general match. Salmon itself is not acidic, but those rich fats work well in place of acidity, and if you add a citrus glaze it would make the acidity in the wine harmonize better. Salmon is naturally mild but also vibrant, its actually able to work well with many different kinds of flavors.
Deciding on a wine to go with your Salmon can be complex because of all the different options in the types of salmon and how it’s prepared, so we decided to include various types of combinations because everyone has a different taste and preference!
Pairing Wine with Salmon and how it varies with various preparation methods
It’s not usual to pair a sweet wine with salmon, though a sweet glaze can call for a semi-dry wine. Reach for a rose or even a semi-dry Riesling, as both have enough lift to help enhance the sweet glaze but also pair the sweeter elements to the glazed salmon.
Reds, whites and even a rose can work as long as they are low in tannins and higher in acidity. A fuller white wine works well with pan fried salmon which becomes heavier and firmed when prepared this way.
Heavier salmon dishes like smoked salmon or ones with creamy and buttery sauces can call for a sparkling wine. Sparkling wines have the ability to lift up those heavier flavors and textures. For smoked or grilled salmon, try a prosecco. Because the acidity will pull the rich flavors of the salmon, it will also lift the heavier smokey flavors too. For a cream sauced salmon dish, grab some Pinot Grigio. This is a dry wine with a smooth finish and has the perfect amount of structure to complement but also add a textured layer to the creamy dish.
For baked or poached salmon, a classic dry wine with medium body and high acidity like a Cabernet Sauvignon from Sonoma would be an excellent pick. This is a medium bodied red wine with heavier levels of acidity but also a smooth, fruity finish making it a great option. Also, wine aged in barrels can have a real punch of flavor which would further enrich the already rich, natural fats and fresh flavors of the salmon.
Want to make your own wine to go with your next pairing?
Musto Wine Grape Company is here to help. Give us a call at (877) 812-1137 to speak with one of our Crush Crew members to get you on track to making the wine of your dreams!
How to Read a Wine Label – USA, French, and Italian
Not all wine labels are the same. Once you understand how to interpret what you see on the bottle’s label, the easier it will be to select a wine.
According to Wine Folly, wines are typically labeled by grape variety, region, or made-up name, in other words a name the winery has given to the wine. Examples of a made-up name might be “Crush” or “Apothic Red” for instance.
Grape Variety Labeling
Every country has their own minimum requirements for the percentage of a variety of wine in their bottles so you may not be getting a 100% bottle of any particular variety. Here are the requirements currently:
- 75% USA (except for Oregon which requires 90%)
- 80% Argentina
- 85% Italy, France, Germany, Austria, Portugal, New Zealand, South Africa, Australia, United Kingdom
Grape Region Labeling
When a wine is labeled by its region this means by the terrior it was grown in, such as Rioja, Bordeaux, Chianti, Chablis or Sancerre. Usually the labeling by region applies to wine from old world countries such as France, Portugal, Spain, and Italy. The reason for this is due to how the varieties of wine were grown together in vineyards which then were used to blend together to make the wine.
Some Wines are Labeled by Name
Typically when a wine is named in a unique way it is made up or thought up by the winery itself and may be an unusual blend that the wine producer invented. Often times these wines do not fit into the rules of a region and to learn more about this wine blend you will need to visit the winery’s website to get the specifics.
These general things to look for will hopefully help you to begin to see the wine bottles you are buying a little more closely and take into consideration details you may have overlooked in the past. And, as always, if you have any questions, don’t hesitate to ask us. We are here to help.
How to Read a California Wine Label
Things to look for when reading a California wine label:
- The top of the label will list the winery or producer of that wine
- The next thing will be listed is the name of the wine, often times a name that is made up to help you remember the wine or have it stand out
- The year or vintage the wine was produced
- Then if there is a special designation for this wine, it will list it here, such as Estate which means that 100% of the grapes were grown, crushed, fermented and bottled on the property
- Next is the vineyard and only appears if 95% of the grapes came from a single vineyard
- Then you’ll see the wine type such as Cabernet Sauvignon
- The last two items typically on a California wine label are the appellation or region where the grapes came from (it has to be 85% of the grapes have to come from that region) example, Napa Valley, and the alcohol level such as 14.5%. Alcohol levels percentages can vary within as much as 1.5%
Hopefully this information will help you the next time you are reaching for a bottle of California wine for your enjoyment. As always, reach out to us if you have any further questions as we are eager to help you on your journey to understand and appreciate wine.
Sources: 1, 2
How to Read a French Wine Label
One thing to note about wine labels on French wine is they are categorized by region vs. grape variety. What you will need to pay close attention to when you first look at the label is the name of the region where the wine originates.
French wine has 3 primary classification tiers are:
- AOP (Appellation d’Origine Protégée)
- IGP (Indication Geographique Protégée) VDP (Vin de Pays)
- Vin de France
AOP = French wine from a regulated region with its own rules for the grapes, conditions and quality of those grapes, think Bordeaux. Translated to English it means Protected Destination of Origin. Generally speaking, the more specific the region is, the higher the rank in the wine.
IGP or VDP = A larger area with less regulations than a wine from the AOP. For reference, IGP is the same as PGI (Protected Geographical Indication).
Vin de France = Wine can originate from anywhere in France or be a blend of regions. Often, wines that are of this classification are labeled by grape variety.
Simply put here are some items you will find on a French wine label:
- The label of how the wine is classified – example; winery’s best wine
- Information on bottling such as bottled at the winery
- Winery name or address
- The wine appellation (region where grapes are from in this wine)
- The year it was made (vintage)
- Owner of the winery
- Alcohol content and volume
- Producer of wine
We hope this information will help you to have a better understanding of what to look for and some terminology to help you determine what you are purchasing when selecting a French wine.
Sources: 1, 2
How to Read an Italian Wine Label
Here is some information to help you when reading an Italian wine label.
Wines from Italy are labeled in one of three ways:
- Variety as in “Montepulciano d’Abruzzo” or “Sagrantino di Montefalco”
- Region or sub-region, such as “Chianti”
- Name such as “Sassicaia” (sass-ah-ki-yah)
At first glance, you will look to see what the name of the wine is, what region it’s from such as Tuscany, as well as the classification and producer.
Variety
To make it easy, most of the time, if you see a di or a d’ it is probably a grape. Since there are more than 350 official grape varieties in Italy it’s hard to know all of them.
Region
A classification will be listed after the region’s name on an Italian wine label. This means if the wine is Chianti, for instance, after the word Chianti you will see the region or sub-region listed right next to it.
Name
A good reminder to know if an Italian wine is labeled by its name is that the name is never next to the wine classification. This is usually due to producers of that wine using both Italian and non-Italian origin grapes in that wine.
Categories of Italian Wine
- Vino da Tavola (VdT) – generic table wine; no specifications required
- Vino a Indicazione Geografica (IGT) – accommodates growers with more flexibility; higher quality than VdT category wine
- Vino a Denominazione di Origine Controllata (DOC)
- Vino a Denominazione di Origine Controllata e Garantita (DOCG)
The two you may see most often are DOC or DOCG. To put it simply, DOC means controlled area of designation and DOCG, controlled area of designation, guaranteed. DOC wines are specific to an area they are grown in and follow certain standards. DOCG wines follow more stringent standards. DOCG wines have a paper band along the neck of a bottle with a serial number for authenticity; some DOC wines have this paper band as well.
Hopefully this helps you feel more prepared when you head to the wine shop to pick out an Italian wine. If you need more clarification, please let us know. We’re here to help you.





Recent Comments