Uncorking Joy: A Beginner’s Guide to Making Wine at Home from Juice
There’s a certain magic in crafting your own wine at home, and it all starts with a humble bucket of juice. Whether you’re a curious DIY novice or a seasoned winemaker, making wine from juice is an accessible and enjoyable venture. Join us on a journey to uncork the secrets of home winemaking and savor the fruits of your labor.
Gather Your Supplies:
Before you embark on your winemaking adventure, gather the essential supplies.
- A food-grade fermentation vessel
- Carboy (glass or PET, can be used for fermentation and storage)
- Demijohn (glass, can be used for fermentation and storage)
- Variable Capacity Tank (stainless steel, can be used for fermentation and storage)
- Food Grade Fermentation Tub (for fermentation only)
- An Airlock and Bung that fits your fermentation and/or storage vessel
- A siphon tube (racking and bottling)
- Fermentation Supplies:
- Wine yeast
- Nutrients
- Sacrificial Tannins
- Malolactic Bacteria and Nutrients (if making a red wine or chardonnay)
- AllGrape pack (if making a red and want to add more body and color to your wine) – for more information click here.
- Chemicals and Agents:
- Potassium Metabisulfite (for sanitizing equipment and for the preservation of wine)
- B-Brite (for cleaning)
- Juice
Choosing the Right Juice:
The beauty of making wine from juice lies in the variety of flavors you can explore. Select a high-quality juice. There are juices that are straight from the pressed grape skins, and others that are pre-balanced and have extra nutrients and tannins to help create a easy to ferment but delicious product.
Types of juices:
Fresh Juices:
Our fresh juices are from the grapes that are crushed, destemmed, and pressed right into the pails. For white wine, this is as if you were crushing and pressing yourself. For red wine the grapes are run through a heat or “hot” press to extract the color. Once these pails come up to temperature they can kick off because of the native yeast from the original grapes, or you can kill the native yeast and pitch your own yeast to ensure a more successful fermentation. Either way you are working with the fresh juice, not from concentrate. A delicious wine that can be on your table soon!
Fresco Juices:
Mondiale Fresco is proud to be the only product to offer home winemakers their own vineyard in one unique package. Each pail of juice is pre-balanced and adjusted to ensure you have the best winemaking success possible. Just warm up the juice to fermentation temperature and watch it go. For more information on our Fresco Juices click here.
So What is the difference between Fresh and Fresco Juices?
The Fresh Juices are the straight from the press. The Fresco juices are straight from the press, but pre-balanced and have a few additions made to them to make fermentation easier on the winemaker.
Sterile Juices:
Made from 100% pure grape must. The Mosti Mondiale All Juice Sterile Juice Pails yields wine of unmatched structure and integrity. This juice can be shipped via UPS or Fedex. It has similar steps to a wine kit, however it is made from fresh grape must and not concentrate. Expect to get a more vibrant and complex product from our sterile juices versus a wine kit.
Starting the Fermentation:
- Choose a juice variety that speaks to you.
- Come to Musto Wine Grape and pick up your pail of juice.
- Bring it home, pop open that lid, and add 1/4 tsp potassium metabisulfite to it. Add pectic enzyme if you’re going to (5 drops per gallon of juice). Give it a stir.
- Allow it to come up to room temperature – we’re talking 60 degrees or so.
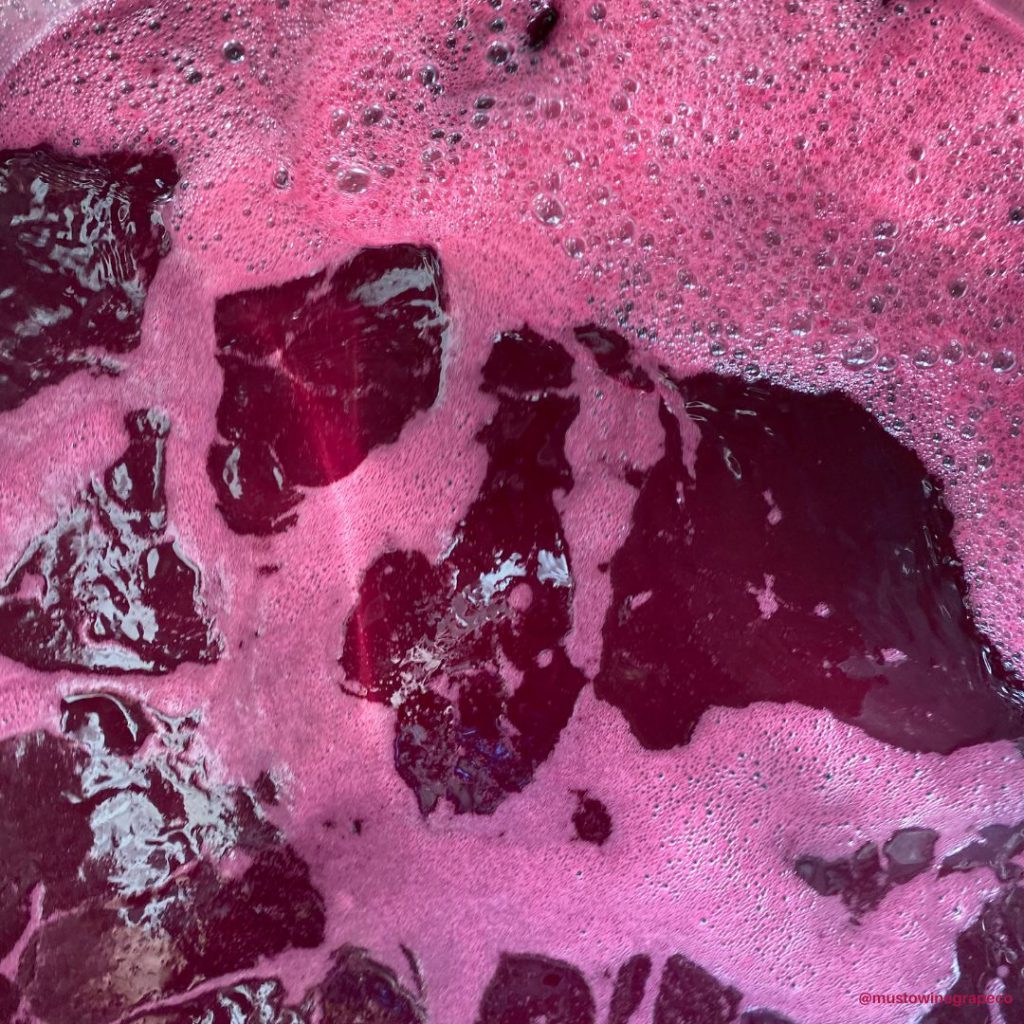
- Choose your fermentation vessel: will you keep it in pails or ferment it in a carboy or demijohn? Make sure everything is clean and sanitized. *Be sure there is enough room to account for fermentation foaming*
- If you are going to add fermentation tannins or additives (like oak dust, Booster Rouge, Booster Blanc) you can add that now. *Note: do not add tannins such as FT Rouge within 8 hours of adding enzyme*
- Pitch the yeast once the temperature has reached at least 60F. Yeast strain choices will vary depending on the juice you choose – ask a winemaker at Musto Wine Grape for a strain recommendation for the varietal you’re making. Follow the yeast starter directions to the T! Be very careful of temperatures, never adding yeast if there is more than a 18 degree difference between the yeast starter liquid and the juice.
- Carefully monitor the fermentation by checking Brix levels daily. Add yeast nutrients as needed if you choose to do so.
- If you are adding malolactic cultures to your wine, you may also choose to do this at 1/3 Brix depletion. If using a malolactic nutrient (Opti-Malo Plus) with the bacterial culture, hydrate the nutrient in a separate container from the bacteria and add to the must directly before the addition of the bacteria. Follow all directions on the bacteria and nutrient packets explicitly.
- When the fermentation is complete, rack off the lees and continue aging. Many wines are aged with oak – if you choose to do this, you can do so in oak barrels or with oak alternatives (such as chips or staves).
- For more detailed information or is if you have any questions, email sales@juicegrape.com to speak to a MWG winemaker.
Patience is a Virtue:
Fermentation is a magical process that transforms humble juice into wine. Allow the mixture to ferment for several weeks, checking the airlock regularly. Once the bubbling slows down, the primary fermentation is complete. Rack the wine into a clean vessel, leaving sediment behind.
Keep Good Notes:
Keep track of your starting pre-fermentation numbers, addition dates and amounts, SO2 levels, racking days, and so on. The better the notes you take, the better you can re-create your masterpiece from year to year!
Aging Gracefully:
Transfer your wine to a secondary fermentation vessel for additional aging. This allows the flavors to mature and the wine to clarify. The length of ageing depends on personal preference and the type of wine you’re making. Some wines benefit from months of aging, while others are best enjoyed when young. For more details on ageing your wine click here.
Bottling and Enjoying:
Once your wine has matured to your liking, it’s time to bottle. Use a siphon tube to transfer the wine into clean, sanitized bottles, leaving sediment behind. Cork the bottles and store them upright for a few days before laying them on their sides for long-term storage. Now, you’re ready to uncork and savor the fruits of your labor. For more information on bottling your wine click here.
Making wine at home from juice is a delightful blend of science, art, and patience. Whether you’re a weekend hobbyist or an aspiring vintner, this simple guide is your passport to a world of homemade delights. So, raise a glass to your newfound winemaking skills and the joy of crafting something truly special from the comfort of your own home.
We hope you have found some winemaking inspiration in this article. If you have any questions or would like to discuss making an order, please contact us at 877-812-1137 or via sales@juicegrape.com. Cheers!
Hurry! Get Your Spring Orders In Before It’s Too Late!
Dear Valued Winemakers,
We hope this post finds you well and excited about the fantastic Spring products we have in store for you! As we gear up for another exciting week, we wanted to remind you that time is ticking, and we don’t want you to miss out on the opportunity to get your hands on our amazing Spring offerings.
From South Africa:
Juice Varieties: Shiraz, Merlot, Pinotage, Cabernet Sauvignon, Semillon, Chardonnay, Pinot Grigio, Chenin Blanc, Sauvignon Blanc
Fresco Juice Varieties: Cabernet Sauvignon, Pinotage, Shiraz, Sauvignon Blanc
Arrivals: Last week in April
From Chile:
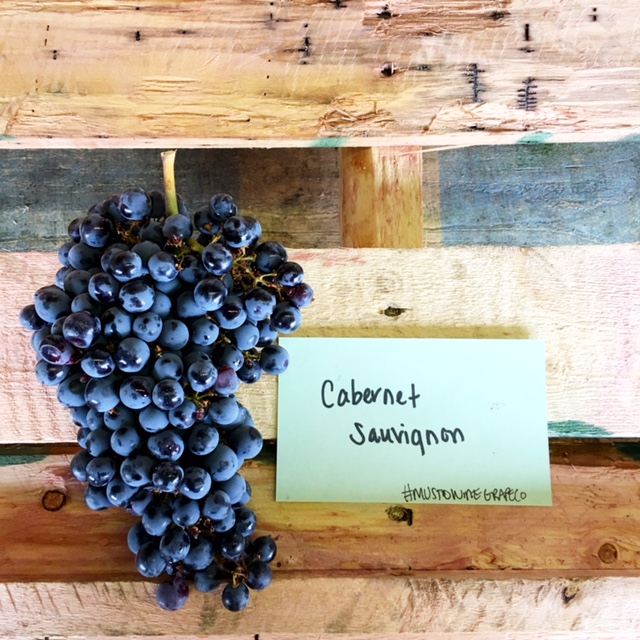
Grapes Varieties: Carmenere, Cabernet Sauvignon, Cabernet Franc, Malbec, Merlot, Petite Verdot, Pinot Noir, Syrah, Chardonnay, Pinot Grigio, Sauvignon Blanc, and Viognier
Juice Varieties: Carmenere, Cabernet Sauvignon, Cabernet Franc, Cabernet/Merlot Blend, Malbec, Merlot, Petite Verdot, Pinot Noir, Syrah, Chardonnay, Pinot Grigio, Sauvignon Blanc, and Viognier.
Fresco Juice Varieties: Cabernet Sauvignon, Carmenere, Malbec, Merlot, Chardonnay, Chardonnay-Semillon, Sauvignon Blanc, Viognier
Arrivals: First week in May
Whether you’re looking for that perfect blending wine, treating yourself to something special, or simply stocking up on your favorite variety, now is the time to act! Our boats will be arriving soon and they are brimming with top-quality products waiting to be discovered. We wouldn’t want you to miss out on the fun of Spring winemaking. Don’t let procrastination steal your joy – place your order today and let the anticipation begin!
So, what are you waiting for? Join the excitement, and let’s make this Spring winemaking experience one to remember!
Thank you for choosing Musto Wine Grape Co. We truly appreciate your continued support.
Happy Winemaking!
Warmest Regards,
The Musto Crush Crew
877-812-1137
How to Make Wine from Chilean Winemaking Juice
So how can you start making your own wine from Chilean juices? Follow these 10 Easy Steps (for fresh juice) and you’ll be on your way!
- Choose a Chilean variety that speaks to you.
- Come to Musto Wine Grape and pick up your pail of juice.
- Bring it home, pop open that lid, and add 1/4 tsp potassium metabisulfite to it. Add pectic enzyme if you’re going to (5 drops per gallon of juice). Give it a stir.
- Allow it to come up to room temperature – we’re talking 60 degrees or so.
- Choose your fermentation vessel: will you keep it in pails or ferment in a carboy or demijohn? Make sure everything is clean and sanitized. *Be sure there is enough room to account for fermentation foaming*
- If you are going to add fermentation tannins or additives (like oak dust, Booster Rouge, Booster Blanc) you can add that now. *Note: do not add tannins such as FT Rouge within 8 hours of adding enzyme*
- Pitch the yeast once the temperature has reached at least 60F. Yeast strain choices will vary depending on the juice you choose – ask a winemaker at Musto Wine Grape for a strain recommendation for the varietal you’re making. Follow the yeast starter directions explicitly. Be very careful of temperatures, never adding yeast if there is more than a 18 degree difference between the yeast starter liquid and the juice.
- Carefully monitor the fermentation by checking Brix levels daily. Add yeast nutrients as needed if you choose to do so.
- If you are adding malolactic cultures to your wine, you may also chose to do this at 1/3 Brix depletion. If using a malolactic nutrient (Opti-Malo Plus) with the bacterial culture, hydrate the nutrient in a separate container from the bacteria and add to the must directly before the addition of the bacteria. Follow all directions on the bacteria and nutrient packets explicitly.
- When the fermentation is complete, rack off the lees and continue aging. Many Chilean wines are aged with oak – if you choose to do this, you can do so in oak barrels or with oak alternatives (such as chips or staves).
Want to read more about making wine from Fresh Juice? Check out this blog post.
Can I make my own? Musto Wine Grape Company is here to help you make the wine of your dreams! The Spring Chilean winemaking season starts in late April, early May. Secure your winemaking grapes or juices and give us a call at (877) 812-1137 to speak with one of our Musto Crush Crew members. We can get you set up with everything you need and provide customer support along the way to ensure your success!
Adding pectic enzyme to your wine
Pectic enzyme at a glance
- AKA pectinase
- A protein that breaks down pectin within fruit
- Added to juice or must pre-fermentation
- No notable downside of using this additive
- Available in powder or liquid form
Right… but why is it important?
- Using pectic enzyme increases juice, tannin, flavor, and color extraction
- Aids in clearing wine by eliminating potential “pectic haze”
Who should use pectic enzyme?
If you’re making wine of any kind, whether from grapes or any other fruit, adding pectic enzyme will be a positive influence on the end result. Both home and commercial winemakers use pectic enzyme as a means of extracting the most they possibly can from their fruit.
When should I add it?
Since it works more slowly after fermentation has completed, add it beforehand. Add at the beginning of fermentation after temperatures have begun creeping up. It works best at around 80F; lower temperatures.
How much do I add?
For white juice/wine, 1-2g/hL. For red must/wine, 2-4g/hL. It comes in either powder or liquid form; depending on the producer the recommended dosage may be different so always be sure to double check the label before making an add.
What happens if I don’t add it?
Simply put, there’s no reason to not add it. Not adding it runs you the risk of having a pectic haze develop. This can be very tricky if not borderline impossible to fix later on; adding pectinase post-fermentation will also not work as well, if at all.
OK, I think I’ve got it now. But can we go over this one more time?
Adding enzyme post-crush/pre-fermentation increases free run juice, color and tannin extraction in both reds and whites, increases filterability and clarification, and lowers chances of pectic haze development. There are many options you can choose from for your pectic enzyme needs, either powder or liquid form.
LODI RULES in Sustainable Farming
So, you want to learn more about Lodi wine region?
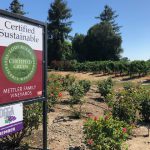
Are you are interested in California wine? If so, chances are you’ve been on the up and up with what’s happening in Lodi. A fantastic climate, strong traditional roots, and multiple generations of winegrowers are paving the way for sustainability measures. This has led to the creation of the LODI RULES seal, a green stamp appearing on the back labels of certified wines much as you would find a “USDA Organic” sticker. Click here to see which of our Lodi wine grapes are LODI RULES certified –> LODI RULES – Musto Wine Grape
As California’s original sustainable viticulture certification program, this seal is representative of a producer’s commitment to stewardship and respect for the land. It is a symbol of transparency in all things related to sustainable viticulture. The certification does not approve only one aspect of winemaking. It looks at the whole of the process, from farm to vine to bottle. While over 150 wines bear the LODI RULES seal, not just any winery can use this seal on their labels. The wines must have 85% certified sustainable grapes and be able to prove this. This then gets confirmed through third party accreditation and auditing.
There are two layers to the accreditation
1. Wineries must agree to “The Standards” of the certification, which include 100+ sustainability measures, in addition to following a unique pesticide risk model. The Standards are comprised of sustainability related to
- business
- human resources
- ecosystems
- soil
- water
- pests
2. Wineries must follow the Pesticide Environmental Assessment System (PEAS), used to gain an understanding of the impact of pesticide use within the vineyard. This is then used to generate a quantifiable environmental impact unit through which the effects and range of pesticide application can best be understood within the local ecosystem.
The Lodi AVA is setting a fantastic example by supporting the land that retains some of this country’s oldest vines. Lodi Rules is imparting a new standard in its meticulous regulations, leading other wine regions following suit after realizing how successful this certification has been for the region. Keep up to date with the progressive measures this winemaking region is taking to best care for their land, and be sure to look for the LODI RULES label on your next Lodi bottle. And this fall, be sure to find your very own Lodi wine grapes here at Musto Wine Grape Co.
Wine Class Schedule
We have a bunch of classes coming up! Make sure to RSVP via Facebook or Sign Up via the website!
Saturday September 23rd: Common Winemaking Mistakes (FREE) at 10:00AM – RSVP by clicking HERE
Saturday September 30th: Winemaking 201 – Winemaker Lab Skills ($75.00) at 10:00AM – sign up by clicking HERE
Saturday October 7th: Winemaker Bootcamp ($150.00) at 9:00AM – sign up by clicking HERE
The Winemaker’s Think Tank: Vol 25 – Why is my wine evaporating?
What’s the Winemaker’s Think Tank?
Every Thursday we will post about a few frequently asked questions that our winemaker has answered. If you have a winemaking question you would like to have answered, please email us at support@juicegrape.com and we will try to get into next week’s post. Cheers! 🙂
Why is my wine evaporating?
Just like water or any other liquid, with prolonged exposure to air, wine can evaporate. When aging wine in an enclosed container such as a tank, carboy, or demijohn, the container should have an airtight seal via an inflatable gasket or an airlock and bung. This will help prevent against oxidation and will reduce the amount of evaporation dramatically. If you still see some evaporation happening in one of these closed containers, evaluate your bungs and seals as they may not be working properly.
The main source of evaporation in winemaking is through barrel aging. Barrels are a porous environment that allows the wine to “breathe” over time. This “breathing” process is essentially evaporation. The wine is exposed to air through the porous staves and small portions of the wine evaporate into the atmosphere. This has positive effects on the wine as it creates a creamier mouthfeel, can reduce the perception of acidity, and imparts oak flavor. The barrel must be filled monthly with additional wine to reduce the head space and replace the evaporated product. This will prevent the wine in the barrel from oxidizing. While the breathing process may be a source of frustration, as you witness your wine evaporating into thin air, it will help you to create a fuller, heavier, more lush wine.
We hope this information helps with your winemaking. If you have any follow up questions or winemaking questions in general, please email us at support@juicegrape.com.
The Winemaker’s Think Tank: Vol 23 – How do I test for Acid?
What’s the Winemaker’s Think Tank?
Every Thursday we will post about a few frequently asked questions that our winemaker has answered. If you have a winemaking question you would like to have answered, please email us at support@juicegrape.com and we will try to get into next week’s post. Cheers! 🙂
How do I test for Acid?
When testing for acidity in wine, you are looking for the Total Acidity value, or the amount of acids in grams per liter of wine. While this may sound complex, it will help you in achieving a proper balanced flavor in your end product. You will need a few basic lab supplies: a test tube, a small 10ml graduated syringe, phenalthalein, sodium hydroxide. Draw a 15ml sample of the wine to be tested into the test tube. Add three drops of the phenalthalein. Swirl the drops around in the wine to mix it in thoroughly. (Note: When using sodium hydroxide, be very careful. It is a strong base that can cause burns. We suggest wearing eye and skin protection.) Using the 10 ml graduated syringe, slowly drop in the sodium hydroxide by .5ml at a time. Every drop, swirl the test tube contents to mix and observe any color reactions. Upon adding the drop, you will see an immediate color change, that will then dissipate. For white wines, you will observe a pink color and for red wines you will observe a grey color. Keep repeating the process of adding a drop, swirling and observing until the color change is permanent. The amount of sodium hydroxide used, when the color change is permanent, will give you the Total Acidity. If 6ml of Sodium Hydroxide are used, then the wine contains .6% or 6g/L of TA.
We hope this information helps with your winemaking. If you have any follow up questions or winemaking questions in general, please email us at support@juicegrape.com.






Recent Comments