


The Winemaker’s Think Tank: Vol 25 – Why is my wine evaporating?

What’s the Winemaker’s Think Tank?
Every Thursday we will post about a few frequently asked questions that our winemaker has answered. If you have a winemaking question you would like to have answered, please email us at support@juicegrape.com and we will try to get into next week’s post. Cheers! 🙂
Why is my wine evaporating?
Just like water or any other liquid, with prolonged exposure to air, wine can evaporate. When aging wine in an enclosed container such as a tank, carboy, or demijohn, the container should have an airtight seal via an inflatable gasket or an airlock and bung. This will help prevent against oxidation and will reduce the amount of evaporation dramatically. If you still see some evaporation happening in one of these closed containers, evaluate your bungs and seals as they may not be working properly.
The main source of evaporation in winemaking is through barrel aging. Barrels are a porous environment that allows the wine to “breathe” over time. This “breathing” process is essentially evaporation. The wine is exposed to air through the porous staves and small portions of the wine evaporate into the atmosphere. This has positive effects on the wine as it creates a creamier mouthfeel, can reduce the perception of acidity, and imparts oak flavor. The barrel must be filled monthly with additional wine to reduce the head space and replace the evaporated product. This will prevent the wine in the barrel from oxidizing. While the breathing process may be a source of frustration, as you witness your wine evaporating into thin air, it will help you to create a fuller, heavier, more lush wine.
We hope this information helps with your winemaking. If you have any follow up questions or winemaking questions in general, please email us at support@juicegrape.com.
The Winemaker’s Think Tank: Vol 22 – Seven Most Common Winemaking Mistakes

What’s the Winemaker’s Think Tank?
Every Thursday we will post about a few frequently asked questions that our winemaker has answered. If you have a winemaking question you would like to have answered, please email us at support@juicegrape.com and we will try to get into next week’s post. Cheers! 🙂
Seven Most Common Winemaking Mistakes
1. Headspace – When making wine, it is imperative that any vessel being used is filled completely. Filling carboys, demijohns, or fixed capacity tanks to the highest level possible, minimizing any air space it very important to prevent oxidation. If using a barrel, the barrel will allow for some evaporation as the wine ages. It is critical to top of the barrel with additional wine as this will prevent the oxidation of the wine in the barrel. Barrels do promote a small amount of oxidation, referred to as micro-oxidation, which is helpful at creating a creamier mouthfeel and promoting the expression of fruit flavors and aromas. If a large headspace develops due to evaporation, this can cause severe oxidation in the wine.
2. Degassing– Carbon dioxide gas is a byproduct of the yeast during alcoholic fermentation. Often times the bubbles of SO₂ are so small, they get trapped by the weight of the wine. If the wine is not purposefully degassed, the bubbles may come out of solution in the bottle, resulting in a fizzy wine for the drinker. The degassing process is relatively simple. One may purchase a degassing tool that is attached to a cordless power drill and stirs the wine at a high speed, agitating it and releasing the trapped bubbles. The winemaker can also splash the wine while racking, agitating the wine and releasing the trapped bubbles of gas. As long as the wine has been stirred vigorously, the gas should dislodge and escape, ensuring that it will not be fizzy in the bottle.
3. Sanitation – This may be the most important step in all of winemaking. While cleaning and sanitizing may be a tedious and time consuming process, it is critical to ensure a healthy, long lasting wine. There are an assortment of cleaning agents (B-Brite, Soda Ash, Sterox) that are excellent at cleaning wine making equipment and removing stains. These products need to be rinsed off thoroughly and should be thought of as “soap” rather than sanitizer. After the equipment has been washed and well rinsed, it must then be sanitized with potassium metabisulfite. A solution of 2 ounces of sulfite powder, dissolved into one gallon of water, will yield a strong sanitizing solution that will kill off any microbes that could spoil the wine. This will ensure the longevity of the wine in the aging vessel or bottle.
4. Bench Trials – When using a fining agent or oak additive to your wine, it is very important to first conduct a small trial of the product, before adding it to the entire batch. Assess the addition rate for the compound you would like to add to the wine. Using that as a guide for your ratio, pull out a small amount of the wine and add the compound, making sure that the ratio is accurate for that size sample. Allow the sample to sit for a few days and try it. If the results are what you were striving for, then you can apply the compound to the entire batch. This will help save you time and money if you are not satisfied with the results of the bench trial and will help you most effectively improve your wine.
5. Sulfites – Sulfites are a naturally occurring compound within wine. While sulfites do exist naturally, they are at a low level, not sufficient for helping to preserve the wine as an antioxidant. Additional potassium metabisulfite must be added to help prevent oxidation as well as prevent any advantageous microbes from growing in the wine. If the winemaker neglects to add sulfites to the wine, it will easily oxidize and could also be susceptible to bacterial contamination.
6. Record keeping – Often times with winemaking, “the devil is in the details”. The smallest change in yeast strain, nutrition, and grape acid and sugar content, can have dramatic effects on the resulting wine. The best winemakers, on the home or professional level, take meticulous notes on all of their activities and observations. By keeping track of each step of their process, they are able to reproduce their very best wines and also do research on what went wrong with their failures.
7. Timing – It is said that timing is everything. This is particularly true for winemaking. Many folks assume after fermentation, they can just leave the wine alone to age and it will come out beautifully if untouched. This is not the case. The wine needs to be maintained with racking and sulfites to ensure its longevity. Sometimes in winemaking, a fault may develop, Rather than researching a way to fix the fault or seek some professional advice, some winemakers elect to do nothing and hope the fault goes away. Often times, these faults progress and get worse. If caught early, they can be easier to fix.
We hope this information helps with your winemaking. If you have any follow up questions or winemaking questions in general, please email us at support@juicegrape.com.
Making Wine from a 1 Gallon Wine Kit By Frank Renaldi


I have never made a gallon of wine in my life; I mean not that small a batch. I am used to making much more wine at a time, from a few gallons to 4000 gallons at a winery. I have made wine from mostly fresh grapes, white juice and even 6 gallon kits. In fact I have made over 50 kits in my days, but I had to think twice before I made a ONE gallon kit.
Well, I did it and guess what? It was fun! I made a one gallon kit from Mosti Mondiale Vinifera Noble. I tried the Malbec, since I just made 45 gallons from Chilean grapes. I thought it would be a good comparison on the nose and the taste. Since I made kits before, I was familiar with the process. And this small kit was no different – It was the same process you have for the standard six gallon kits.
The biggest challenge I had to deal with was the smaller fermentation and storage vessels required for one gallon of wine. I started by pouring the grape juice in a one gallon bottle and then topping it with water to measure out the correct volume. You can buy a two gallon fermentation pail, but I thought I would try using one of my 3 gallon carboys with an air trap. So I poured the gallon of adjusted wine into the 3 gallon carboy and then poured the yeast into the opening in the carboy. It worked fine.
In order to test the specific gravity of the wine during fermentation, I just poured some of the wine into a hydrometer jar. After taking the measurement, I poured the wine back into the carboy to continue fermenting. There was no wasting of wine on this batch. When I had to stir the wine, I simply shook the entire carboy.
When fermentation was complete, I racked the wine into a small pail. Then I added in the packets of sulfite, sorbate and clarifying agents supplied with the kit. Then this finished wine was poured into a gallon jug to settle for further rackings and aging. Always remember to top off the storage vessel to avoid oxidation.
I think the biggest challenge was the de-gassing of the wine. Normally, with a six gallon kit we whip the wine with a degassing wand on the end on a drill. We need to get rid of the gas trapped in the wine for clarifying and for a still wine (no fizz). With this small batch, there really is not enough wine to whip. I decided to use a vacuum pump to degas the wine, which I have also used on larger batches of kit wines. A small vacuum pump is easy to use and economical.
So, my wine is aging and smells wonderful. I will get five 750ml bottles of wine from this kit. So why make such a small batch? It is a great way to learn how to make wine as a beginning wine maker. The cost is minimal, but the experience is great. You can make 2, 3, or 4 different grape varietals and blend them when they are finished. Once you get your feet wet with these starter kits, you can move onto six gallon kits which yield 30 bottles – now we are talking. Then you have the confidence to move up to juice and grapes. After that, there is no stopping you!
Have fun with this smaller kit. I did and had fun doing it!!
Frank Renaldi
The Winemaker’s Think Tank: Vol 21 – Do I need a barrel to make wine? Can I just use tanks/glass?

What’s the Winemaker’s Think Tank?
Every Thursday we will post about a few frequently asked questions that our winemaker has answered. If you have a winemaking question you would like to have answered, please email us at support@juicegrape.com and we will try to get into next week’s post. Cheers! 🙂
Do I need a barrel to make wine? Can I just use tanks/glass?
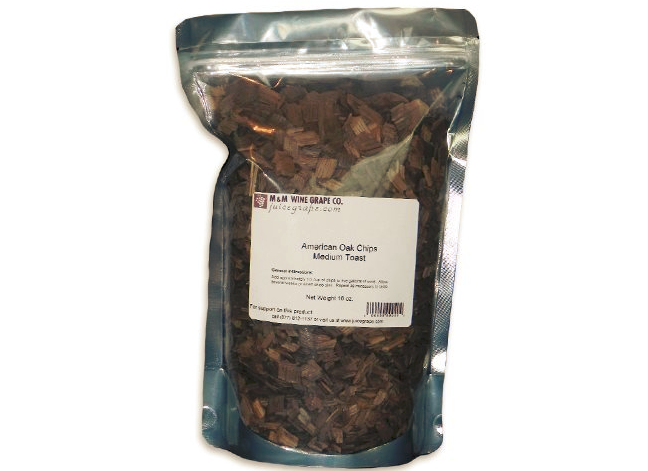
Most aspiring winemakers hold romantic visions of putting their wine in a barrel, tasting it periodically with loved ones, waiting until the magical moment it tastes perfect, and is ready to bottle. While there are benefits of barrel aging wines, it is not required to create a dry wine with oak flavors. Juice may be fermented in barrels, tanks, carboys, or pails. While the oak will add certain flavor characteristics and “sacrificial tannins” to the wine during fermentation, the winemaker can add oak dust, chips, or staves to create a similar effect. Furthermore, during the aging process, oak chips, spirals, staves, balls, cubes, etc. can be added to the wine to give it a pleasant oaked flavor. This is ideal for the home winemaker as it is more cost effective and often requires less time than traditional barrel aging. When wine is aged in a barrel, some of the wine evaporates out of the barrel, often referred to as the “angel’s share”. This results in a more concentrated, creamy mouthfeel as well as an oaked flavor. The wine within the barrel must be maintained as the evaporation will cause an air gap in the barrel (headspace), which can promote oxidation. Spare wine must be kept in a separate container to be used to top off the barrel to minimize this headspace. In summary, barrel can add a beautiful finesse and flavor to your homemade wine, but are not crucial to home winemaking success.
We hope this information helps with your winemaking. If you have any follow up questions or winemaking questions in general, please email us at support@juicegrape.com.
The Winemaker’s Think Tank: Vol 20 – When should I bottle?

What’s the Winemaker’s Think Tank?
Every Thursday we will post about a few frequently asked questions that our winemaker has answered. If you have a winemaking question you would like to have answered, please email us at support@juicegrape.com and we will try to get into next week’s post. Cheers! 🙂
When should I bottle?
The answer to this question can have many directions. The simple answer is: when the wine is ready. On average, white wines may be bottled 6-12 months after fermentation. Red wines benefit more from bulk aging, that is, aging all of that varietal together in a large vessel such as a tank or barrel or carboy, rather than in individual bottles. A red wine should bulk age for at least a year before bottling. Premium red wines age for at least 3 years in large vessels before bottling.
We hope this information helps with your winemaking. If you have any follow up questions or winemaking questions in general, please email us at support@juicegrape.com.
The Winemaker’s Think Tank: Vol 19 – Should I rinse my corks?

![]()
What’s the Winemaker’s Think Tank?
Every Thursday we will post about a few frequently asked questions that our winemaker has answered. If you have a winemaking question you would like to have answered, please email us at support@juicegrape.com and we will try to get into next week’s post. Cheers! 🙂
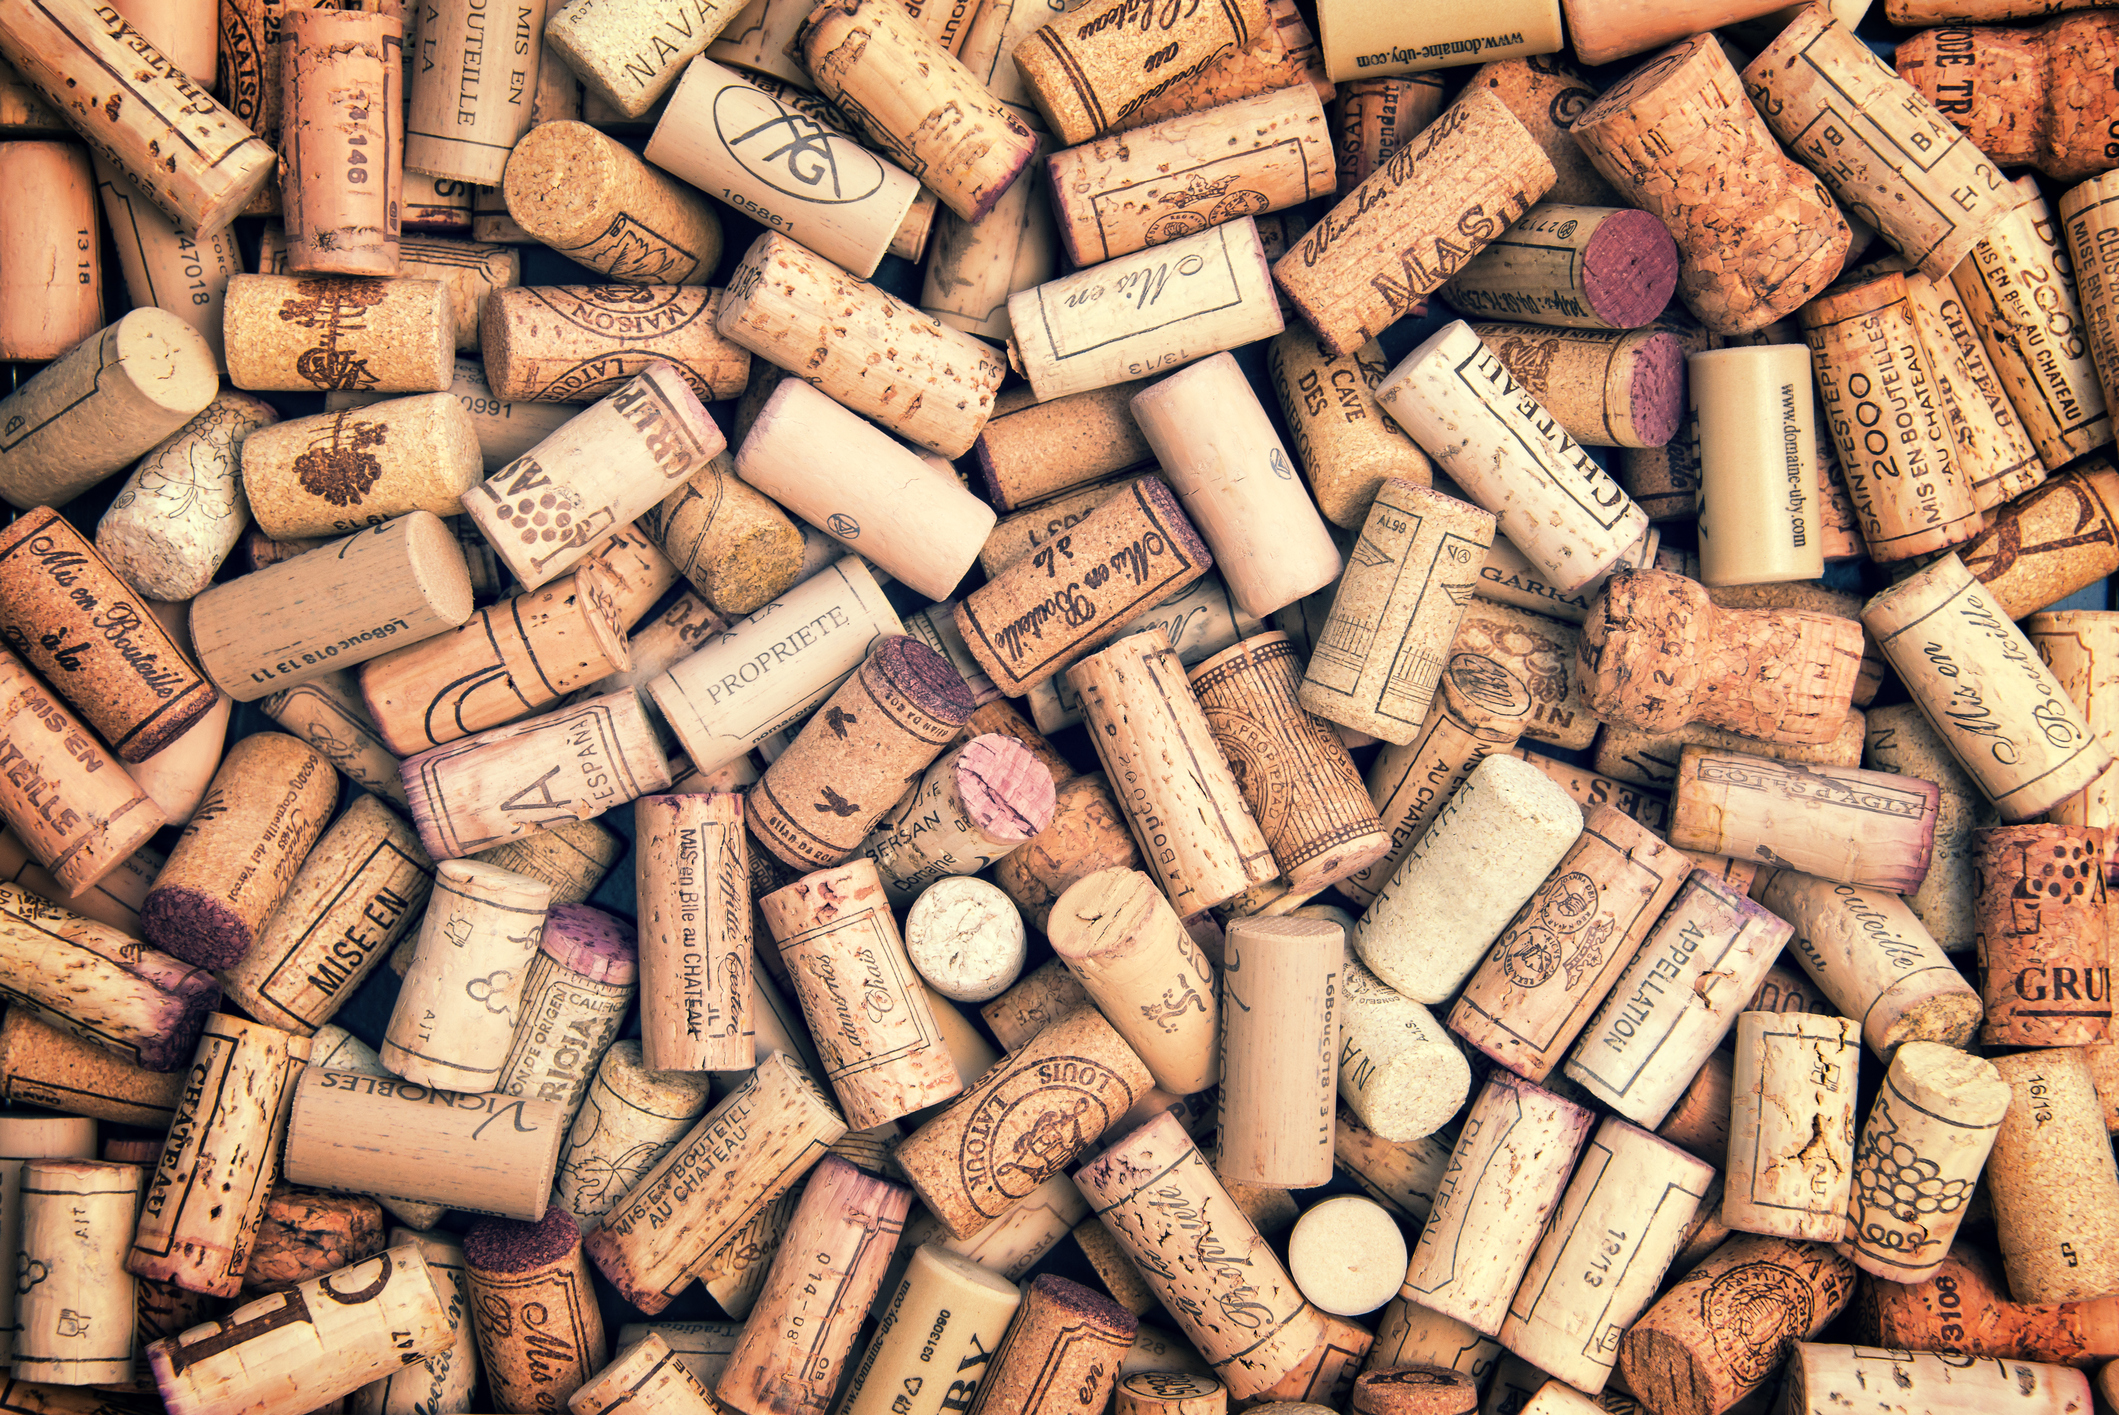
Should I rinse my corks?
Today, most manufactured corks are made in a sanitized environment and then packaged in vacuum sealed bags to ensure cleanliness. There is no need to boil, soak, or rinse the corks before use.
We hope this information helps with your winemaking. If you have any follow up questions or winemaking questions in general, please email us at support@juicegrape.com.
The Winemaker’s Think Tank: Vol 18 – Tips for Racking Your Wine

![]()
What’s the Winemaker’s Think Tank?
Every Thursday we will post about a few frequently asked questions that our winemaker has answered. If you have a winemaking question you would like to have answered, please email us at support@juicegrape.com and we will try to get into next week’s post. Cheers! 🙂
The Joys of Racking Wine….
Racking your wine is a necessary evil. We know it can be tedious, but it the end it is so worth it.
Things to keep in mind when racking:
• Cleanliness: We cannot express this enough. The cleaner your cellar, the less risk you have of spoilage, the better your wine will be. Aka SANITIZE EVERYTHING!! (however if doing MLF rinse with hot water as not to kill the ML bacteria) Use a solution of potassium metabisulfite dissolved in warm water. Add 2 tbsp to a 5 gallon bucket of water. Make sure that everything that will touch your wine (siphon, hosing, carboys, stirring rods) are all rinsed with this solution. Do not rinse it off with water, just shake off any excess droplets.
• Primary Racking: Rack after your primary alcoholic fermentation is complete. This protects your wine from any initial microbial fermentation issues. Getting the new wine off of the dead yeast cells in important for the health of your wine to prevent off aromas.
• Secondary Racking: Rack after the Malo-Lactic fermentation has finished. At the second racking you will want to rack your wine into an aging vessel. Whether that is a stainless steel tank or an oak barrel. Don’t forget to sulfite, unless you are doing MLF.
• Third and/or Fourth Racking is used more for clarification purposes. Solids and fining agents (if used) will fall out of suspension and form a layer on the bottom of your aging vessel. Racking every 2-3 months, will consistently clarify your wine.
• Using a pump makes life so much easier. You can pretty much sit back and relax with a glass of wine while your juice is being transferred. If you don’t have a pump the best way to rack is by using a siphon and the gravity method. Put the primary vessel up some place high (a table) and rack into your new vessel on a lower surface (floor).
We hope this information helps with your winemaking. If you have any follow up questions or winemaking questions in general, please email us at support@juicegrape.com.
Carmenere, Cabernet Sauvignon, and Malbec Numbers

Hello Winemakers!
We hope everything is fermenting along well! Below are some numbers were able to take on the grapes yesterday. Cheers and Happy Fermenting! 🙂
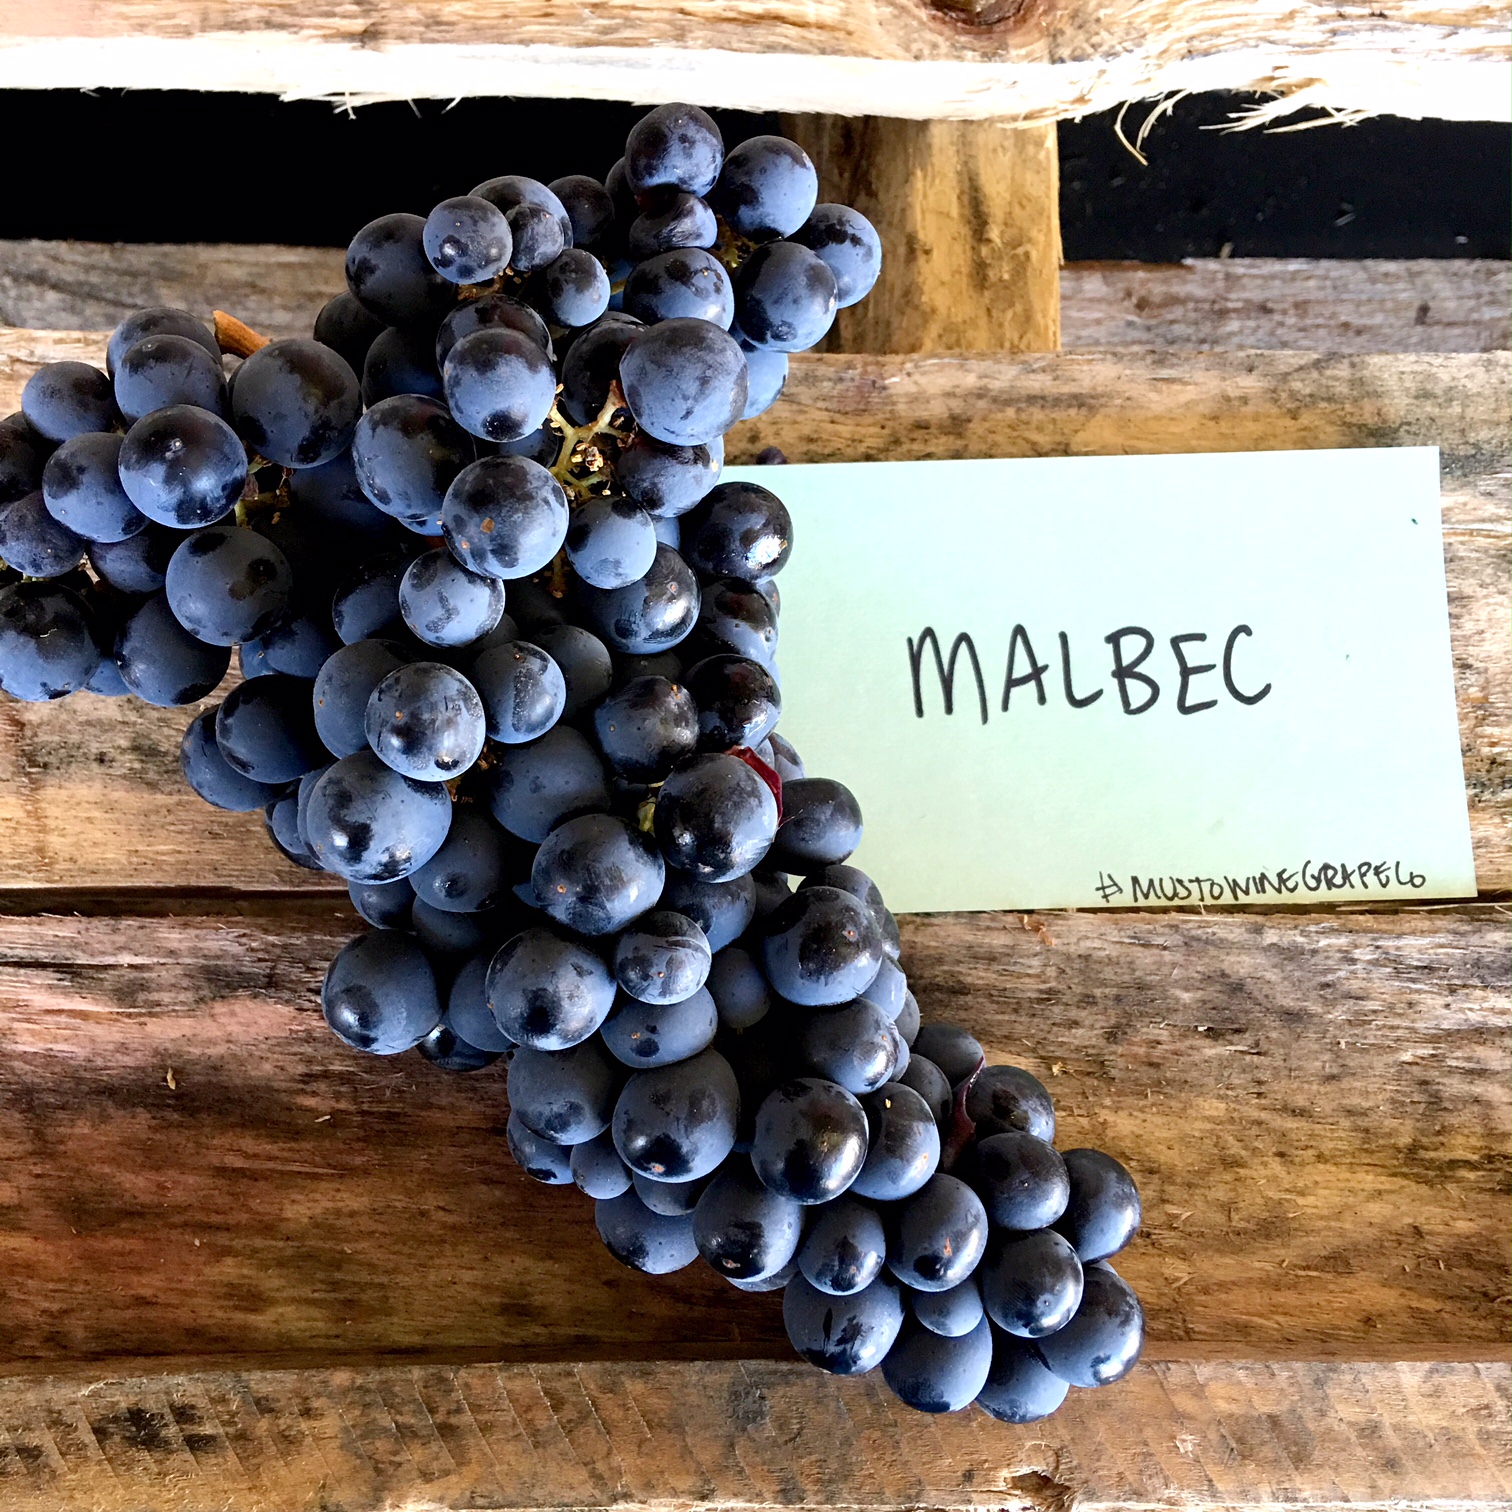
pH= 3.55, TA= 4.27, Brix 21.5

pH= 3.85, TA= 3.31, Brix =23.5
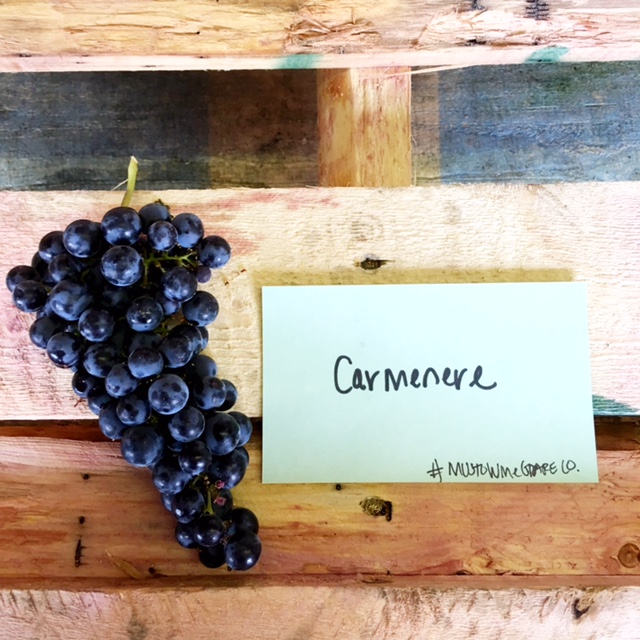
pH= 3.95, TA = 4.25, Brix = 23.2
The Winemaker’s Think Tank: Vol 15 – How to work with Frozen Must

![]()
What’s the Winemaker’s Think Tank?
Every Thursday we will post about a few frequently asked questions that our winemaker has answered. If you have a winemaking question you would like to have answered, please email us at support@juicegrape.com and we will try to get into next week’s post. Cheers! 🙂
Simplifying Your Life with Frozen Musts
Life gets hectic. We totally understand. As the Fall and Spring wine grape harvest seasons approach, not everyone can just suddenly stop their normal life and shift into winemaking mode. Kids, vacations, work, weather and a myriad of other obligations can impact the ability of a winemaker to start a particular year’s vintage. And let’s not forget about those grapes – unfortunately they don’t seem to care much about your schedule. They ripen and arrive when it’s convenient for them, not for us. Fortunately there is a way to work with grape varietals anytime you choose by using frozen must.
Frozen must is exactly what it sounds like – fresh grapes that have been crushed and destemmed on site into must and then immediately frozen. Working with frozen must is very similar to working with fresh grapes, but there are some differences that winemakers should be aware of. With frozen must there is no need to take your crusher/destemmer out of storage and lift those heavy boxes of grapes into the machine. This part of the process is done for you already. If you were working with fresh grapes, the resulting must would be adjusted and then the winemaker would start the fermentation process. Yet by freezing this must we are basically halting the winemaking process by putting this must into a deep freeze – then the winemaker can thaw the must and continue the process when it is convenient for them.
Besides the convenience of making wine around your schedule ( with less equipment and less preparation/cleanup), there is another helpful benefit when working with frozen red varietals – cold maceration! During the freezing and thawing process the prolonged skin contact at cooler temperatures can maximize color extraction. Additionally, the tannins extracted during this time are water soluble and will be softer than the harsher, alcohol soluble tannins imparted during primary/post fermentation maceration. Now that we have touched on the benefits of using frozen musts, let’s transition to working with it.
When you receive the pails/drums of frozen must, we need to get the must thawed and up to fermentation temperatures safely. All of our musts are sulfited to 50ppm – this will help to control any oxidation that may take place during the thawing process and also help to limit the formation of bacteria in the grapes. However it is still possible for some freezer-burned or moldy grapes to be present – remove any grapes that look questionable. Some winemakers like to slowly bring the must up to temperature over the course of several days, while some recommend getting to pitching temps as quickly as possible. A slow temperature rise will prolong cold maceration and its benefits, but remember that the must is susceptible to unwanted bacteria and other bugs until primary fermentation starts. We recommend keeping the pails at room temperature – they should thaw out in 2-3 days.
It is important to stir the must as it is thawing. During the freezing process it is common for the natural sugars and potassium bitartrates to settle at the bottom of the pail (very much like the frozen Italian ice cups you can buy in the supermarket. The best part is the bottom of the cup where all the sugary, sweet goodness has settled to). Stirring the must with a clean and sanitized utensil daily will help homogenize it so that it thaws evenly. Once the must is at pitching temperature, empty the pails into your primary fermenter and treat it just like you would freshly crushed-destemmed grapes. Remember to get all the juicy bits and tartaric crystals from the bottom of the pail! We recommend taking pH, TA, brix, and S02 readings and adjusting accordingly. These readings can vary based on the temperature of the must and how well it has homogenized during the thawing process, so it is best to wait until the grapes are at room temperature. While we will always recommend using commercial yeasts to help with a steady, clean fermentation, it is very important to use these types of yeasts when working with frozen musts.
So there you have it – using frozen must can simplify a winemaker’s life by making it easier and less hectic. Isn’t that what we all hope for during the harvest season?
(A big thanks goes out to Robert Herold for his original article Winemaking From Frozen Must which appeared in the December 2012 issue of Winemaker Magazine)
We hope this information helps with your winemaking. If you have any follow up questions or winemaking questions in general, please email us at support@juicegrape.com.
Notes from our Winemaker Frank Renaldi about the Chilean Sauvignon Blanc: Primary Fermentation

Notes from our Winemaker Frank Renaldi about the Chilean Sauvignon Blanc:
Primary Fermentation
“Wine fermenting for 7 days slow and steady. Down to 4 brix. Nice nose and color as we wind down. Wine did get near 65F. I wet a bed sheet twice a day with cold water and wrapped around stainless tank. This helped keep the temp at 60F – nice and cool for a white wine. Too hot and you will blow off the nose.”
Don’t forget to sign up for the Spring Bootcamp with winemaker Frank Renadli! Learn how to make great wine at home in just 5 weeks!
Recent Comments