


Numbers from Washington State as of 9/14/17


Numbers are of 9/14/17
Pinot – 22.5 Brix, 3.3 pH
Merlot – 22 Brix, 3.47 pH
Cab Sauv – 20 Brix, 3.4 pH
Cab Franc – 19 Brix, 3.42 pH
The Winemaker’s Think Tank: Vol 30 – How do I test for pH?

What’s the Winemaker’s Think Tank?
Every Thursday we will post about a few frequently asked questions that our winemaker has answered. If you have a winemaking question you would like to have answered, please email us at support@juicegrape.com and we will try to get into next week’s post. Cheers! 🙂

How do I test for pH?
Testing for pH is a reasonably simple process for your wine. Based on your budget, you can obtain a variety of pH measuring implements. There are pH test strips that will give you an approximate level of pH in your wine. They give a color reaction that when compared to a chart, indicates the pH of the wine. The next level up in sophistication as well as price is a basic pH meter. Musto wine grape offers a simple handheld pH meter that can be calibrated in a matter of minutes and gives precise and accurate pH readings. The probe must be stored properly in a storage solution to ensure that it does not dry out. The probe lasts from 12-18 months, depending on its care and must be purged after this time frame. With the most basic model, you throw out the entire unit and buy a new one. With the more sophisticated models of pH meters, the probe is replaced separately from the unit (which should last indefinitely).
We hope this information helps with your winemaking. If you have any follow up questions or winemaking questions in general, please email us at support@juicegrape.com.
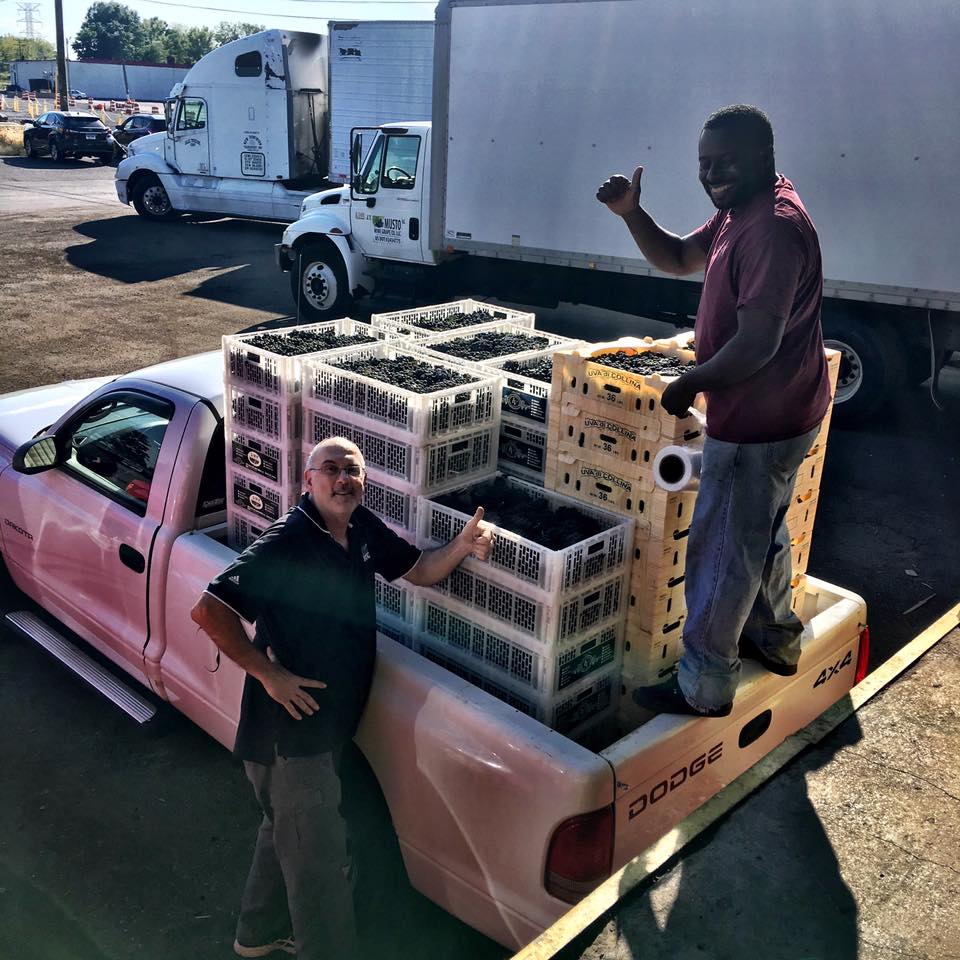
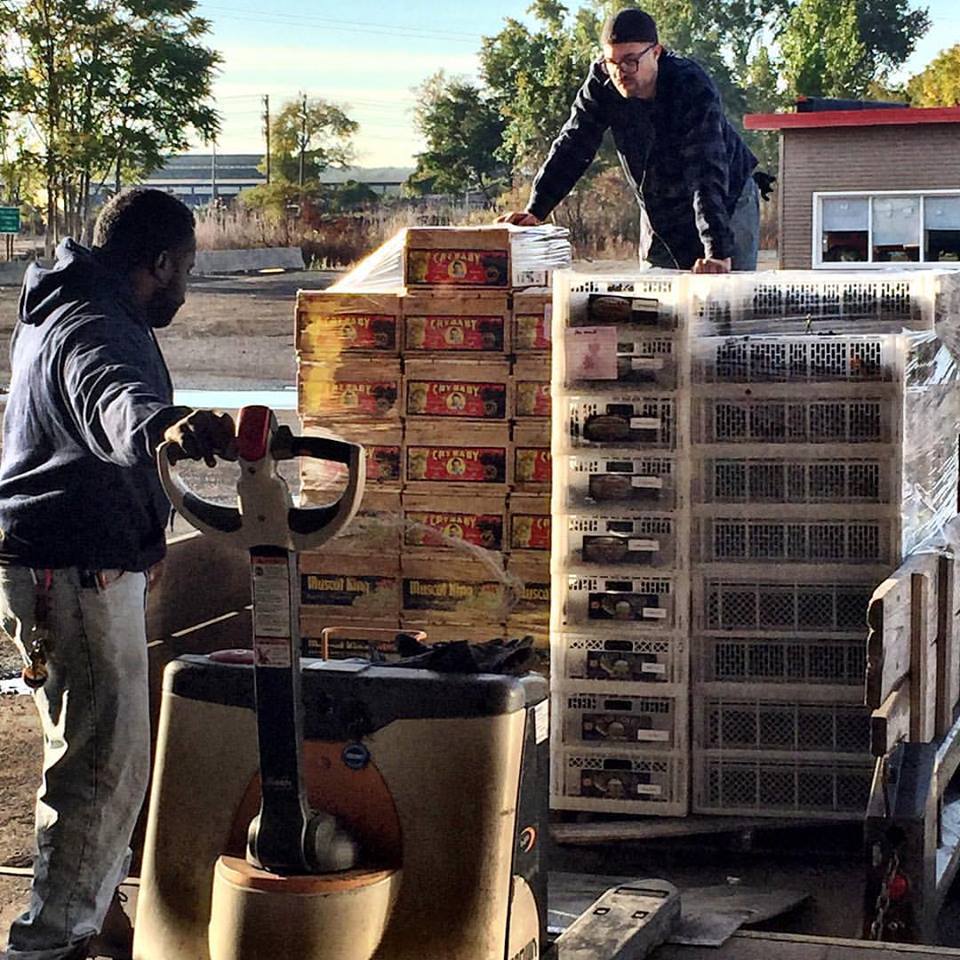
Musto Crush Crew Pre-Harvest Traditions

Ever wonder how we prep for harvest?

Frank Musto: “I always pick up two new pairs of work shoes in August, make sure I break them in before season. I usually burn through two pairs each season….Food of choice is McDonalds, nothing takes the pressure of a hard day like a Big Mac, large fries, and a diet coke…After Labor day, I kiss my wife good bye, pet the dog behind the ears, and tell them ill see them in late October.”
Christina Musto: “I’m usually pestering all of the growers for photos of the vineyards. Then I get my house into “harvest mode” stocking up on beer, cider, frozen meals, and chocolate. Finally, I treat myself to purchasing a special bottle of Schramsberg Brut Rose as an “in case of emergency” bottle.
Patrick Milio: “I bid farewell to friends and family, stock up on Beer, Bourbon, and Bubbles to enjoy after long days at the shop, and pre-emptively apologize to my digestive system for the terrible nightly takeout meals that are to come.”
Colin Mulryan: “I go through all of my old clothes to wear for the season, because it all gets thrown out at the end. And stock the fridge with beer.”
Ken Milio: Our Harvest tradition starts the week before as its time to clean and sanitize last year’s Crusher / Destemmer, Fermenting tubs, Must Plungers and other small items. You can tell how much wine was consumed last year by the cleanliness of the equipment this year. On crush day, our tradition is that all involved toast the new season with a shot of “ Honey Grappa “. After the crush, we again clean and sanitize the equipment then the drinking and eating begins.
Frank Renaldi: “The first thing I do to prepare for harvest is to think of another way to trick my wife into thinking I am not making a lot of wine. Last year I told her she miscounted the number of cases of grapes on the truck. The year before I told her each case of grapes weighed 10 pounds.
Then I get down to business and take inventory of my supplies and order what I need by July. I also decide on the grapes I want to work with and reserve my order. Then I check all my equipment to make sure it is ready for the big day. I talk to all my wine making friends and we get excited like little kids getting ready for their first day of school – well it does happen at the same time of the year. I think this year I will tell my wife, I had to buy more because the grapes were smaller this year.”
Barry St. Pierre: “First thing is to make and freeze a big pot of chili…for friends who stop by to help or for ourselves when we are too tired to make anything else. Full tanks have to be bottled or moved to free up space for new grapes and wine. Of course we pre-clean all of our equipment, especially our feet…need to be sure to remove all toe jam. By now all supplies are ordered, especially grapes from Musto…I seem to always get yelled at for not ordering early enough. Then sit back, open a bottle of wine, and wait for the grapes to ripen and arrive.”
Robert Herold: “As the harvest/crush/press day approaches, I start fortifying myself with wine several days in advance. For the actual activity day, nothing works as well as beer to make the task go smoothly. To quote a very good winemaker friend of mine, ‘it takes a lot of good beer to make a good wine’.”
The Winemaker’s Think Tank: Vol 29 – How do I test for Brix?

What’s the Winemaker’s Think Tank?
Every Thursday we will post about a few frequently asked questions that our winemaker has answered. If you have a winemaking question you would like to have answered, please email us at support@juicegrape.com and we will try to get into next week’s post. Cheers! 🙂
{refractometer used in vineyard for brix levels}
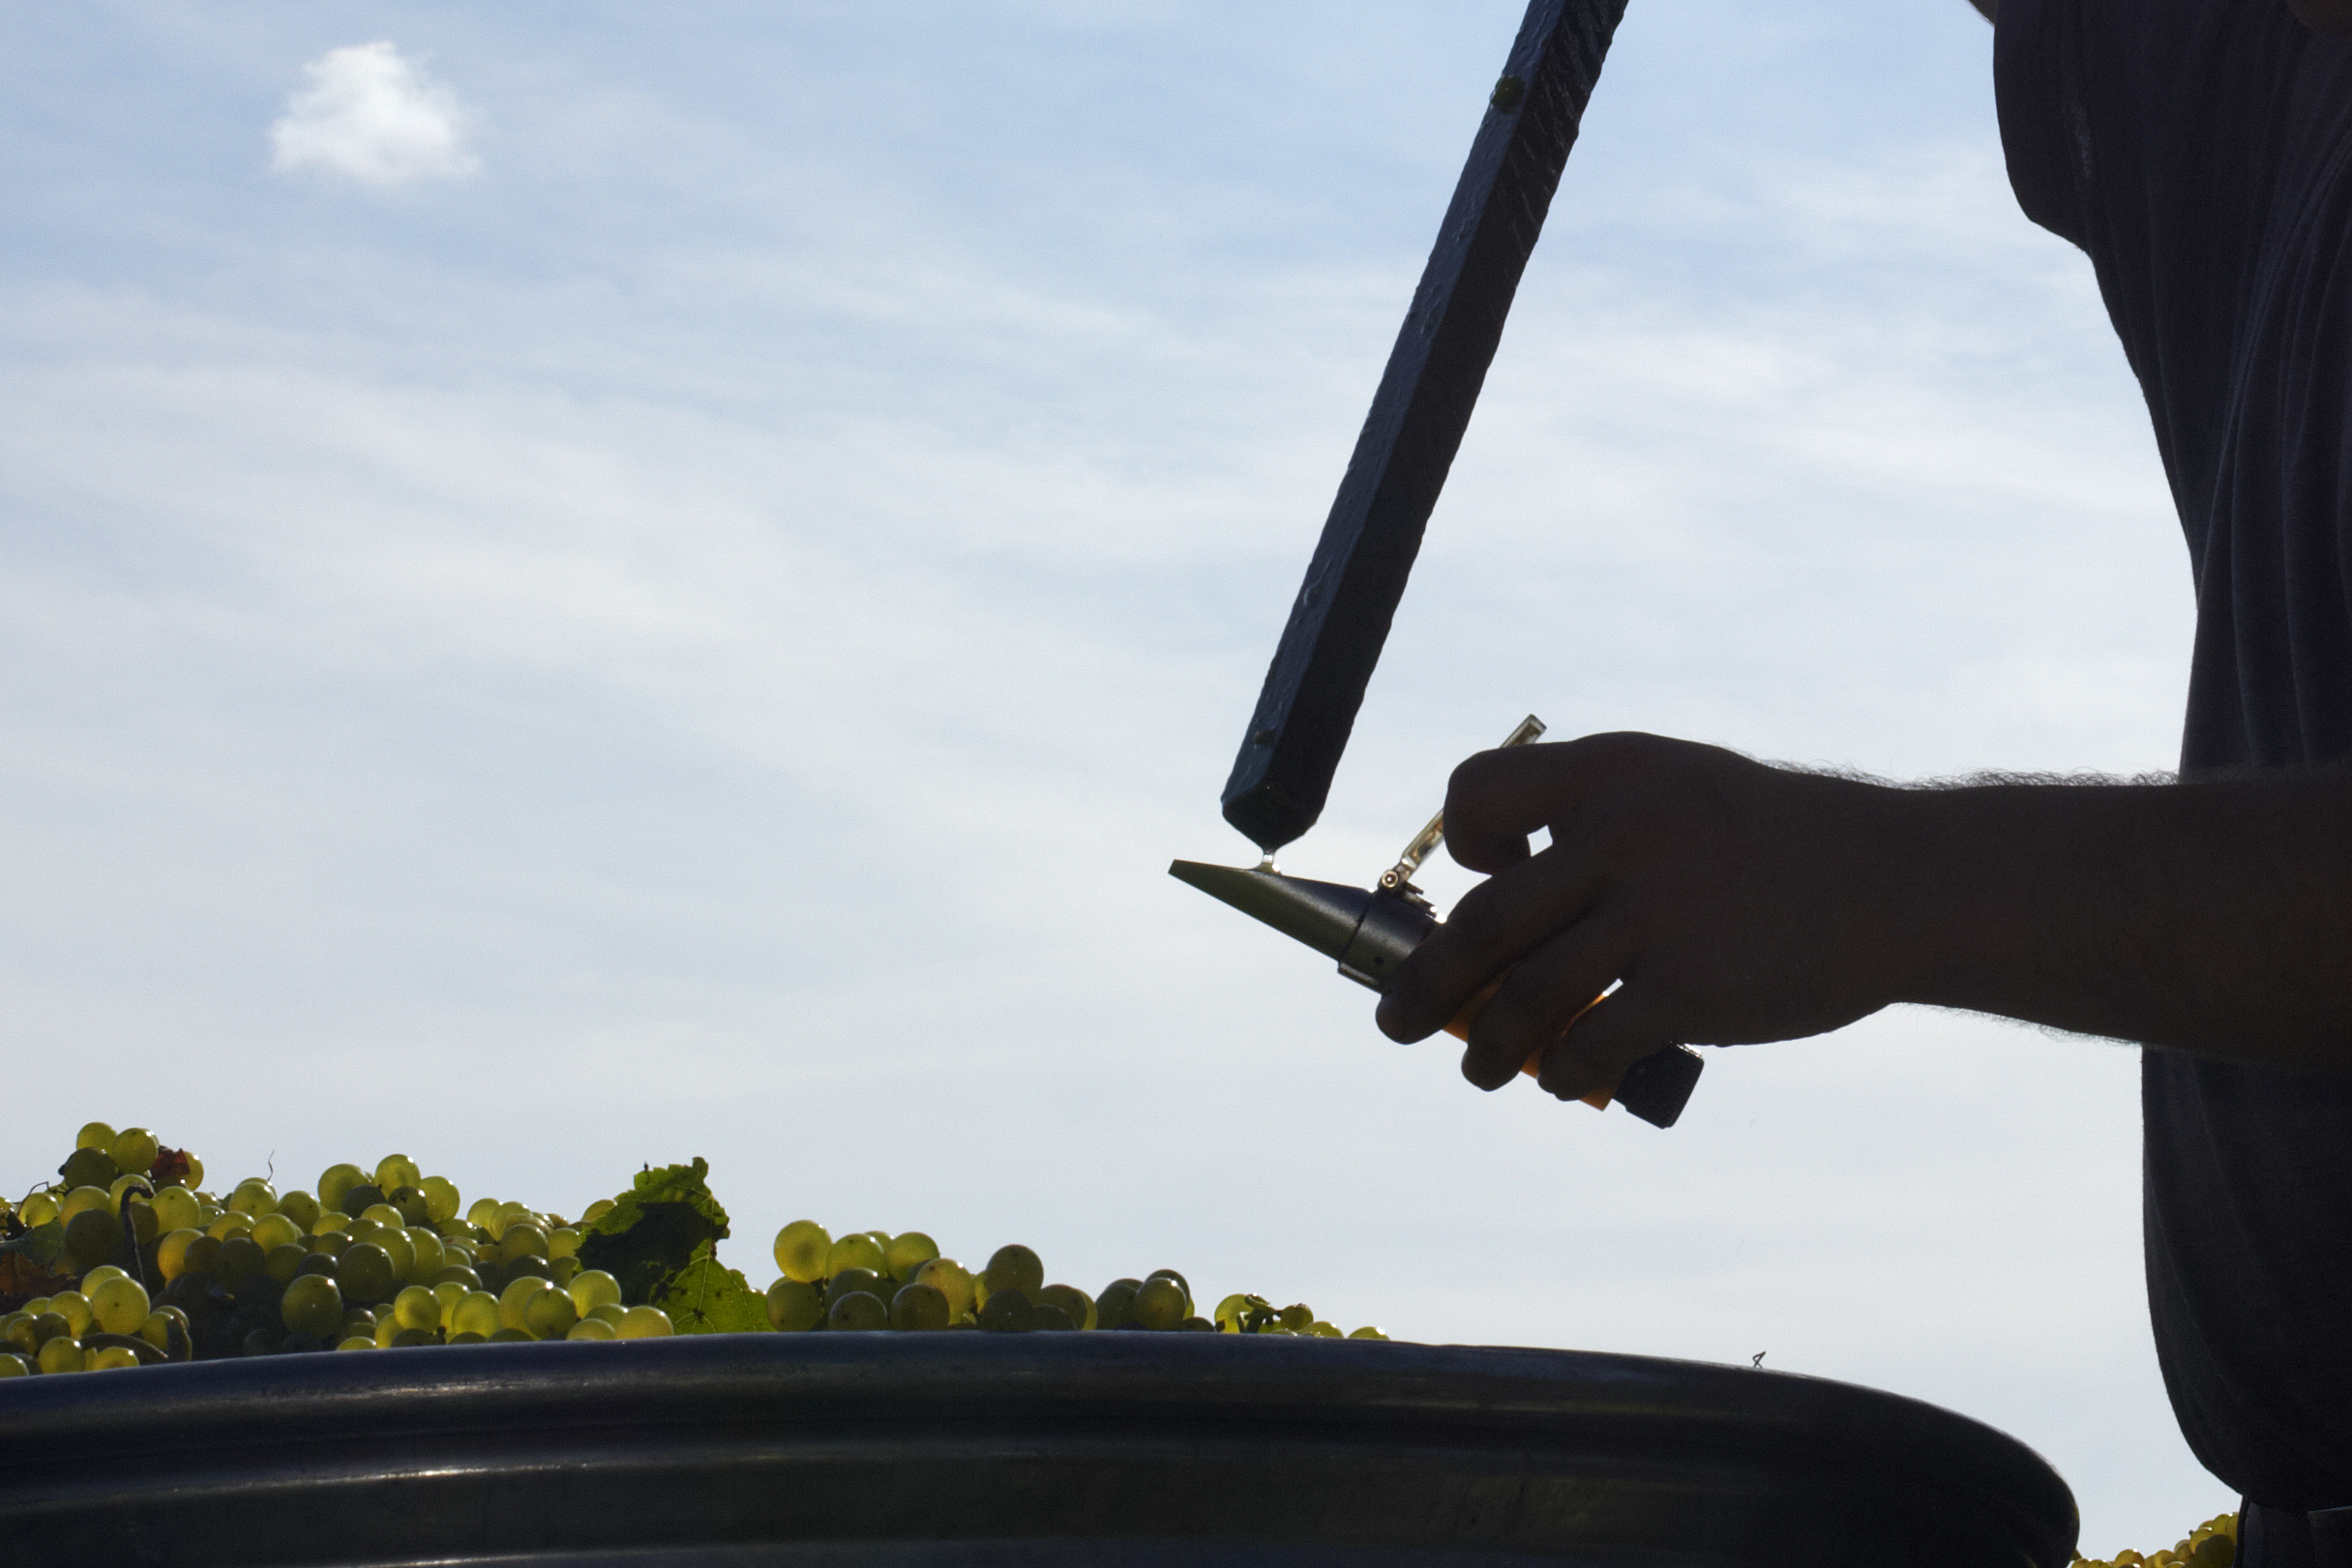
How do I test for Brix?
There are two ways to test for Brix in your grape juice and/or must. Prior to the addition of yeast and fermentation, one may use a hand refractometer to measure the sugar content (Brix) of the grapes. First the sampling method must be discussed. Simply taking one grape and squeezing it on the refractometer is not an accurate measurement of the entire batch, it is only reflective on the sugar content of that grape. The most accurate way to measure Brix would be to crush and process the grapes into a fermenting tub, punch down to thouroughly mix the must and allow to sit for 24 hours. This will create a more homogenous product from which to draw a sample. Using a hydrometer is simple, place a drop of grape juice on the lens of the hydrometer and lower the plastic coverslip. Hold the refractometer to your eye and look towards a bright light source. The light gets refracted by the sugar and will form an indicator line on the lens inside of the refractometer. This lens has a marked measurements column which will then give you your initial, pre-fermentation Brix level.
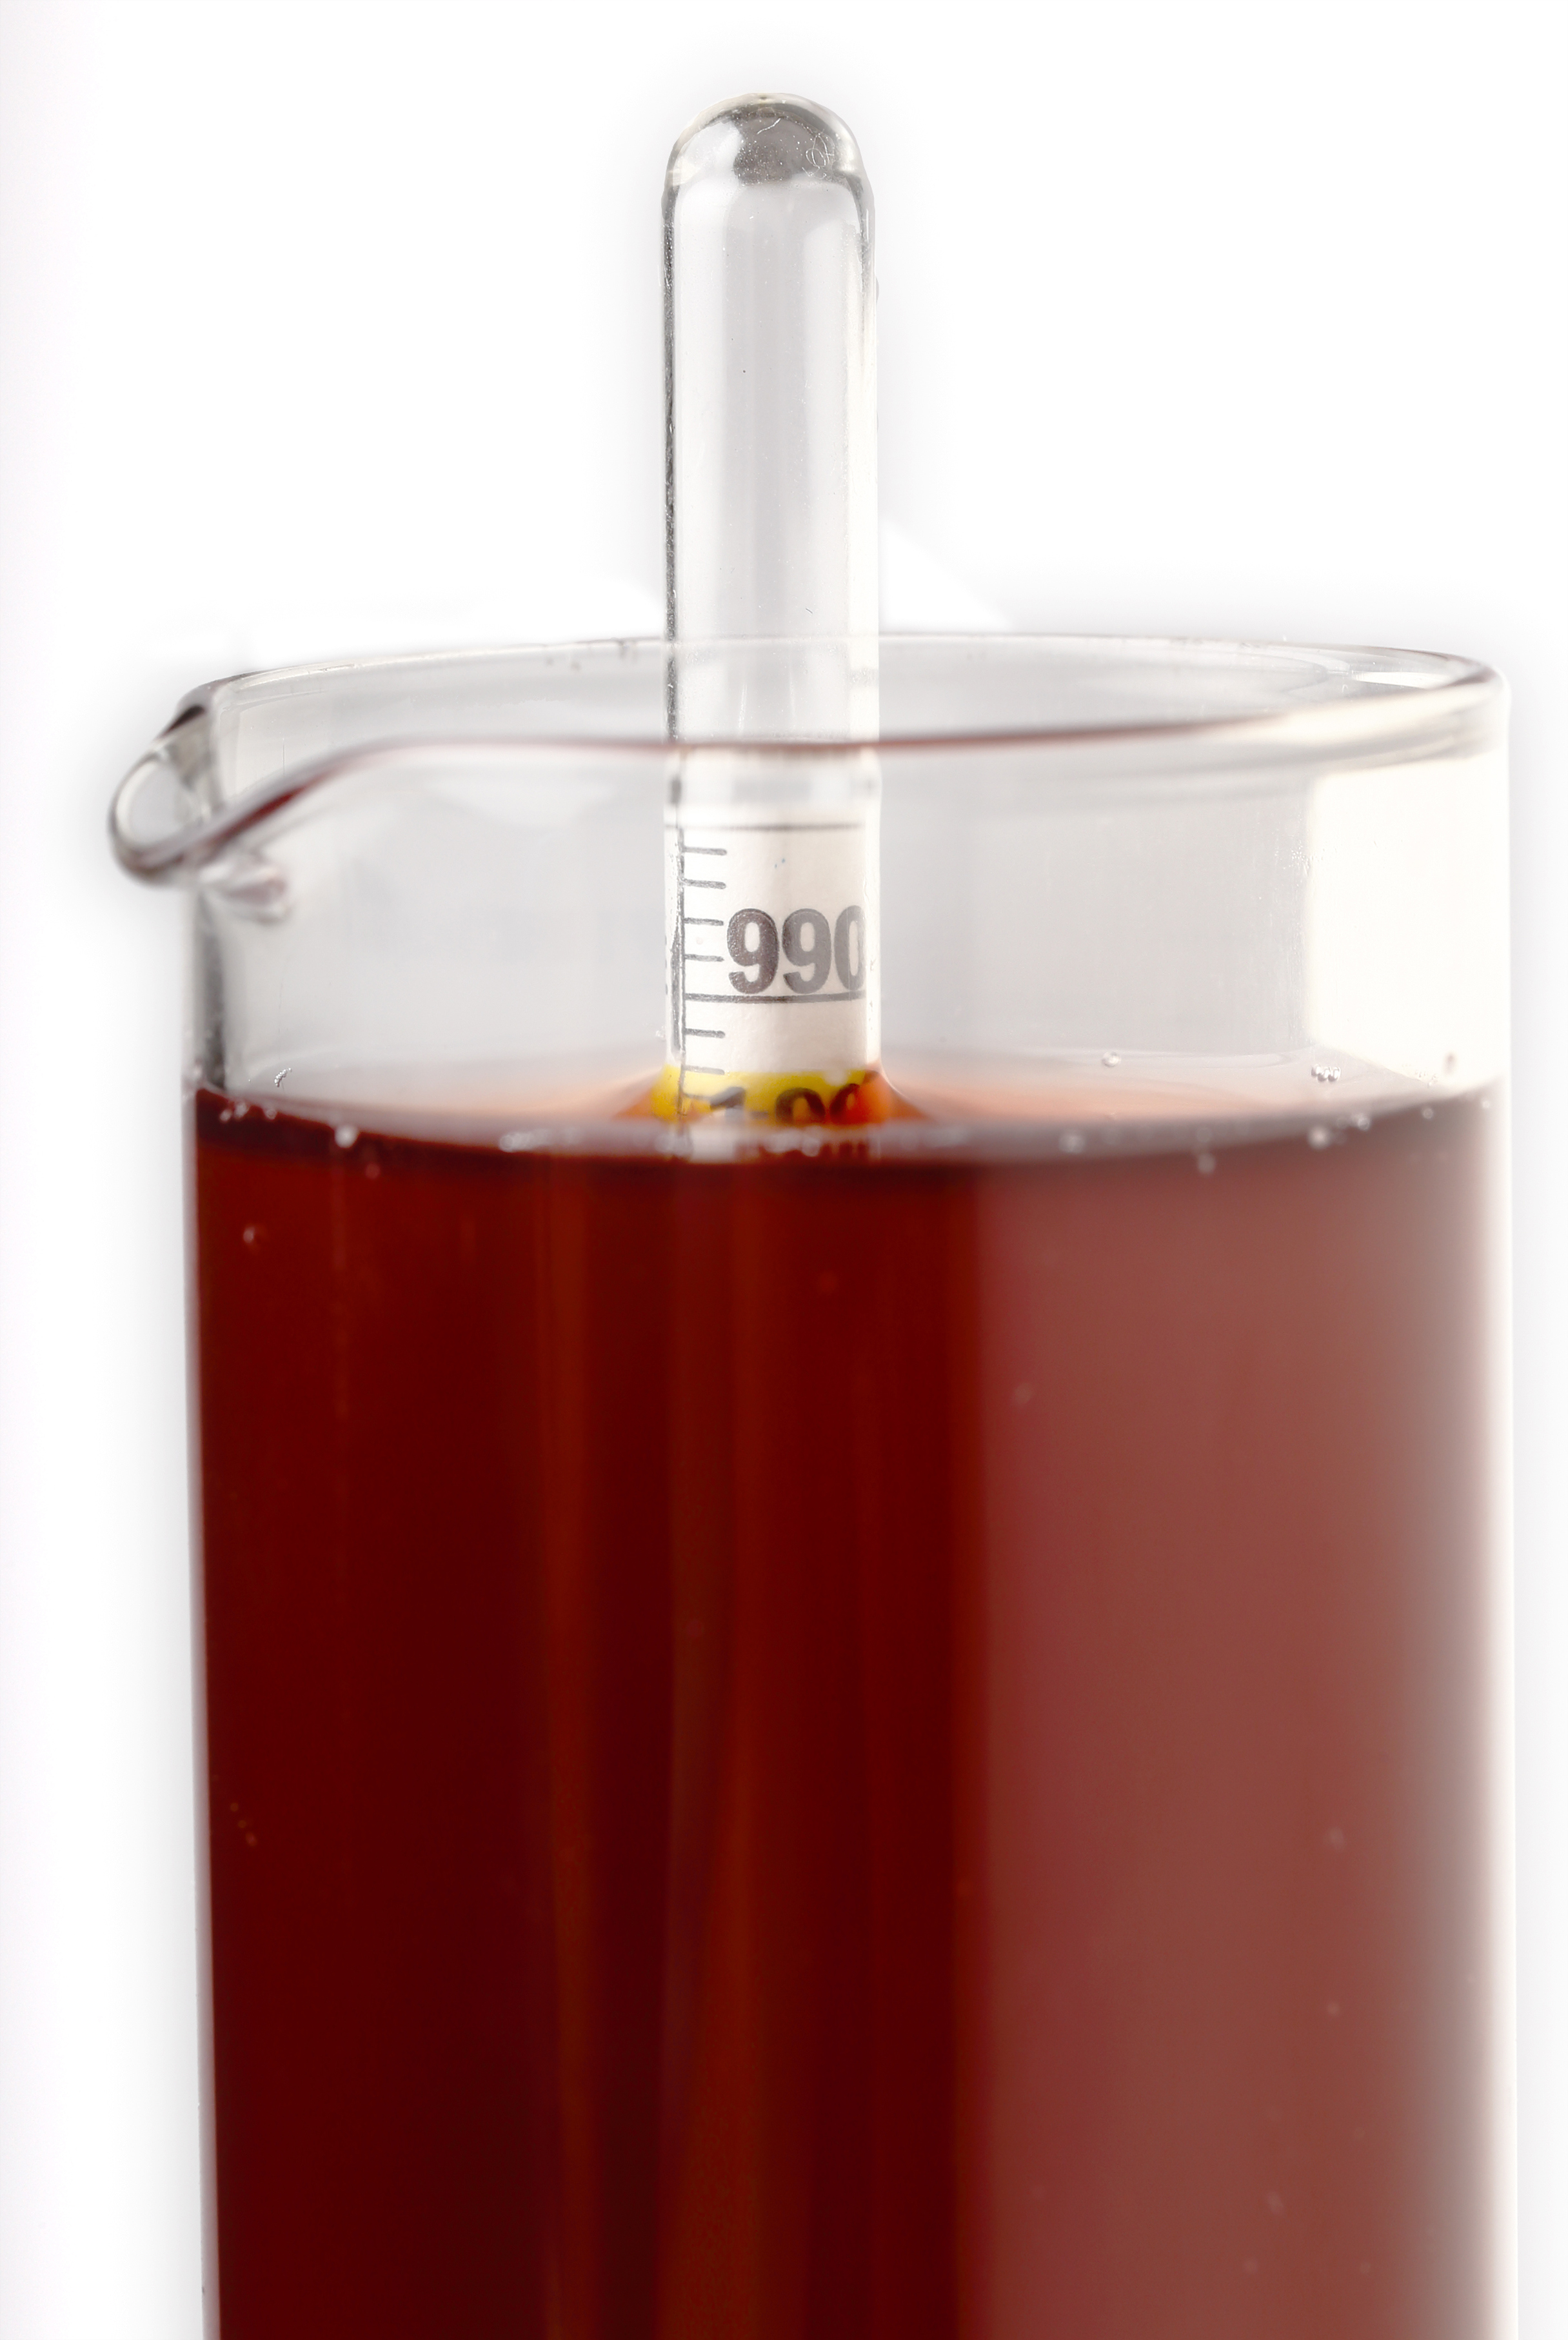
{hyrdometer testing brix levels}
Once yeast has been introduced to the must and begins to excrete alcohol, the refractometer loses its accuracy. This is when the hydrometer becomes more useful in this instance. To use the hydrometer, you will also need a cylindrical container; a graduated cylinder works well (the cylinder must be taller than the hydrometer). Pour a strained sample of the must or juice into the sanitized cylinder. Put the sanitized hydrometer into the cylinder and spin it slightly to dislodge any bubbles that may cling to the sides of it. Allow it to come to rest in the juice and observe the meniscus of the liquid and where it falls on the gradients of the hydrometer. This will give you the Brix level of the fermenting wine. As the wine ferments, the Brix level will continue to drop until it is at zero.
We hope this information helps with your winemaking. If you have any follow up questions or winemaking questions in general, please email us at support@juicegrape.com.
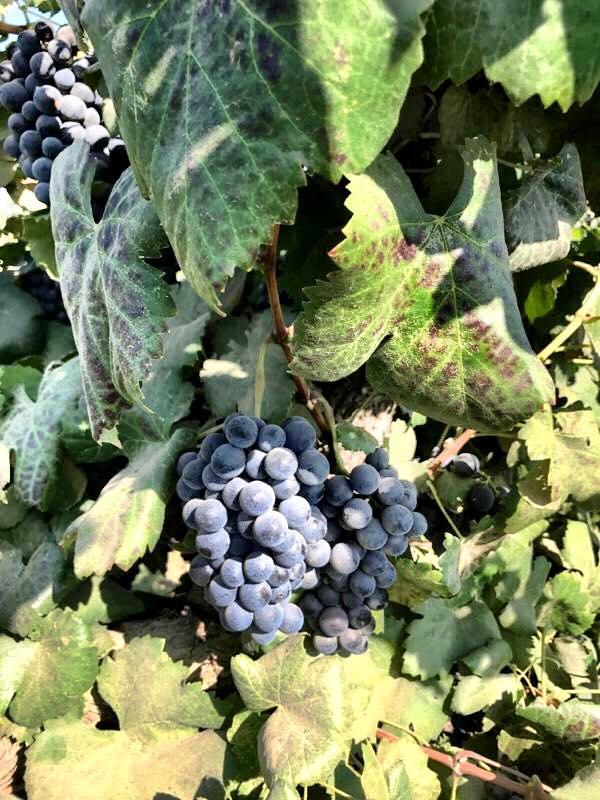
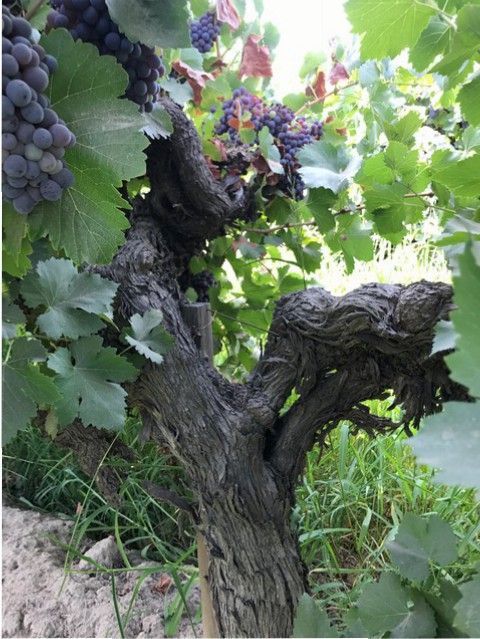
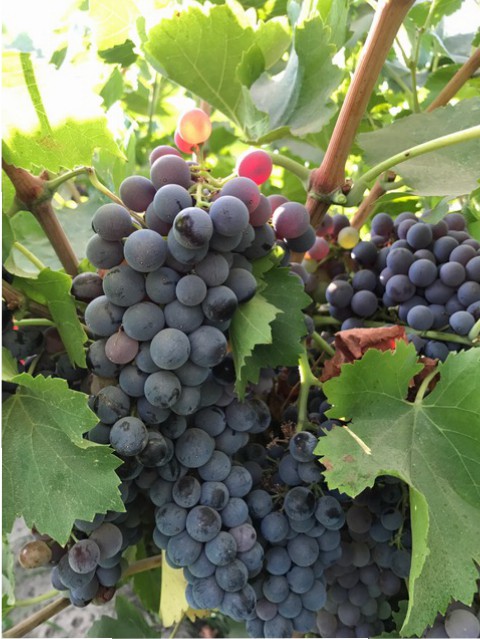
Morning views of the 70 year old head trained Alicante Bouchet

Morning views of the 70 year old head trained Alicante Bouchet. Head pruned by hand and small bunches full of flavor and color. Old vine is an understatement…..
Alicante is a variety that was cultivated in 1866. Its deep red color makes it great for blending with lighter red wines such as Zinfandel and Pinot Noir. A popular grape during prohibition, the old school Italian blend consists of 18 boxes of Zinfandel, 2 boxes of Alicante, and 1 box of Muscat or make it straight for a delicious light bodies red.

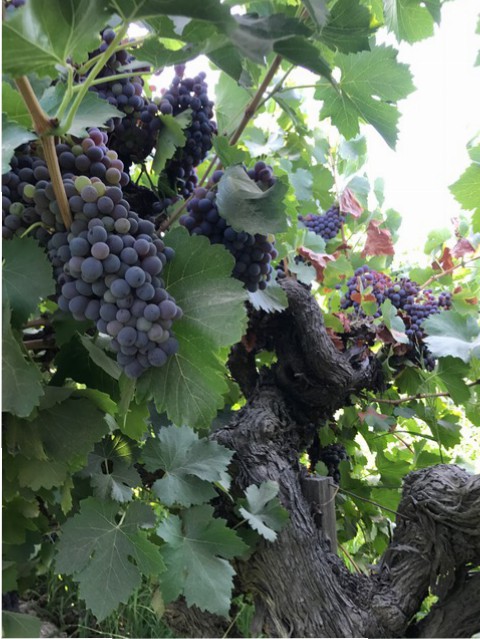
Rose´ is Here to Stay

Rose´ has become an important part of the wine market. What originally started out as White Zinfandel has transformed into a large and growing wine category made from a lot of different wine grapes. One of the most important grapes used in the production of Rose´ is Grenache.
The Grenache grape is part of the original “Rhone Rangers” crew and one of the most widely planted red wine grape varieties in the world (over 500,000 acres planted so far..). It ripens late so it needs hot, dry conditions such as those found in Spain, where the grape most likely originated. Grenache flourishes in the AVA’s such as Central Valley, Fresno County, Lodi, and other Mediterranean–style climates.
Usually a brilliant ruby pink hue with notes of ripe strawberry, orange, hibiscus and sometimes with a hint of ripe peach. You’ll find Rose´of Grenache wines to have moderately high acidity, but most have quite a bit of color and body. Perfect pairing with this wine would be a summer evening and takeout Greek Gyros with dill tzatziki.
Below are some photos of our beautiful Grenache Noir from our newest vineyard- King’s River. They will be arriving in early September. Make sure to put in your pre-order for this Rose´worthy grape!
The Winemaker’s Think Tank: Vol 26 – How do I test for Acid?

What’s the Winemaker’s Think Tank?
Every Thursday we will post about a few frequently asked questions that our winemaker has answered. If you have a winemaking question you would like to have answered, please email us at support@juicegrape.com and we will try to get into next week’s post. Cheers! 🙂
How do I test for Acid?
When testing for acidity in wine, you are looking for the Total Acidity value, or the amount of acids in grams per liter of wine. While this may sound complex, it will help you in achieving a proper balanced flavor in your end product. You will need a few basic lab supplies: a test tube, a small 10ml graduated syringe, phenalthalein, sodium hydroxide. Draw a 15ml sample of the wine to be tested into the test tube. Add three drops of the phenalthalein. Swirl the drops around in the wine to mix it in thoroughly. (Note: When using sodium hydroxide, be very careful. It is a strong base that can cause burns. We suggest wearing eye and skin protection.) Using the 10 ml graduated syringe, slowly drop in the sodium hydroxide by .5ml at a time. Every drop, swirl the test tube contents to mix and observe any color reactions. Upon adding the drop, you will see an immediate color change, that will then dissipate. For white wines, you will observe a pink color and for red wines you will observe a grey color. Keep repeating the process of adding a drop, swirling and observing until the color change is permanent. The amount of sodium hydroxide used, when the color change is permanent, will give you the Total Acidity. If 6ml of Sodium Hydroxide are used, then the wine contains .6% or 6g/L of TA.
We hope this information helps with your winemaking. If you have any follow up questions or winemaking questions in general, please email us at support@juicegrape.com.
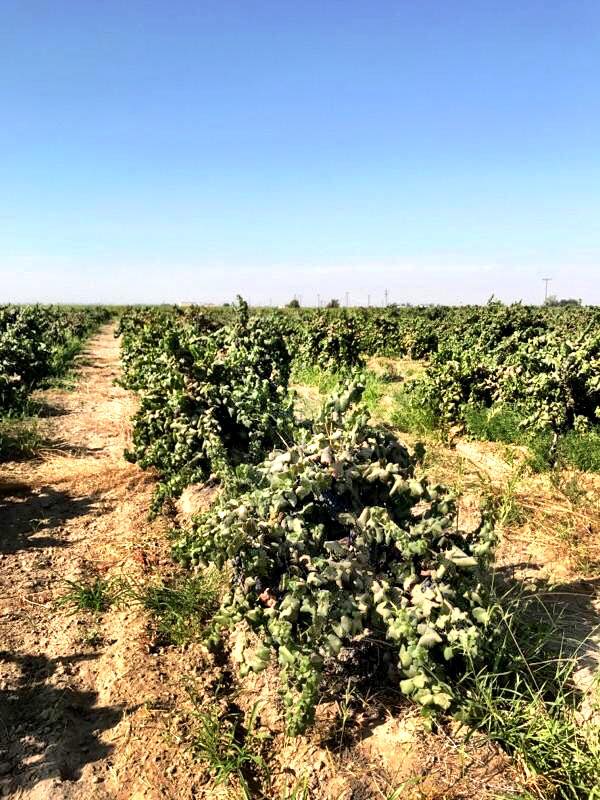
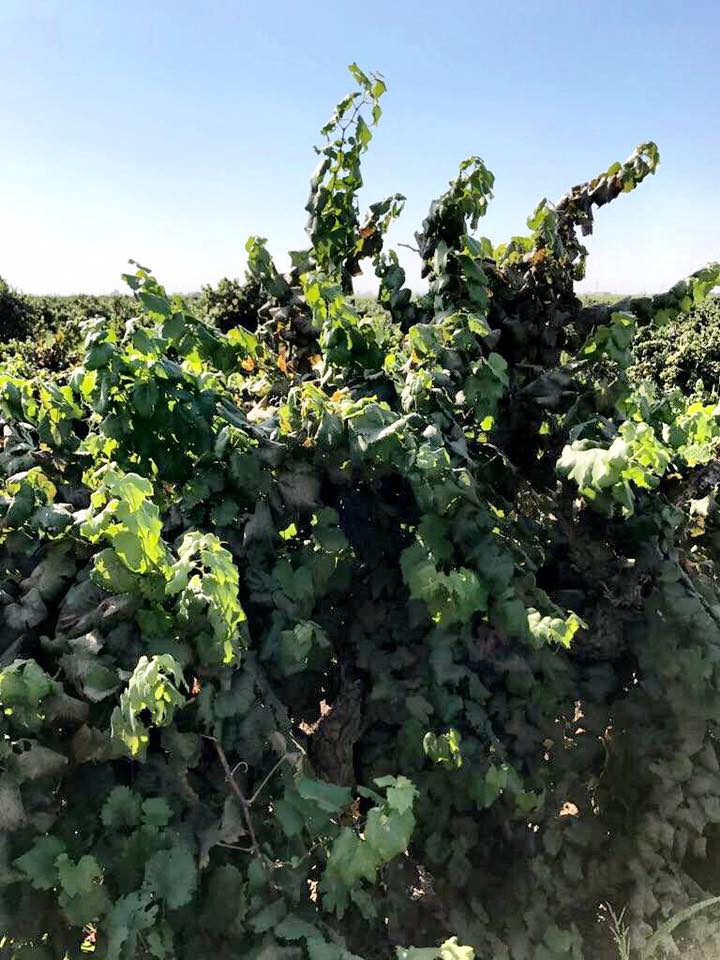
2017 Harvest Outlook for Suisun Valley, Lodi, and Central Valley

Suisun Valley Harvest Outlook
Everything is maturing along in Suisun Valley. We are seeing verasion come to end in varieties such as Merlot and Sangiovese. Petite Sirah, Cabernet 169, and later varieties are still going through the verasion process. Looking at the maturity level of the grapes harvest should start around September 4th in Suisun Valley – beginning with Sauvignon Blanc and Chardonnay. The next varieties to pick will most likely be Merlot around September 10th and, Sangiovese, and Malbec around September 16th. The later varieties such as Petite Sirah and Cabernet 169 should harvest around late September/early October.
Interested in the weather in Suisun Valley? Click here to see what our weather stations are picking up on a daily basis!
Lodi Harvest Outlook
Overall the Lodi crop looks great. The rain helped strengthen the deep roots this winter, which allowed the vines to grow a vigorous canopy. The big canopies from the record rain fall has protected the grapes from the summer heat. Therefore, it should be an average to slightly below average crop this year. Most varieties look normal, however Cabernet and Zinfandel look to be low slightly lighter than last year. The Lodi appellation is made up of mostly sandy loam soil and unlike the Central Valley they get constant cooler temps in the evenings. This area experiences 40 degree swings in temps that help with coloring the grapes and the skins are thicker which produce a dark juice high in tannins. This is why the region is famous for its delicious Zinfandels and Italian grape varieties!
Central Valley Harvest Outlook
With the extra rain fall Central Valley is looking to be a great harvest. The crop looks to be about the same as last year and we should be harvesting about 4-6 days later than last year. We anticipate some of the Central Valley fruit to start shipping to the East Coast around August 28th. Get your crushers ready!!
We should have an updated harvest report pertaining to Paso Robles, Napa/Sonoma, Contra Costa, and Washington State next week. Keep an eye out for our next email.
There is a lot going on at Musto Wine Grape Company and we are looking forward to seeing you on August 26th for Customer Appreciation Day.
Cheers to making your favorite wine!!
The Winemaker’s Think Tank: Vol 25 – Why is my wine evaporating?

What’s the Winemaker’s Think Tank?
Every Thursday we will post about a few frequently asked questions that our winemaker has answered. If you have a winemaking question you would like to have answered, please email us at support@juicegrape.com and we will try to get into next week’s post. Cheers! 🙂
Why is my wine evaporating?
Just like water or any other liquid, with prolonged exposure to air, wine can evaporate. When aging wine in an enclosed container such as a tank, carboy, or demijohn, the container should have an airtight seal via an inflatable gasket or an airlock and bung. This will help prevent against oxidation and will reduce the amount of evaporation dramatically. If you still see some evaporation happening in one of these closed containers, evaluate your bungs and seals as they may not be working properly.
The main source of evaporation in winemaking is through barrel aging. Barrels are a porous environment that allows the wine to “breathe” over time. This “breathing” process is essentially evaporation. The wine is exposed to air through the porous staves and small portions of the wine evaporate into the atmosphere. This has positive effects on the wine as it creates a creamier mouthfeel, can reduce the perception of acidity, and imparts oak flavor. The barrel must be filled monthly with additional wine to reduce the head space and replace the evaporated product. This will prevent the wine in the barrel from oxidizing. While the breathing process may be a source of frustration, as you witness your wine evaporating into thin air, it will help you to create a fuller, heavier, more lush wine.
We hope this information helps with your winemaking. If you have any follow up questions or winemaking questions in general, please email us at support@juicegrape.com.
The Winemaker’s Think Tank: Vol 24 – 5 Cost Effective Tips to Help you Save Money in Your Winemaking

What’s the Winemaker’s Think Tank?
Every Thursday we will post about a few frequently asked questions that our winemaker has answered. If you have a winemaking question you would like to have answered, please email us at support@juicegrape.com and we will try to get into next week’s post. Cheers! 🙂
Cost Effective Tips to Help you Save Money in Your Winemaking
1. Alternative Varietals – Most winemakers aspire to make a big, bold Cabernet Sauvignon or supple Merlot. While these grapes make excellent world class wine, they are not the only varietals that can give you these results. Call your grape supplier and ask for a list of varietals that they can source for you. Do some research on lesser known varietals such as Carignane, Cinsault, Grenache, or Gamay. Perhaps making one of these varietals in the style of your preferred varietal, will yield some satisfactory, and more cost effective results.
2. Reusing Barrels Safely and Effectively – Barrels contribute two factors to wine: oak flavor and a round mouthfeel. While the first few vintages aged in the barrel will be bursting with oak flavor, over time, the oak flavor will dissipate from the barrel, rendering it neutral. While the barrel may not be able to contribute a lot of flavor to the wine, it will still add an important reductive character through micro-oxidation. Wine will still continue to evaporate out of the barrel and yield a creamier, smoother mouthfeel. If the winemaker desires more oak flavor, oak may be added to the barrel in the form of chips, staves, spirals, or cubes. This method will allow the winemaker to keep using the barrel for many vintages, rather than replacing them when the oak flavor diminishes.
3. Oak Alternatives – Barrels have much of the visual “romance” associated with winemaking, however they can be a very costly investment. For a new home winemaker making smaller batches, it may not even be feasible to get a small enough barrel. Rather than putting the wine into a barrel, why not put the “barrel” into the wine? Oak is now available toasted in the same way a barrel would be and in a variety of forms and sizes. In each form, it will deliver oak flavor to the wine, some shapes having more surface area and acting more quickly, whereas other shapes may take longer to infuse flavor. These are a very cost effective and efficient way of imparting oak flavor to wine.
4. Involve Friends – As your home winemaking progresses, often times winemakers want more sophisticated processing and analytic equipment. While a Destemmer/Crusher or a Bladder Press may last you many years, it is a costly initial investment. One way to help defray the cost of the equipment is to purchase it with other winemakers. If you have friends who also make wine or can network through a wine appreciation society, you can find other vintners who may be willing to split the cost of the machines with you. This can turn crushing and pressing into a party! Not only will the cost be divided, but so will the labor. Another way to try and reduce the cost of equipment is to try and purchase used equipment. Keep an eye on Craig’s List and wine classifieds for pieces of equipment someone wants to part with. Also, a local winery may have some equipment that they no longer use as they have scaled up and they jump at an opportunity to sell it rather than allowing it to collect dust.
5. Increase Production – As with many item in life, buying in bulk is more cost effective. Speak with your local grape broker to see if they offer volume discounts. If you have formed a winemaking group to share equipment costs, then perhaps you can get a better price on grapes if you purchase together, rather than separately. The same idea applies to corks and bottles. Buying larger quantities, provided you have adequate storage space, will save you money.
We hope this information helps with your winemaking. If you have any follow up questions or winemaking questions in general, please email us at support@juicegrape.com.
Recent Comments