


The Winemaker’s Think Tank: Vol 29 – How do I test for Brix?

What’s the Winemaker’s Think Tank?
Every Thursday we will post about a few frequently asked questions that our winemaker has answered. If you have a winemaking question you would like to have answered, please email us at support@juicegrape.com and we will try to get into next week’s post. Cheers! 🙂
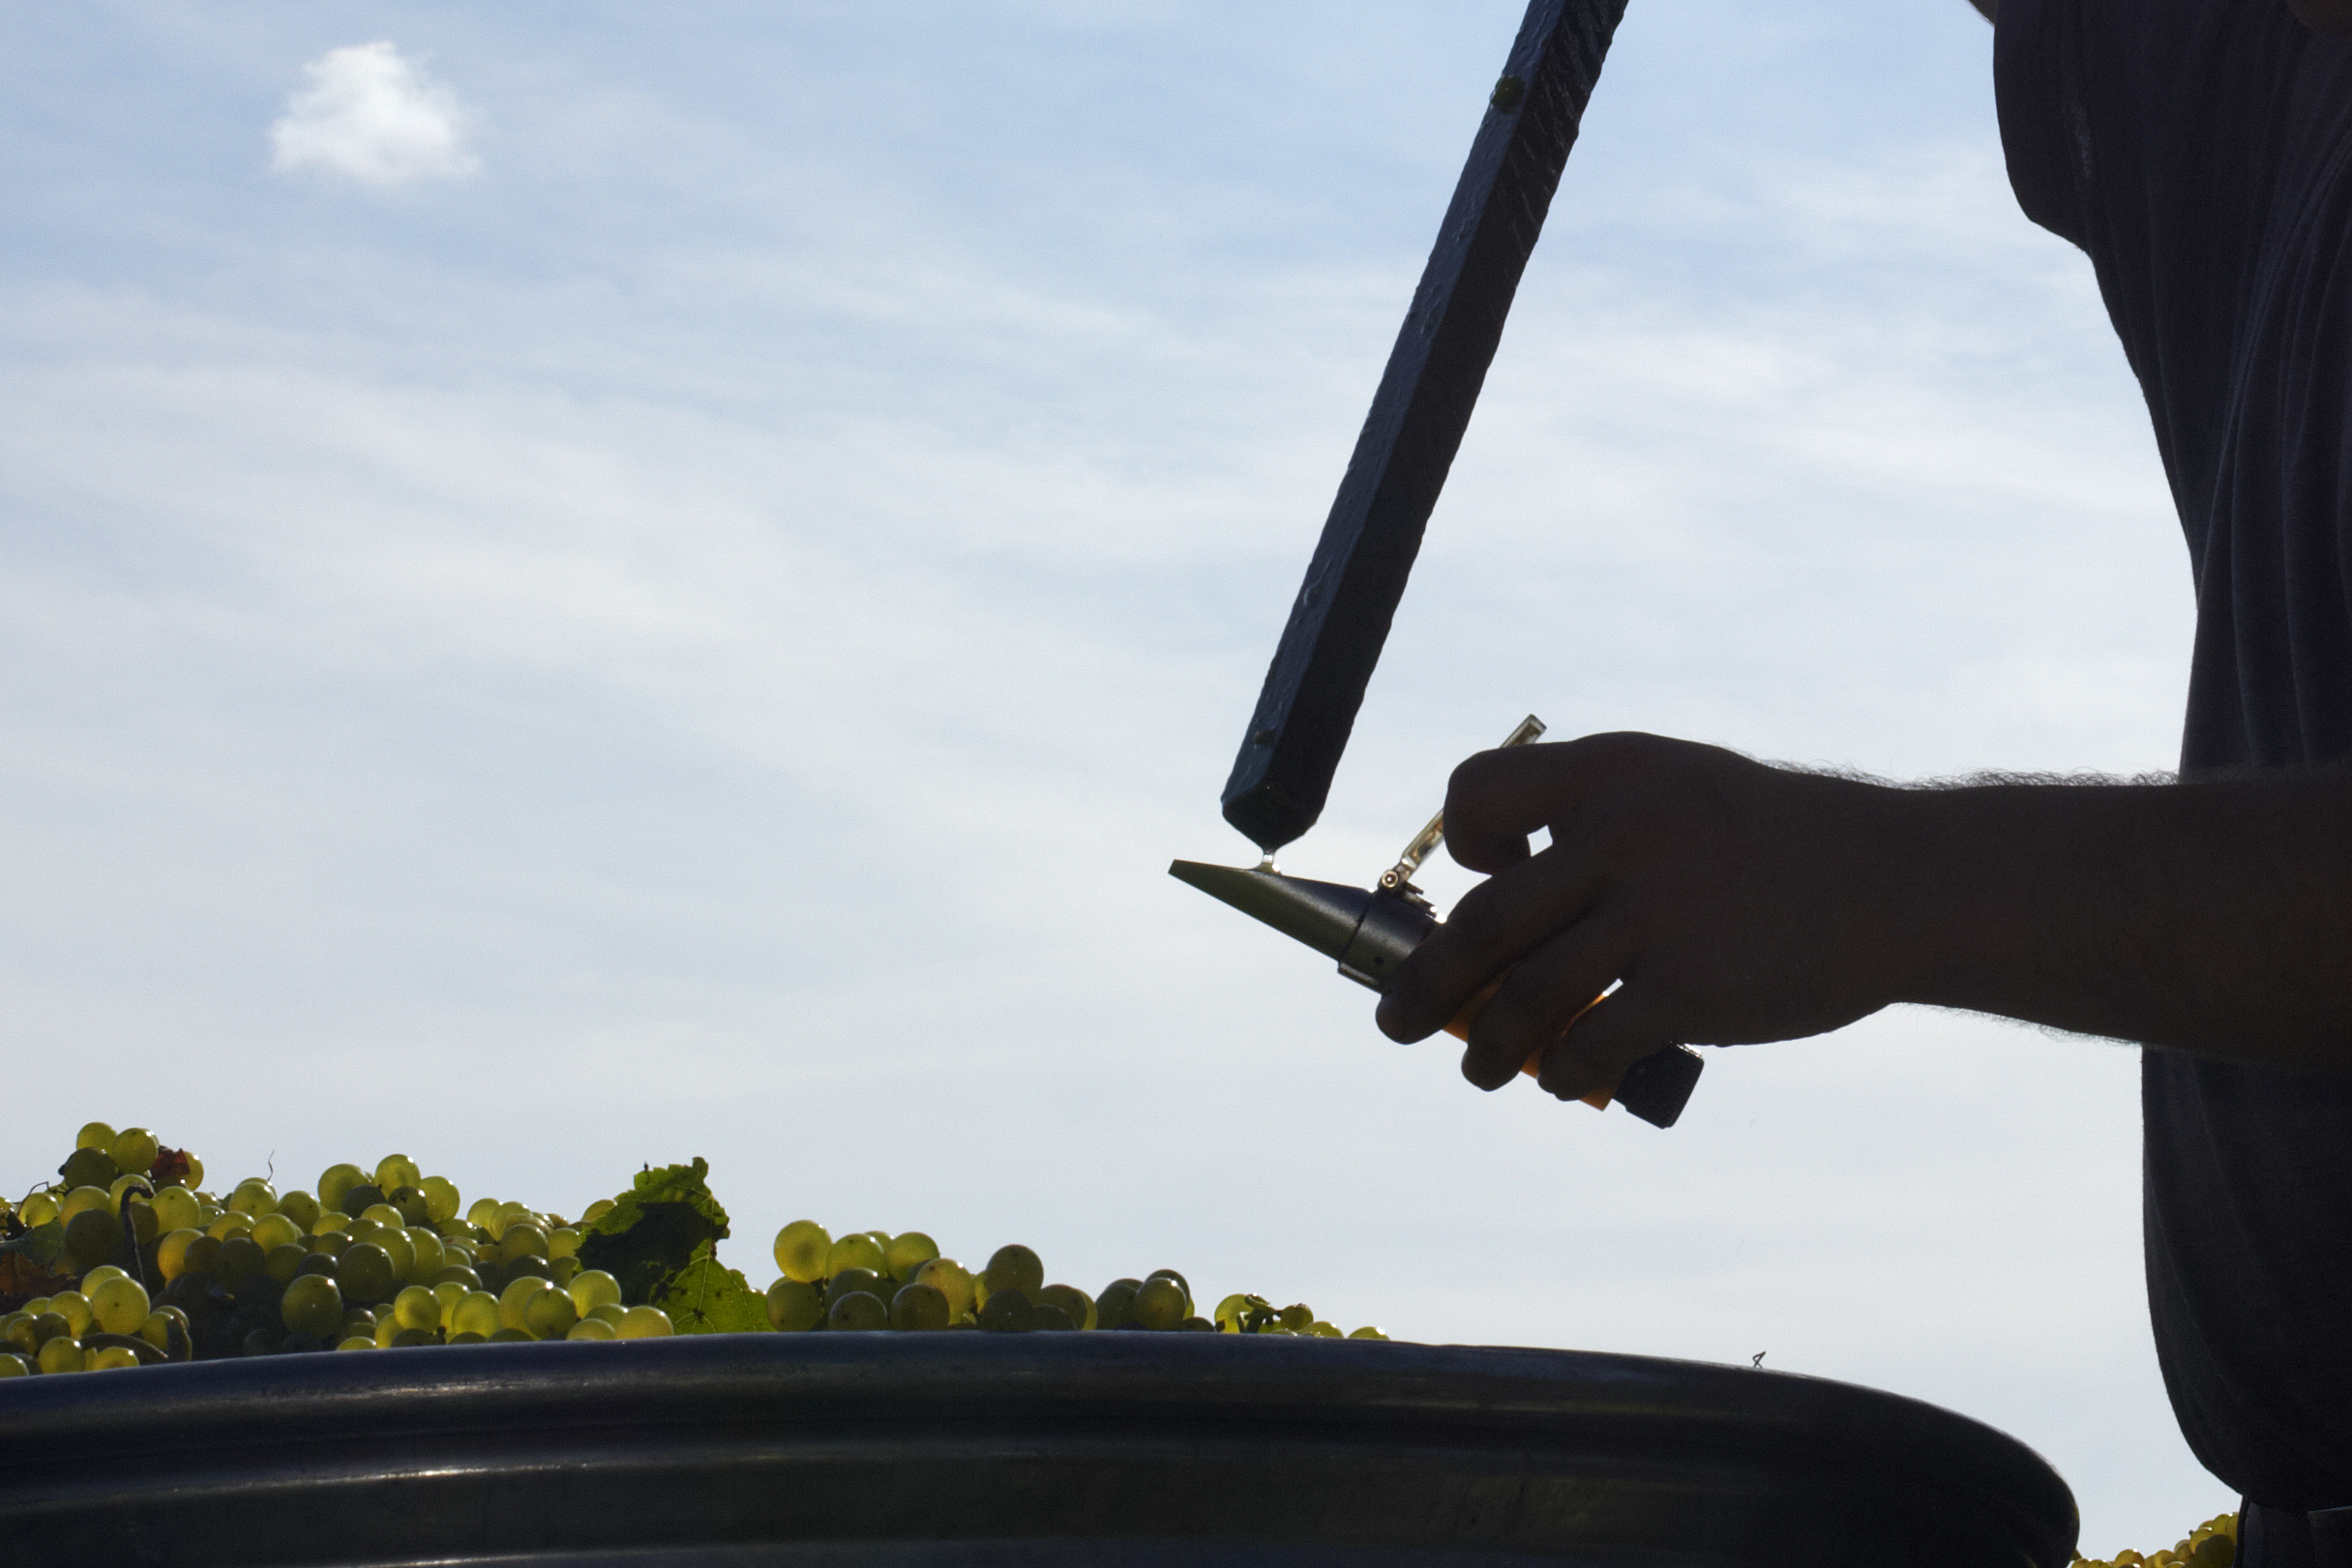
{refractometer used in vineyard for brix levels}
How do I test for Brix?
There are two ways to test for Brix in your grape juice and/or must. Prior to the addition of yeast and fermentation, one may use a hand refractometer to measure the sugar content (Brix) of the grapes. First the sampling method must be discussed. Simply taking one grape and squeezing it on the refractometer is not an accurate measurement of the entire batch, it is only reflective on the sugar content of that grape. The most accurate way to measure Brix would be to crush and process the grapes into a fermenting tub, punch down to thouroughly mix the must and allow to sit for 24 hours. This will create a more homogenous product from which to draw a sample. Using a hydrometer is simple, place a drop of grape juice on the lens of the hydrometer and lower the plastic coverslip. Hold the refractometer to your eye and look towards a bright light source. The light gets refracted by the sugar and will form an indicator line on the lens inside of the refractometer. This lens has a marked measurements column which will then give you your initial, pre-fermentation Brix level.
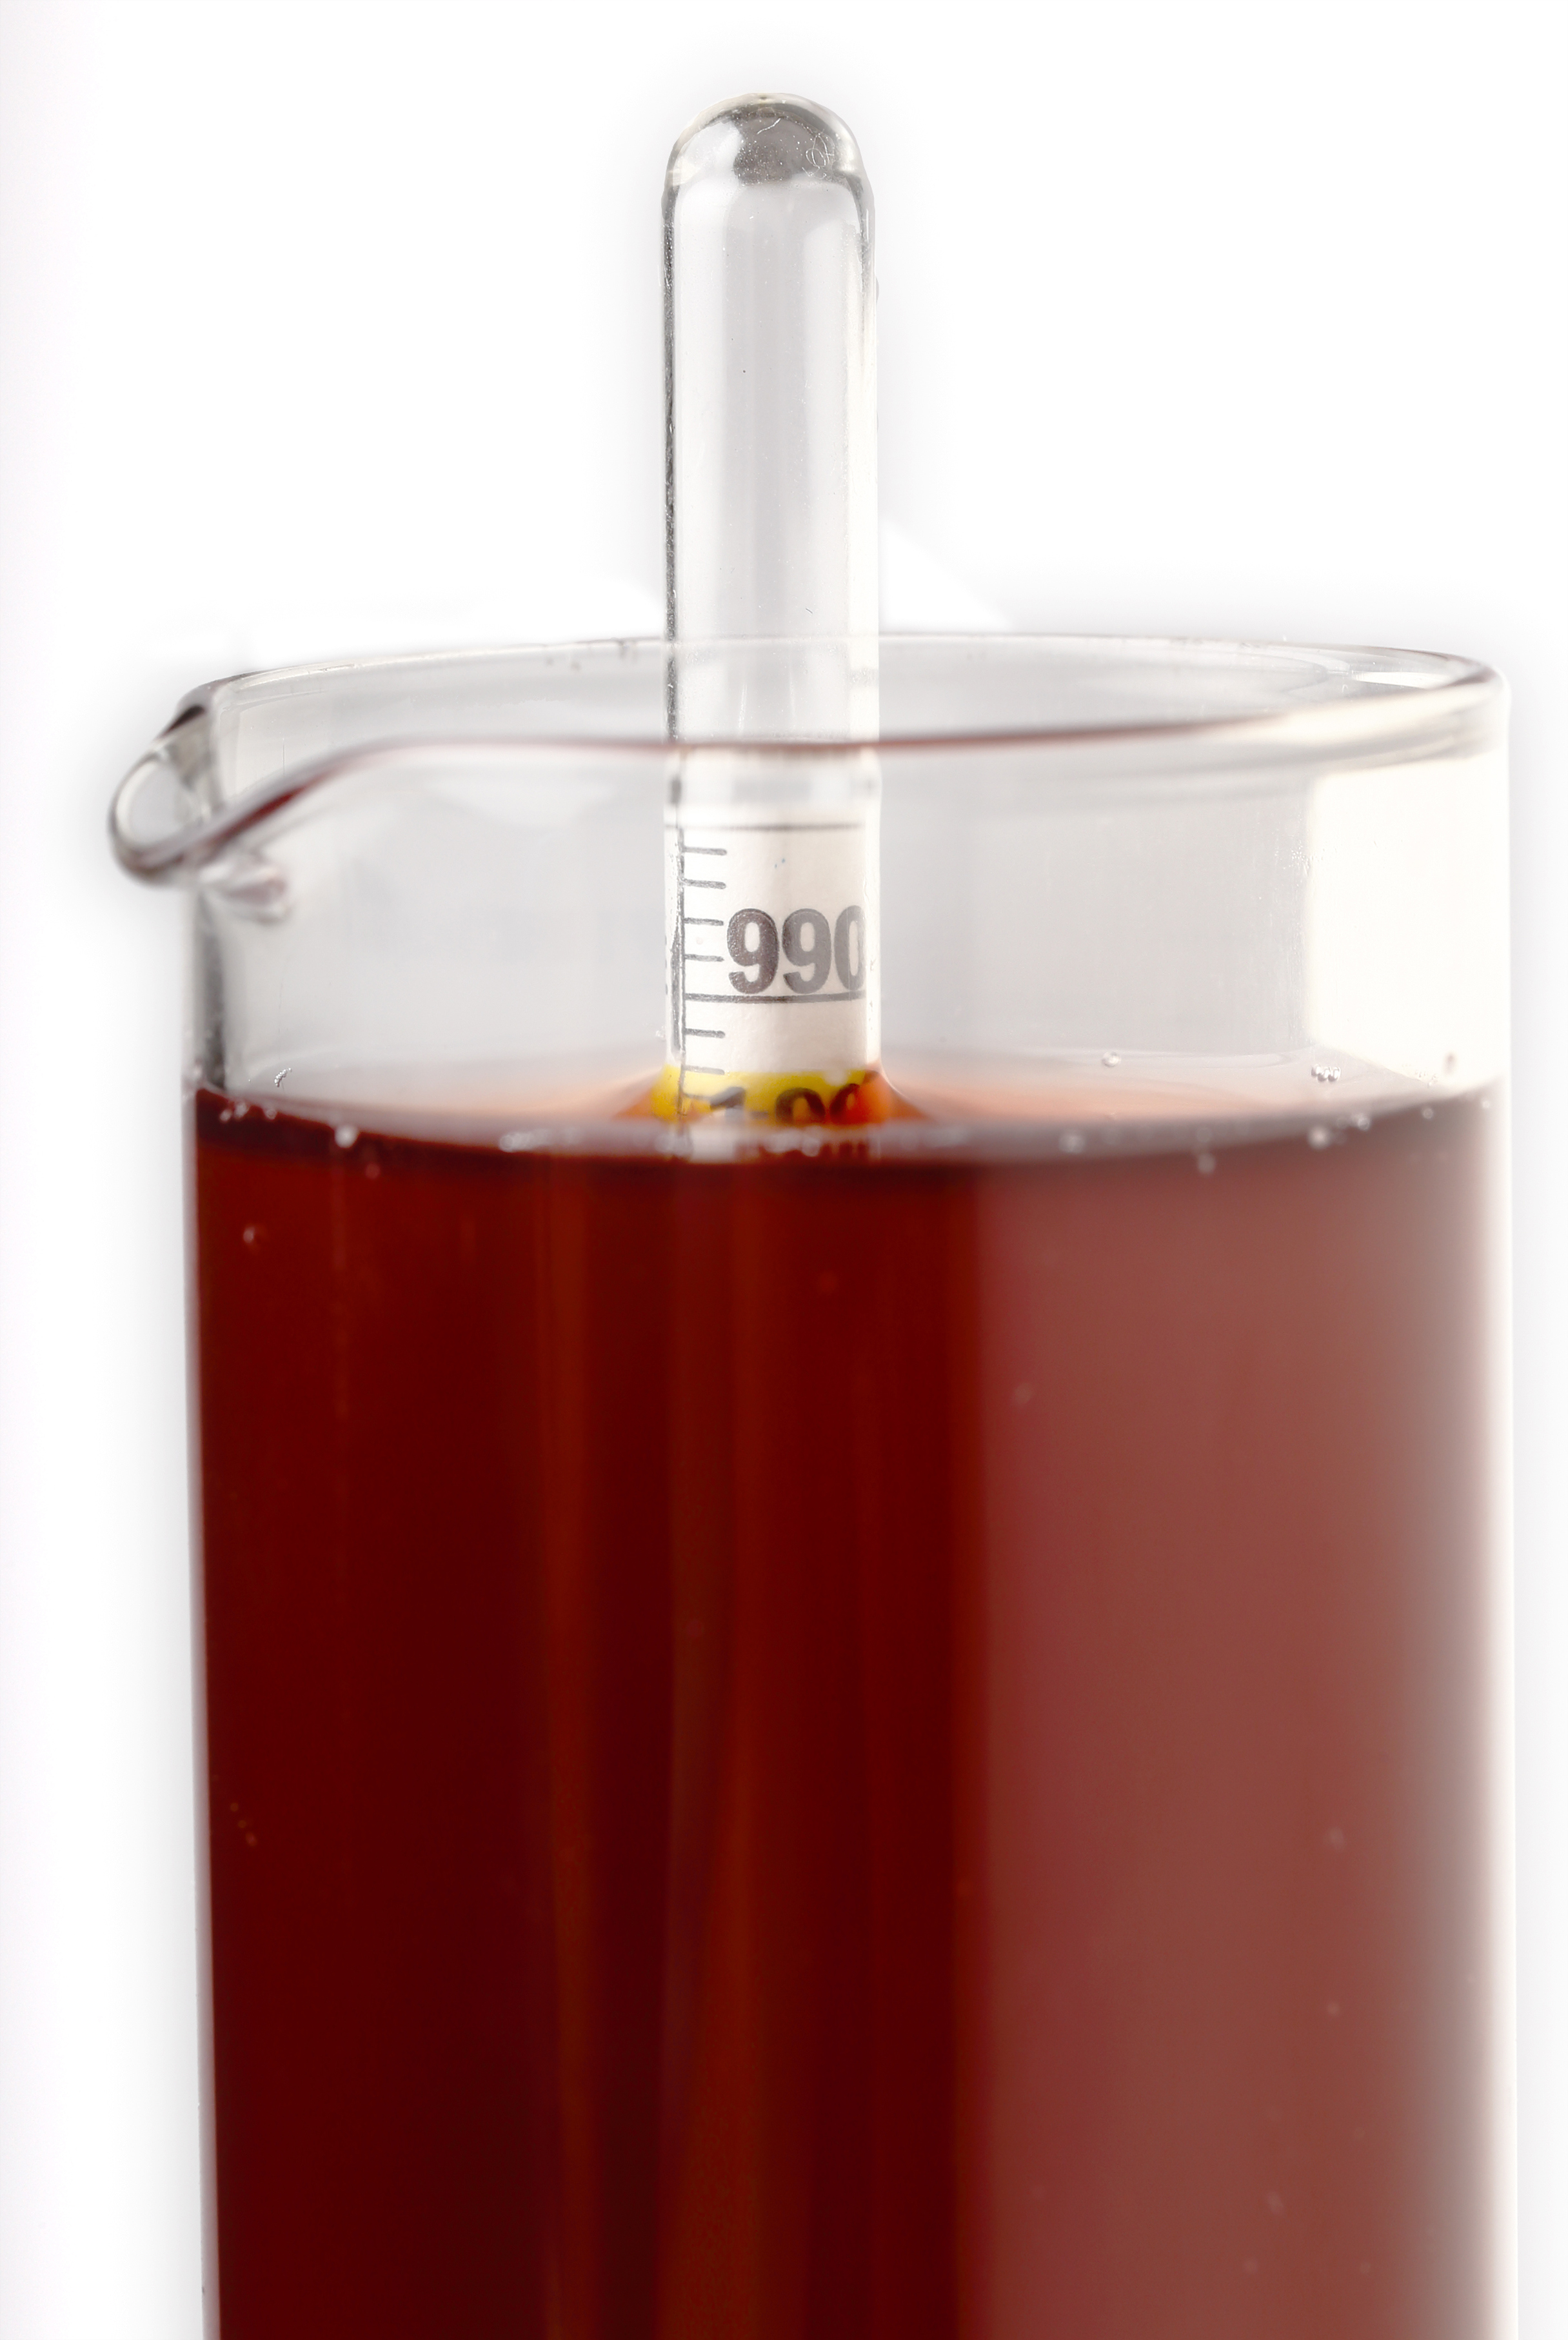
{hyrdometer testing brix levels}
Once yeast has been introduced to the must and begins to excrete alcohol, the refractometer loses its accuracy. This is when the hydrometer becomes more useful in this instance. To use the hydrometer, you will also need a cylindrical container; a graduated cylinder works well (the cylinder must be taller than the hydrometer). Pour a strained sample of the must or juice into the sanitized cylinder. Put the sanitized hydrometer into the cylinder and spin it slightly to dislodge any bubbles that may cling to the sides of it. Allow it to come to rest in the juice and observe the meniscus of the liquid and where it falls on the gradients of the hydrometer. This will give you the Brix level of the fermenting wine. As the wine ferments, the Brix level will continue to drop until it is at zero.
We hope this information helps with your winemaking. If you have any follow up questions or winemaking questions in general, please email us at support@juicegrape.com.
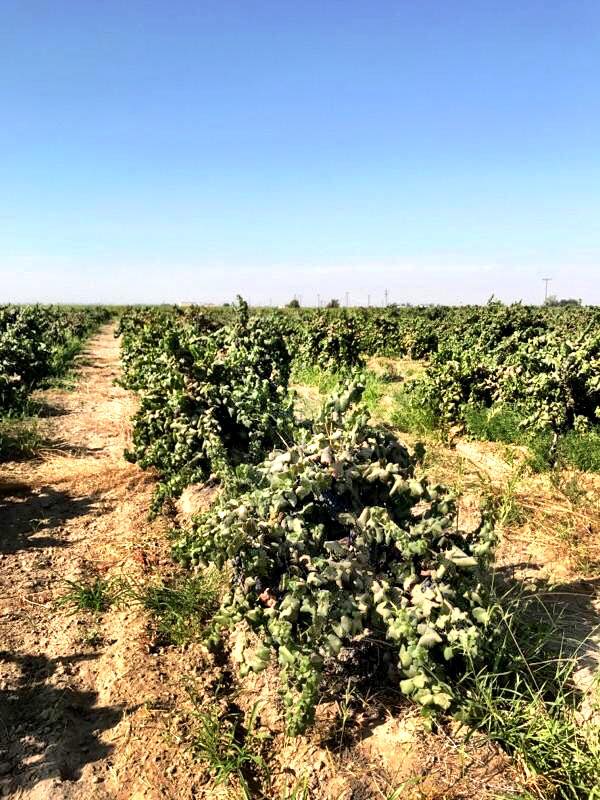
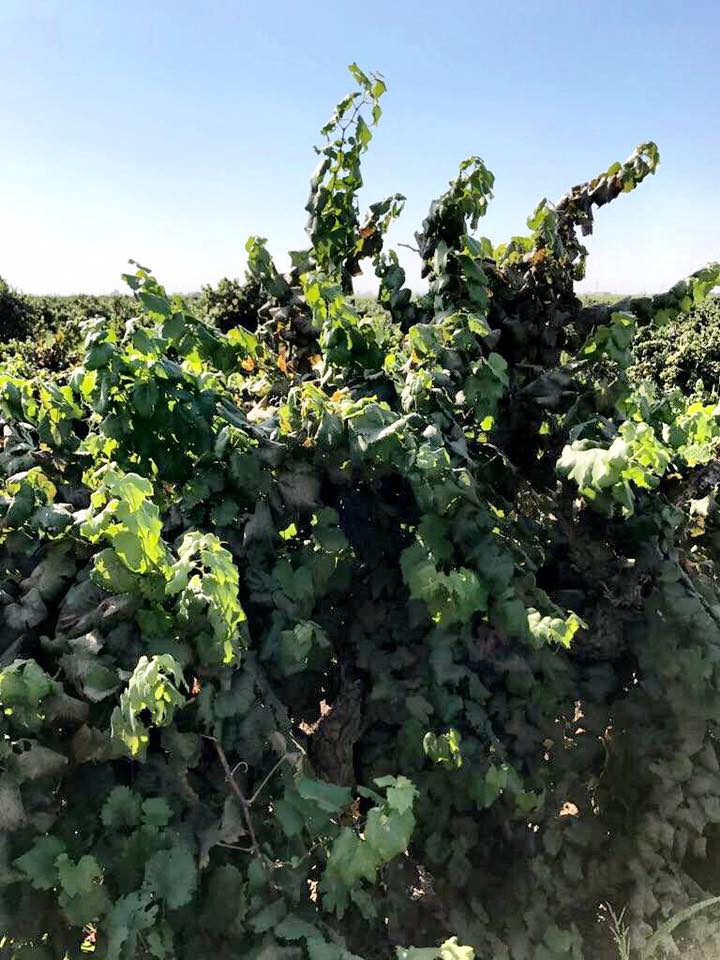
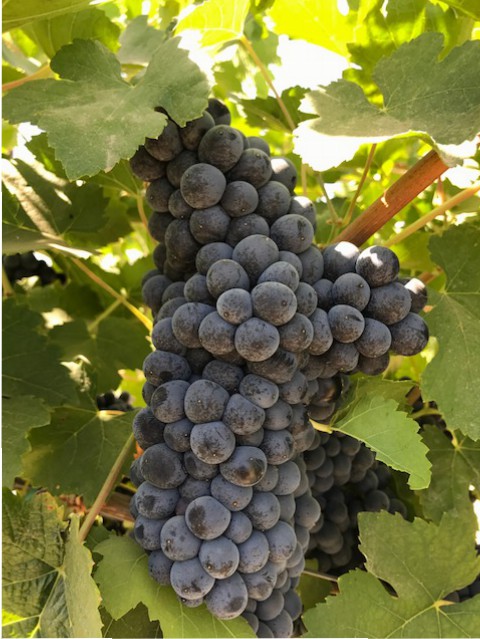
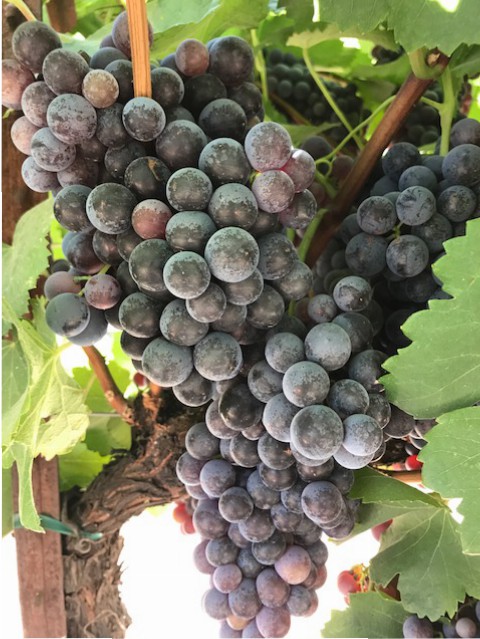
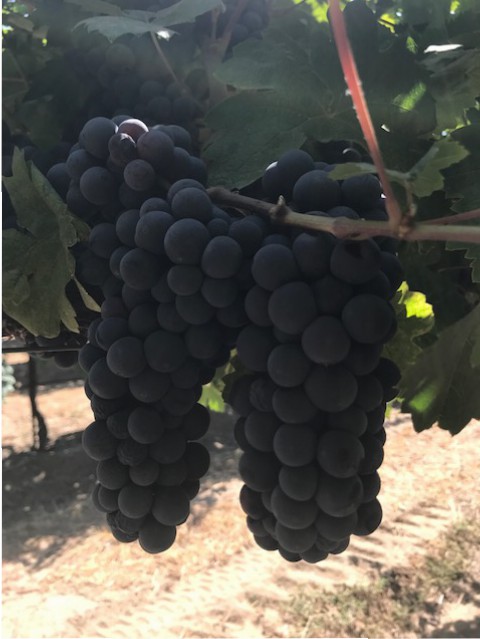
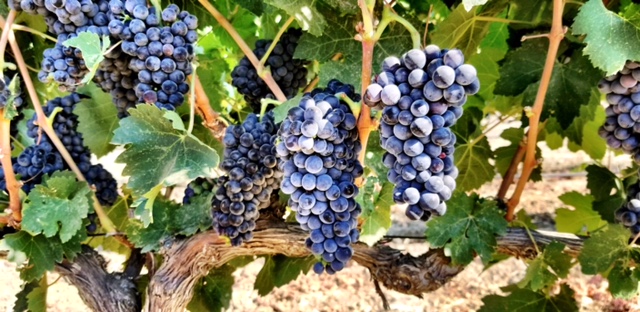
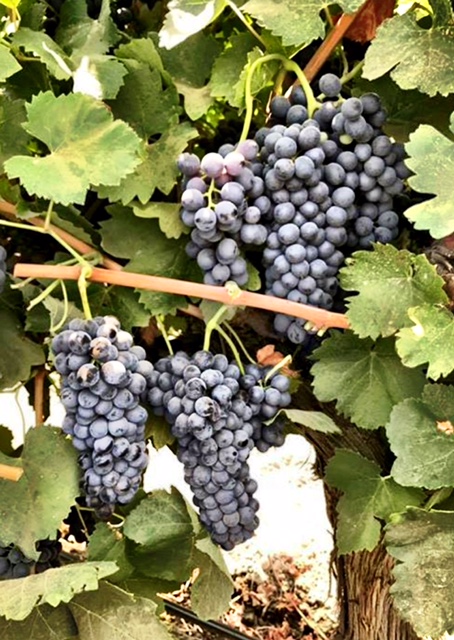
Morning views of the 70 year old head trained Alicante Bouchet

Morning views of the 70 year old head trained Alicante Bouchet. Head pruned by hand and small bunches full of flavor and color. Old vine is an understatement…..
Alicante is a variety that was cultivated in 1866. Its deep red color makes it great for blending with lighter red wines such as Zinfandel and Pinot Noir. A popular grape during prohibition, the old school Italian blend consists of 18 boxes of Zinfandel, 2 boxes of Alicante, and 1 box of Muscat or make it straight for a delicious light bodies red.

Rose´ is Here to Stay

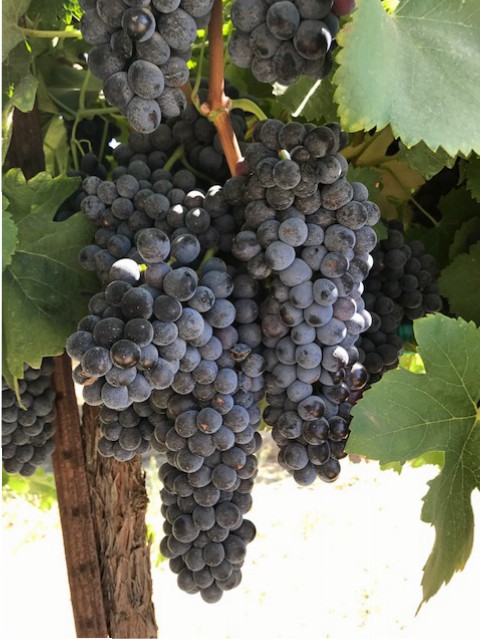
Rose´ has become an important part of the wine market. What originally started out as White Zinfandel has transformed into a large and growing wine category made from a lot of different wine grapes. One of the most important grapes used in the production of Rose´ is Grenache.
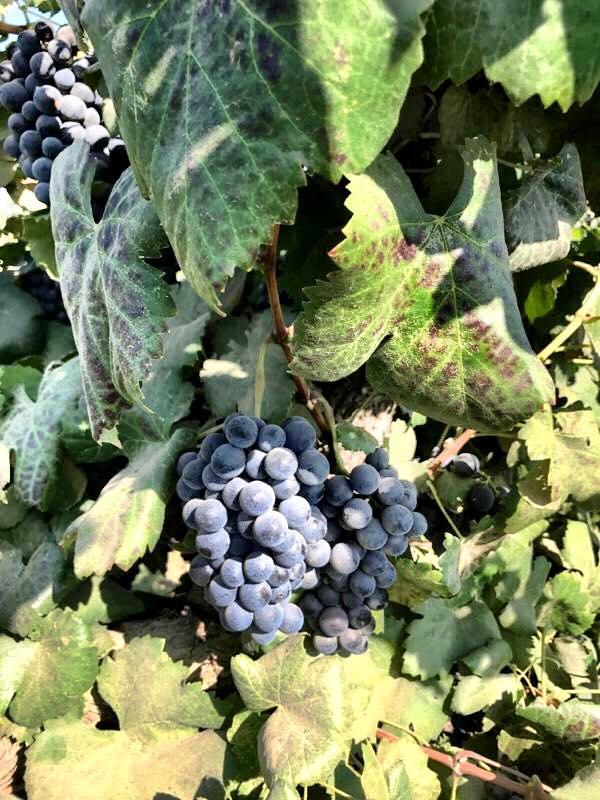
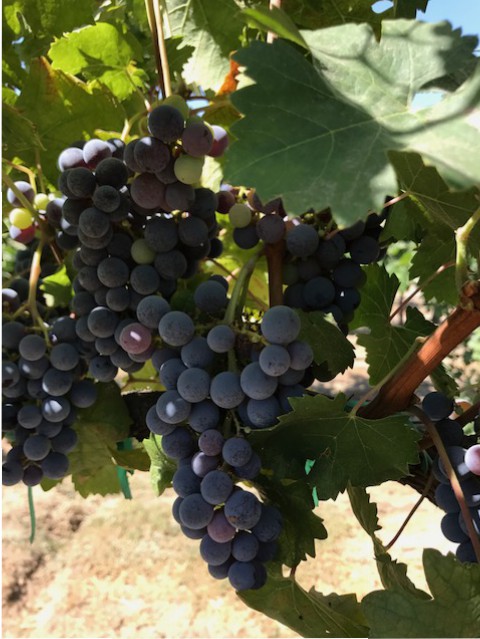
The Grenache grape is part of the original “Rhone Rangers” crew and one of the most widely planted red wine grape varieties in the world (over 500,000 acres planted so far..). It ripens late so it needs hot, dry conditions such as those found in Spain, where the grape most likely originated. Grenache flourishes in the AVA’s such as Central Valley, Fresno County, Lodi, and other Mediterranean–style climates.
Usually a brilliant ruby pink hue with notes of ripe strawberry, orange, hibiscus and sometimes with a hint of ripe peach. You’ll find Rose´of Grenache wines to have moderately high acidity, but most have quite a bit of color and body. Perfect pairing with this wine would be a summer evening and takeout Greek Gyros with dill tzatziki.
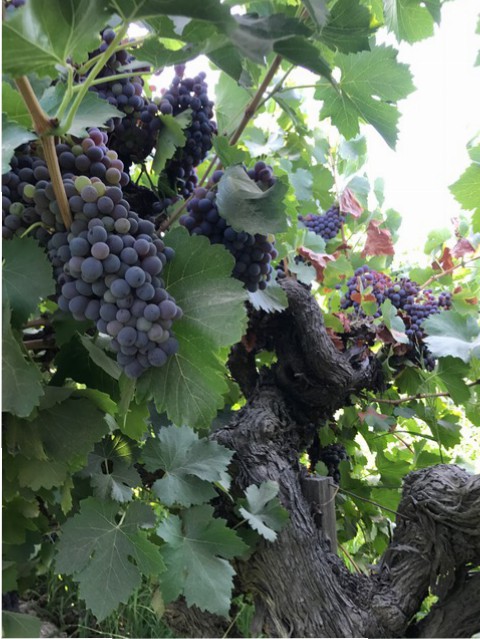
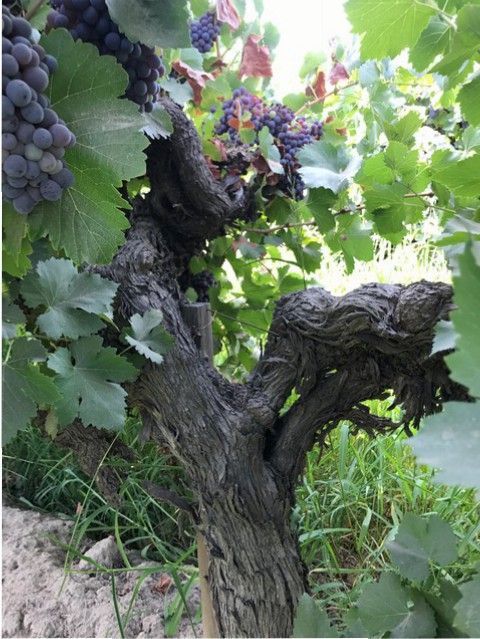
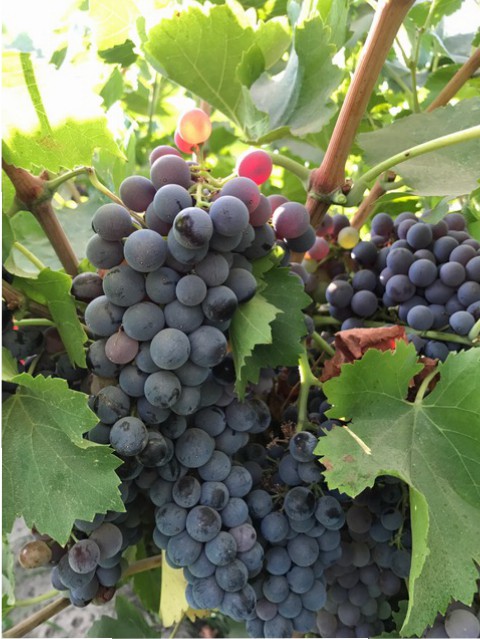
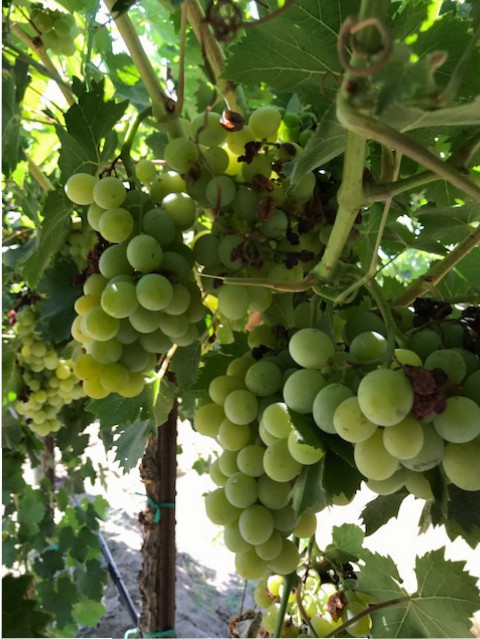
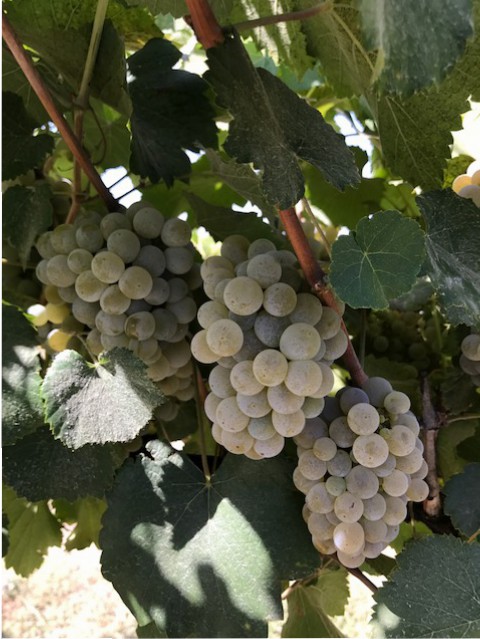
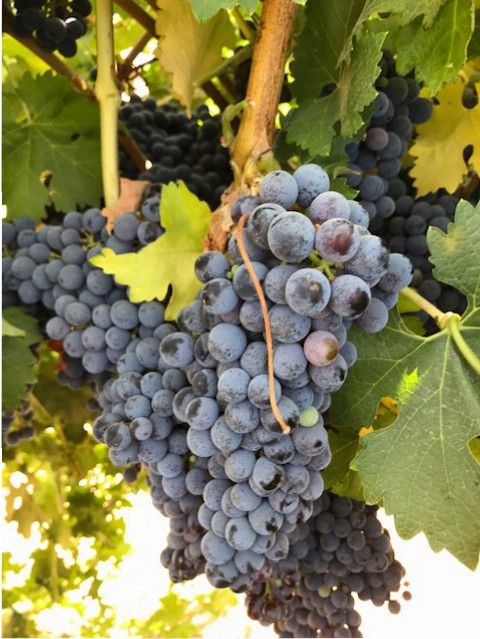
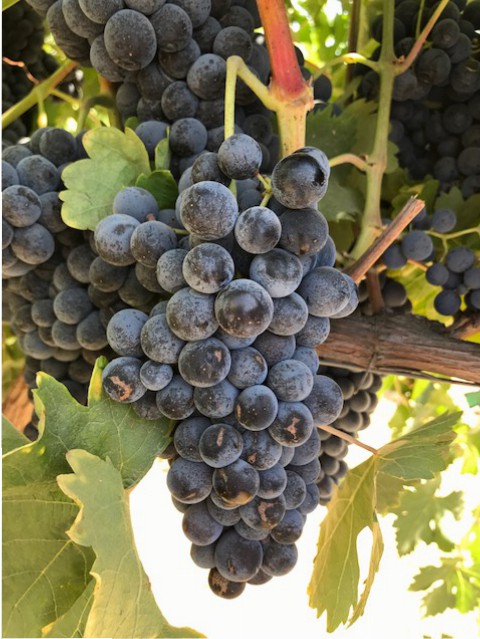
Below are some photos of our beautiful Grenache Noir from our newest vineyard- King’s River. They will be arriving in early September. Make sure to put in your pre-order for this Rose´worthy grape!
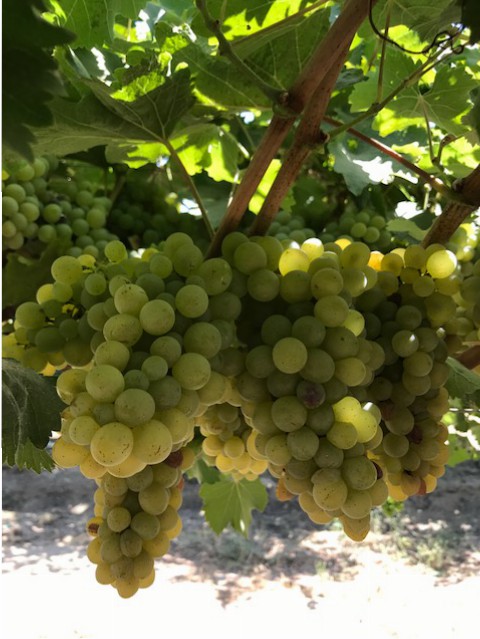
New Vineyard: King’s River

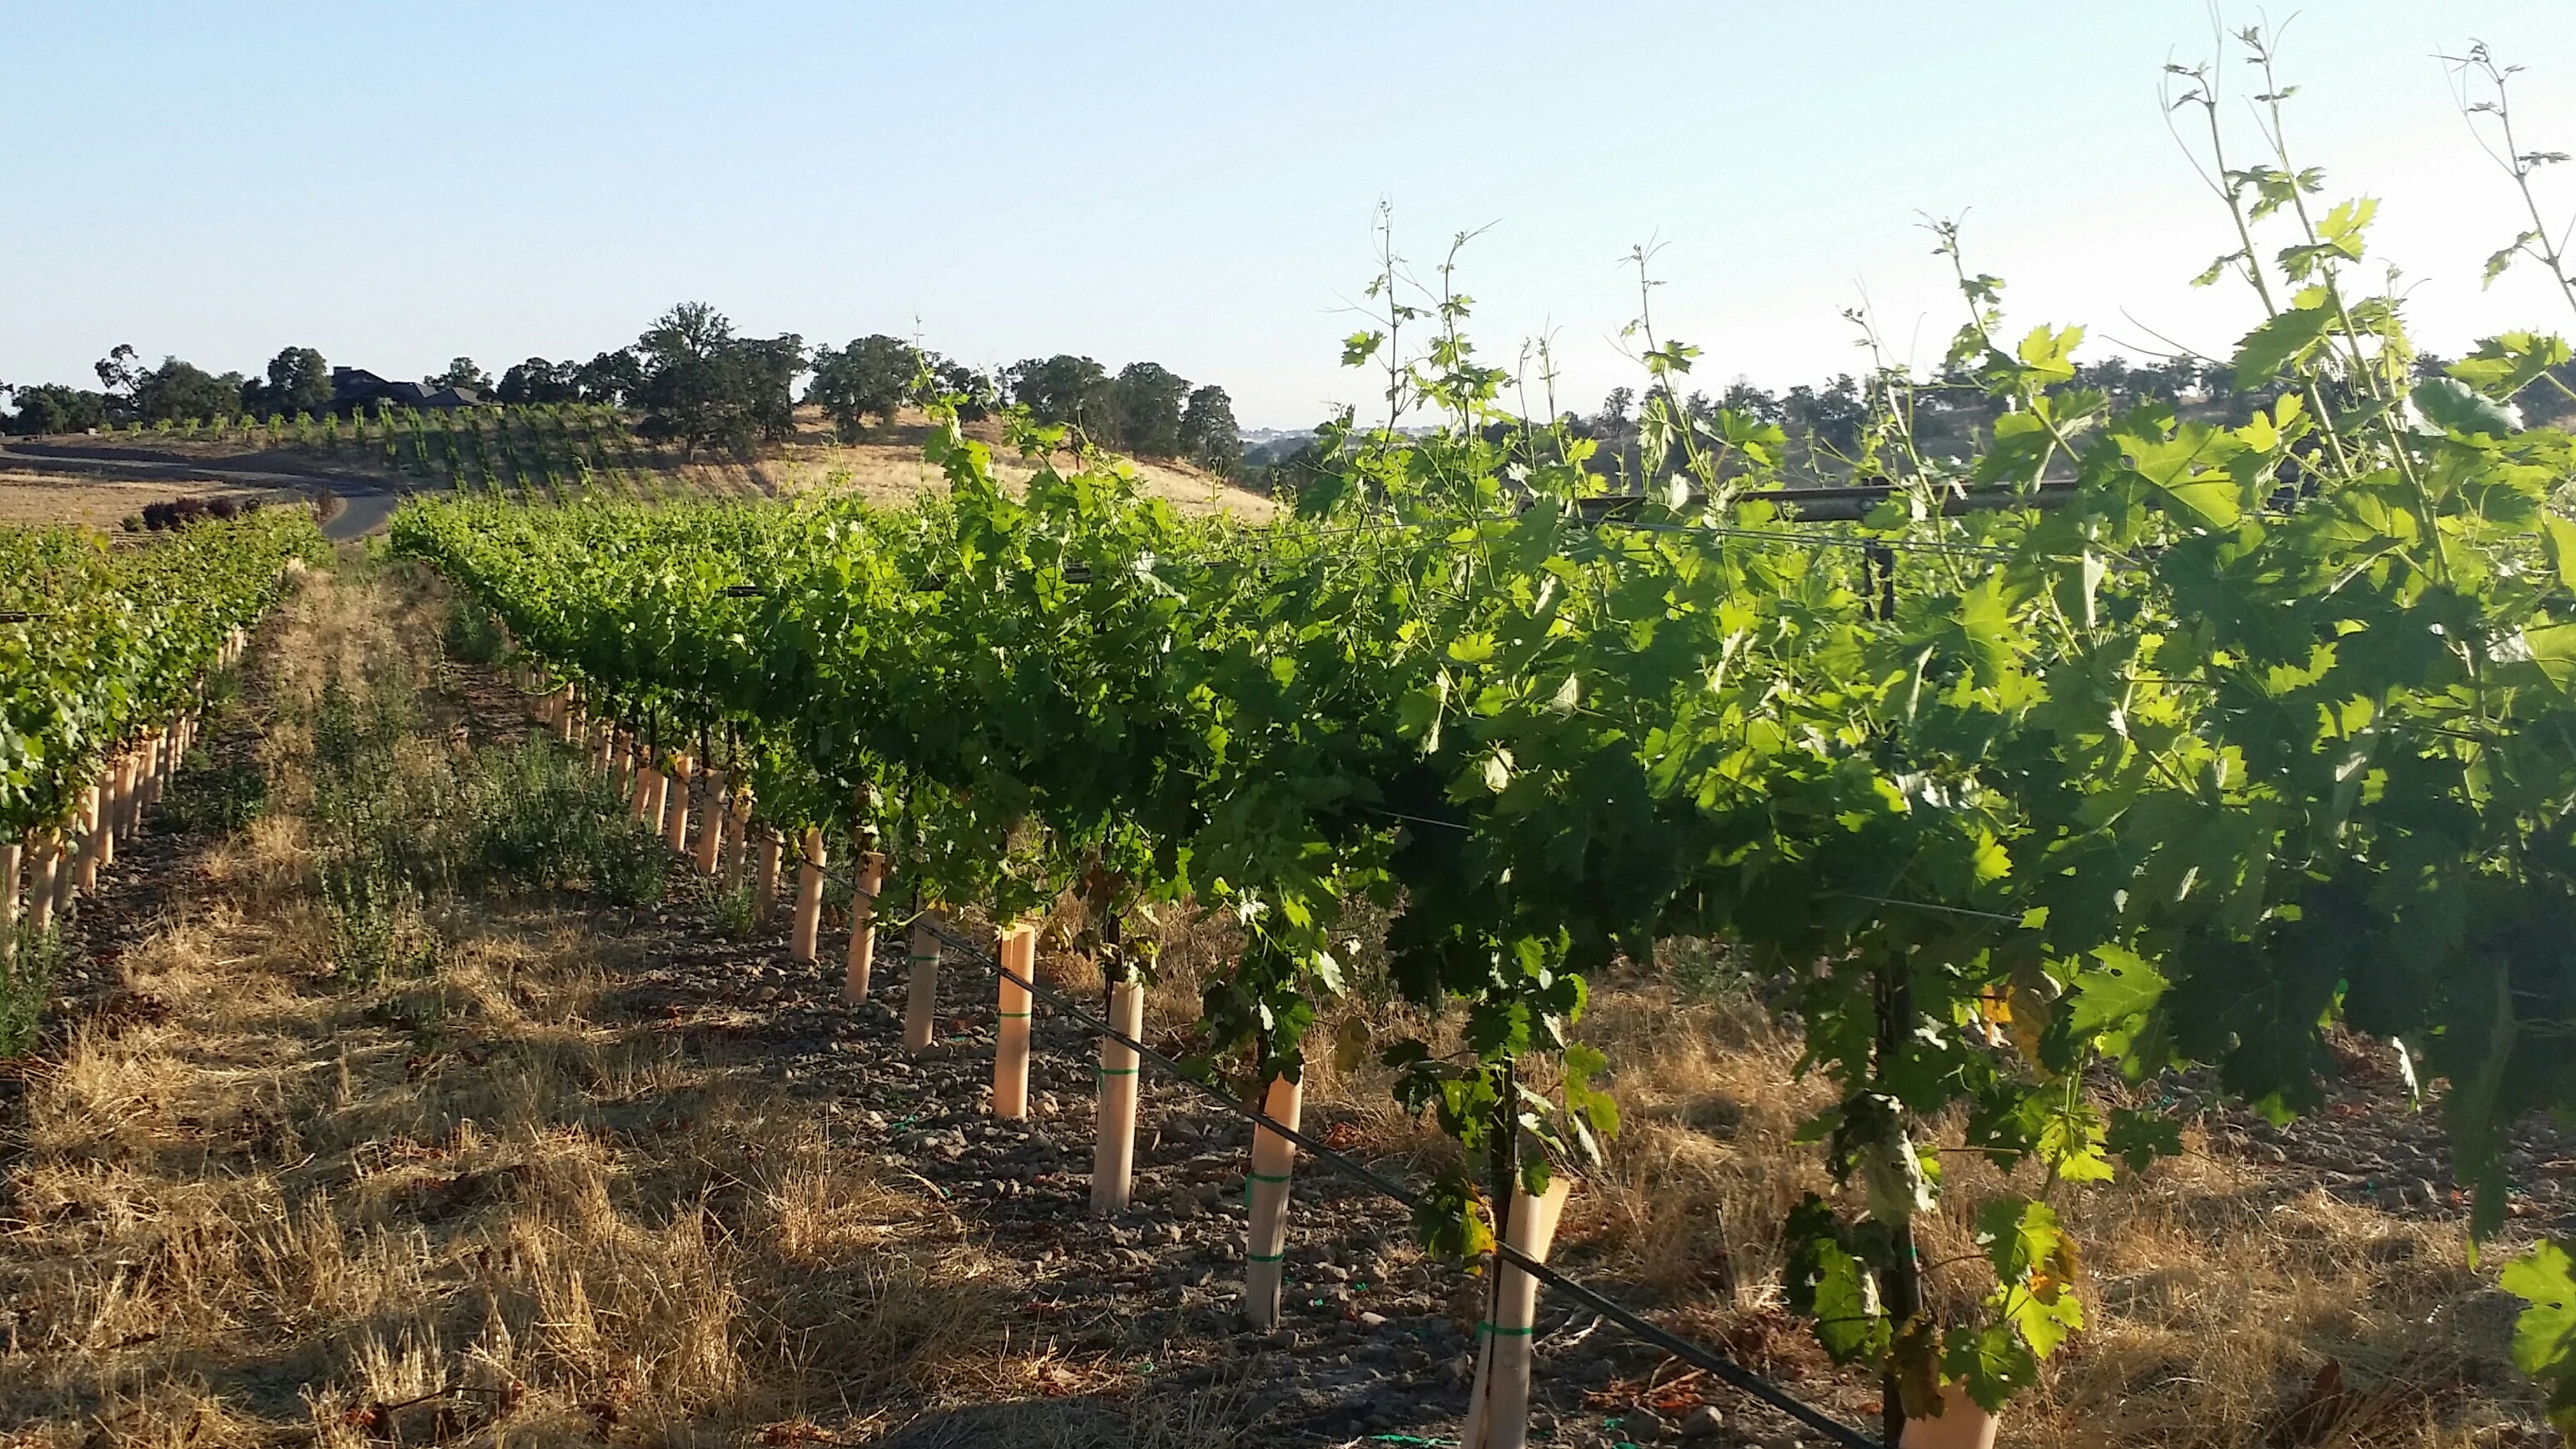
The King’s River Vineyard is located in Sanger, CA – Southeast of Fresno, on the way to Squaw Valley, Tahoe and the Sierra Foothills.
The vineyard is made up of 40 acres of white ash & sandy loam soil. The vineyard has been in existence since 1954 and the family has grown everything from grapes for wine and raisins to peaches, plums, and apricots on this little piece of paradise. However, they ultimately decided to focus on what they love most – boutique style wines. The vineyard produces Cabernet Sauvignon (Clone 337), Petite Sirah, Alicante, Syrah, Barbera, Cabernet Franc, Tempranillo, Primitivo, Albariño, Muscat, and Chenin Blanc. Each block is meticulously managed. They thin leaves, drop fruit to secure intense flavors, and drip irrigate as to not over-water the vines. This family definitely produces grapes of distinction.
Their Wine Awards Include…
• 2014 Reserve Petite Sirah- Silver Medal
• 2014 Syrah- Bronze Medal
• 2014 Alicante Bouchet- Bronze Medal
• 2015 Reserve Albarino- Bronze Medal
The Winemaker’s Think Tank: Vol 26 – How do I test for Acid?

What’s the Winemaker’s Think Tank?
Every Thursday we will post about a few frequently asked questions that our winemaker has answered. If you have a winemaking question you would like to have answered, please email us at support@juicegrape.com and we will try to get into next week’s post. Cheers! 🙂
How do I test for Acid?
When testing for acidity in wine, you are looking for the Total Acidity value, or the amount of acids in grams per liter of wine. While this may sound complex, it will help you in achieving a proper balanced flavor in your end product. You will need a few basic lab supplies: a test tube, a small 10ml graduated syringe, phenalthalein, sodium hydroxide. Draw a 15ml sample of the wine to be tested into the test tube. Add three drops of the phenalthalein. Swirl the drops around in the wine to mix it in thoroughly. (Note: When using sodium hydroxide, be very careful. It is a strong base that can cause burns. We suggest wearing eye and skin protection.) Using the 10 ml graduated syringe, slowly drop in the sodium hydroxide by .5ml at a time. Every drop, swirl the test tube contents to mix and observe any color reactions. Upon adding the drop, you will see an immediate color change, that will then dissipate. For white wines, you will observe a pink color and for red wines you will observe a grey color. Keep repeating the process of adding a drop, swirling and observing until the color change is permanent. The amount of sodium hydroxide used, when the color change is permanent, will give you the Total Acidity. If 6ml of Sodium Hydroxide are used, then the wine contains .6% or 6g/L of TA.
We hope this information helps with your winemaking. If you have any follow up questions or winemaking questions in general, please email us at support@juicegrape.com.
2017 Harvest Outlook for Suisun Valley, Lodi, and Central Valley

Suisun Valley Harvest Outlook
Everything is maturing along in Suisun Valley. We are seeing verasion come to end in varieties such as Merlot and Sangiovese. Petite Sirah, Cabernet 169, and later varieties are still going through the verasion process. Looking at the maturity level of the grapes harvest should start around September 4th in Suisun Valley – beginning with Sauvignon Blanc and Chardonnay. The next varieties to pick will most likely be Merlot around September 10th and, Sangiovese, and Malbec around September 16th. The later varieties such as Petite Sirah and Cabernet 169 should harvest around late September/early October.
Interested in the weather in Suisun Valley? Click here to see what our weather stations are picking up on a daily basis!
Lodi Harvest Outlook
Overall the Lodi crop looks great. The rain helped strengthen the deep roots this winter, which allowed the vines to grow a vigorous canopy. The big canopies from the record rain fall has protected the grapes from the summer heat. Therefore, it should be an average to slightly below average crop this year. Most varieties look normal, however Cabernet and Zinfandel look to be low slightly lighter than last year. The Lodi appellation is made up of mostly sandy loam soil and unlike the Central Valley they get constant cooler temps in the evenings. This area experiences 40 degree swings in temps that help with coloring the grapes and the skins are thicker which produce a dark juice high in tannins. This is why the region is famous for its delicious Zinfandels and Italian grape varieties!
Central Valley Harvest Outlook
With the extra rain fall Central Valley is looking to be a great harvest. The crop looks to be about the same as last year and we should be harvesting about 4-6 days later than last year. We anticipate some of the Central Valley fruit to start shipping to the East Coast around August 28th. Get your crushers ready!!
We should have an updated harvest report pertaining to Paso Robles, Napa/Sonoma, Contra Costa, and Washington State next week. Keep an eye out for our next email.
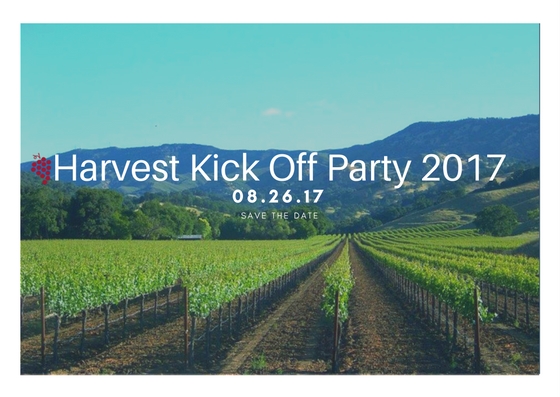
There is a lot going on at Musto Wine Grape Company and we are looking forward to seeing you on August 26th for Customer Appreciation Day.
Cheers to making your favorite wine!!
Lodi is now a Premier Region for Sustainably Grown Grapes

Lodi is becoming a force to be reckoned with, especially when it comes to sustainability….
“Lodi Rules for Sustainable Winegrowing is California’s original sustainable viticulture program. This program truly began from the ground up, with growers deciding it was important for the future of the Lodi region. Our certification process is rigorous, based in science, voluntary, and third-party audited. Lodi Rules certified growers make up an innovative community with a history and commitment to farming quality winegrapes through the implementation of viticulture practices that balance environmental, social, and economic goals. Lodi Rules was designed to communicate our commitment to sustainable agriculture to wineries and the general public.
Lodi Rules has two key components. First, Lodi Rules promotes winegrape grower adoption of over 100 sustainability practices, which are called “Standards”. The Standards were collaboratively developed by a team of Lodi winegrape growers and viticulture professionals, and were first accredited by Protected Harvest in 2005. The Lodi Rules Standards are the backbone of the program, and are organized into six Chapters: 1) Business Management, 2) Human Resources Management, 3) Ecosystem Management, 4) Soil Management, 5) Water Management, and 6) Pest Management. Each Standard meets three criteria: first, it is measurable; second, it addresses at least one of the three aspects of sustainability (environmental health, social equity, and economic viability); and third, it is economically feasible to implement. We believe that the Lodi Rules Standards are the most thoroughly and rigorously vetted set of sustainability practices in California’s viticulture industry. All Standards have been peer reviewed by world renowned third-party scientists, members of the academic community, and environmental organizations.
The second key component of Lodi Rules is the pesticide risk model, PEAS, which is unique to Lodi Rules. Pesticide Environmental Assessment System (PEAS) is a risk model used to quantify the environmental and human impact of all pesticides applied in a vineyard. The PEAS model generates an Environmental Impact Unit (EIU) for each pesticide, which is based on the pesticide’s impact on 1) acute risk to farm workers, 2) dietary risks from acute and chronic exposure to people who consume the product, 3) acute risks to small aquatic invertebrates, 4) acute risk to birds, and 5) acute risk to bees and pests’ natural enemies. Pesticide use by Lodi Rules certified growers must fall below 50 PEAS impact units for the season.
A vineyard qualifies for certification if it meets several criteria. First, growers accumulate points through implementing sustainability practices and must sum to at least 50% of the total points available in each Chapter. Growers must accumulate at least 70% of the total points available across all six Chapters. Implementation of some Standards is mandatory. Such Standards are those that the program designers believe are imperative for sustainability. Certification is awarded to an individual vineyard on an annual basis. Certified vineyards must pass an annual independent audit to verify the implementation of sustainability practices.
2013 marked a year of improvements to the Lodi Rules, the most significant of which was a content revision of the Standards. The Lodi Rules Committee began the revision process in 2011 with the explicit goal of increasing the scientific rigor of the Standards while also making the program more adaptable to a diversity of vineyard conditions and management goals. In January 2012, the Protected Harvest Board of Directors accredited the revised Standards. In 2017, the Standards were further edited for clarity and consistency, and two new Standards were added to give growers credit for sharing sustainable viticulture knowledge and for conducting on-site collaborative research. The current, accredited 2017 third edition Standards are available for download HERE.“
So if you are interested in sustainably grown grapes Lodi is a top contender for this year’s harvest!
Speak to a Musto Crush Crew Representative Today about your fall harvest order – 877.812.1137 / sales@juicegrape.com
The Winemaker’s Think Tank: Vol 25 – Why is my wine evaporating?

What’s the Winemaker’s Think Tank?
Every Thursday we will post about a few frequently asked questions that our winemaker has answered. If you have a winemaking question you would like to have answered, please email us at support@juicegrape.com and we will try to get into next week’s post. Cheers! 🙂
Why is my wine evaporating?
Just like water or any other liquid, with prolonged exposure to air, wine can evaporate. When aging wine in an enclosed container such as a tank, carboy, or demijohn, the container should have an airtight seal via an inflatable gasket or an airlock and bung. This will help prevent against oxidation and will reduce the amount of evaporation dramatically. If you still see some evaporation happening in one of these closed containers, evaluate your bungs and seals as they may not be working properly.
The main source of evaporation in winemaking is through barrel aging. Barrels are a porous environment that allows the wine to “breathe” over time. This “breathing” process is essentially evaporation. The wine is exposed to air through the porous staves and small portions of the wine evaporate into the atmosphere. This has positive effects on the wine as it creates a creamier mouthfeel, can reduce the perception of acidity, and imparts oak flavor. The barrel must be filled monthly with additional wine to reduce the head space and replace the evaporated product. This will prevent the wine in the barrel from oxidizing. While the breathing process may be a source of frustration, as you witness your wine evaporating into thin air, it will help you to create a fuller, heavier, more lush wine.
We hope this information helps with your winemaking. If you have any follow up questions or winemaking questions in general, please email us at support@juicegrape.com.
Making Wine from a 1 Gallon Wine Kit By Frank Renaldi


I have never made a gallon of wine in my life; I mean not that small a batch. I am used to making much more wine at a time, from a few gallons to 4000 gallons at a winery. I have made wine from mostly fresh grapes, white juice and even 6 gallon kits. In fact I have made over 50 kits in my days, but I had to think twice before I made a ONE gallon kit.
Well, I did it and guess what? It was fun! I made a one gallon kit from Mosti Mondiale Vinifera Noble. I tried the Malbec, since I just made 45 gallons from Chilean grapes. I thought it would be a good comparison on the nose and the taste. Since I made kits before, I was familiar with the process. And this small kit was no different – It was the same process you have for the standard six gallon kits.
The biggest challenge I had to deal with was the smaller fermentation and storage vessels required for one gallon of wine. I started by pouring the grape juice in a one gallon bottle and then topping it with water to measure out the correct volume. You can buy a two gallon fermentation pail, but I thought I would try using one of my 3 gallon carboys with an air trap. So I poured the gallon of adjusted wine into the 3 gallon carboy and then poured the yeast into the opening in the carboy. It worked fine.
In order to test the specific gravity of the wine during fermentation, I just poured some of the wine into a hydrometer jar. After taking the measurement, I poured the wine back into the carboy to continue fermenting. There was no wasting of wine on this batch. When I had to stir the wine, I simply shook the entire carboy.
When fermentation was complete, I racked the wine into a small pail. Then I added in the packets of sulfite, sorbate and clarifying agents supplied with the kit. Then this finished wine was poured into a gallon jug to settle for further rackings and aging. Always remember to top off the storage vessel to avoid oxidation.
I think the biggest challenge was the de-gassing of the wine. Normally, with a six gallon kit we whip the wine with a degassing wand on the end on a drill. We need to get rid of the gas trapped in the wine for clarifying and for a still wine (no fizz). With this small batch, there really is not enough wine to whip. I decided to use a vacuum pump to degas the wine, which I have also used on larger batches of kit wines. A small vacuum pump is easy to use and economical.
So, my wine is aging and smells wonderful. I will get five 750ml bottles of wine from this kit. So why make such a small batch? It is a great way to learn how to make wine as a beginning wine maker. The cost is minimal, but the experience is great. You can make 2, 3, or 4 different grape varietals and blend them when they are finished. Once you get your feet wet with these starter kits, you can move onto six gallon kits which yield 30 bottles – now we are talking. Then you have the confidence to move up to juice and grapes. After that, there is no stopping you!
Have fun with this smaller kit. I did and had fun doing it!!
Frank Renaldi
The Winemaker’s Think Tank: Vol 21 – Do I need a barrel to make wine? Can I just use tanks/glass?

What’s the Winemaker’s Think Tank?
Every Thursday we will post about a few frequently asked questions that our winemaker has answered. If you have a winemaking question you would like to have answered, please email us at support@juicegrape.com and we will try to get into next week’s post. Cheers! 🙂
Do I need a barrel to make wine? Can I just use tanks/glass?
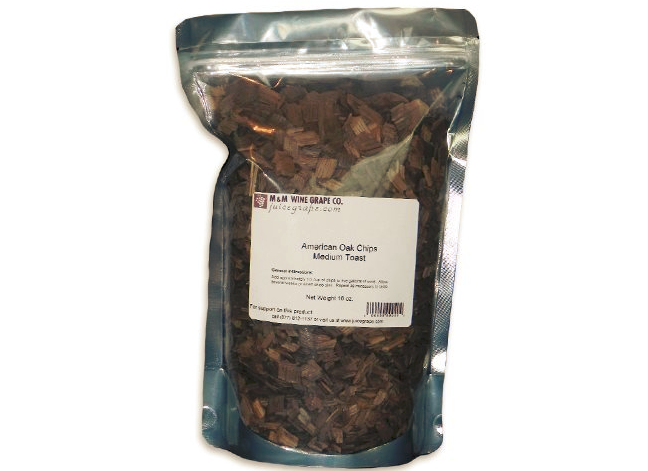
Most aspiring winemakers hold romantic visions of putting their wine in a barrel, tasting it periodically with loved ones, waiting until the magical moment it tastes perfect, and is ready to bottle. While there are benefits of barrel aging wines, it is not required to create a dry wine with oak flavors. Juice may be fermented in barrels, tanks, carboys, or pails. While the oak will add certain flavor characteristics and “sacrificial tannins” to the wine during fermentation, the winemaker can add oak dust, chips, or staves to create a similar effect. Furthermore, during the aging process, oak chips, spirals, staves, balls, cubes, etc. can be added to the wine to give it a pleasant oaked flavor. This is ideal for the home winemaker as it is more cost effective and often requires less time than traditional barrel aging. When wine is aged in a barrel, some of the wine evaporates out of the barrel, often referred to as the “angel’s share”. This results in a more concentrated, creamy mouthfeel as well as an oaked flavor. The wine within the barrel must be maintained as the evaporation will cause an air gap in the barrel (headspace), which can promote oxidation. Spare wine must be kept in a separate container to be used to top off the barrel to minimize this headspace. In summary, barrel can add a beautiful finesse and flavor to your homemade wine, but are not crucial to home winemaking success.
We hope this information helps with your winemaking. If you have any follow up questions or winemaking questions in general, please email us at support@juicegrape.com.
Recent Comments