B-Brite: Product Spotlight
What is B-Brite?
B-Brite is an eco-friendly cleaner that uses sodium percarbonate and sodium carbonate to remove stains and fermentation residues. It contains no chlorine, which can be dangerous around wine. If chlorine comes in contact with your wine or winemaking equipment, it can result in “cork taint.”
It is not a sanitizer or disinfectant, so you’ll still need some SO2 handy to sanitize your equipment afterwards. B-Brite does have moderate anti-microbial properties, however, that can be beneficial in fermentation settings. It is safe to use on all materials and equipment.
How do I use it?
First, dissolve one Tablespoon per 1 gallon of warm water. Second, wash your equipment with the solution. Lastly, rinse with clear, cold water. For descaling of significant mineral buildup, a 20-30 minute soak in B-Brite solution might be required.
Where can I get it?
You can find and purchase it here. We carry it in multiple sizes ranging from 8oz to 5lbs. If you need assistance in cleaning your winemaking equipment, check out our Free Cleaning and Sanitizing video (here), or give us a call at (877) 812 – 1137 and a sales associate will be here to help you find what you need.
Product Spotlight: Triple Scale Hydrometer
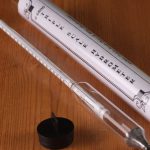
A Triple Scale Hydrometer is a winemaking instrument used to measure the progress of fermentation and determine the alcohol percentage it will yield.
How does it work?
The Triple Scale Hydrometer measures the density of a liquid in relation to water. In winemaking, you are measuring how much sugar is in the wine. The more sugar that is in the wine, the high the hydrometer will float. As fermentation proceeds and sugar turns in to alcohol, the hydrometer will slowly sink. When fermentation is complete the hydrometer will stop sinking.
How do I read it?
Triple Scale Hydrometers have their name because they indeed have 3 scales. The 3 scales are Specific Gravity, Brix, and Potential Alcohol.
Specific Gravity – is the ratio of the density of a liquid to the density of water. In winemaking, as you add sugar, the specific gravity increases. It indicates the amount of fermentable sugar or potential alcohol in the wine.
Brix – the measurement of the sugar content in grapes, must, and wine. This indicates the ripeness of the grapes at harvest. To get an alcohol conversion, multiple your Brix by .55.
Potential Alcohol – the total measurement of the alcohol that wine may contain, once fermentation is complete. This includes the levels of glucose and fructose. The levels of each will enable the winemaker to determine the conversion rate of sugar into alcohol.
How do I use it?
Place a sample of your wine into a test tube. You can use a wine thief to retrieve the wine from your vessel easily. Place the hydrometer into the test tube filled with wine. It will take a moment for it to stop spinning and moving around. Once it becomes still, record the data from each scale. It is a good idea to do this when you receive your must or juice so that you have your starting numbers. It is always a great idea to track your process for any future possible issues, or if your wine comes out amazing and you’d like to repeat the steps again for your next batch of wine.
Where can I buy one?
You can buy your Triple Scale Hydrometer here. Musto Wine Grape is here for you and all of your winemaking needs. From equipment to customer support, we’re here to help you make the wine of your dreams. For any questions email sales@juicegrape.com or call (877) 812 – 1137 to speak with someone to get you started!
How to Set Up Your Home Winery
Setting up your home winery
There are two factors to consider when you decide to build your home winery.
- How much money are you willing to spend to buy more equipment, build rooms, or add air conditioning?
- The second factor is how much room do you have to create your winery?
I converted my entire basement into a winery. But, I did it slowly, one room at a time. Let me walk you through that and see if what I have done could apply to your place for a home winery.
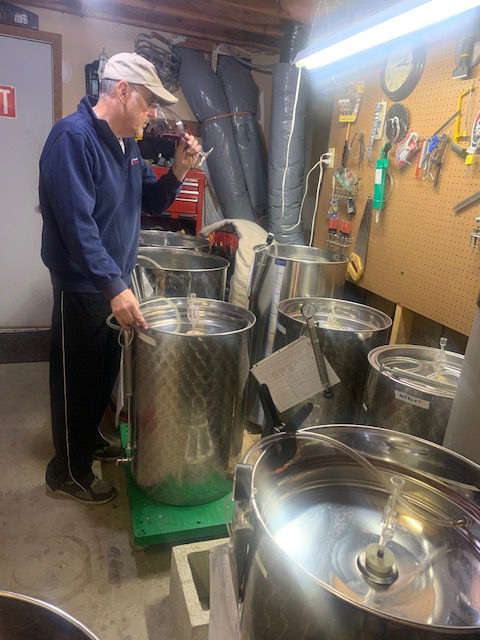
I have a room which holds my variable capacity tanks and carboys. This wine is aging and waiting to be moved into barrels. This room is air conditioned due to poor cellar temperatures at my home. I also have a sink in this room for cleaning and washing. I added a five foot counter to do all my lab work. Wine racks were added to the walls above the tanks to store all my 375ml bottles of port.
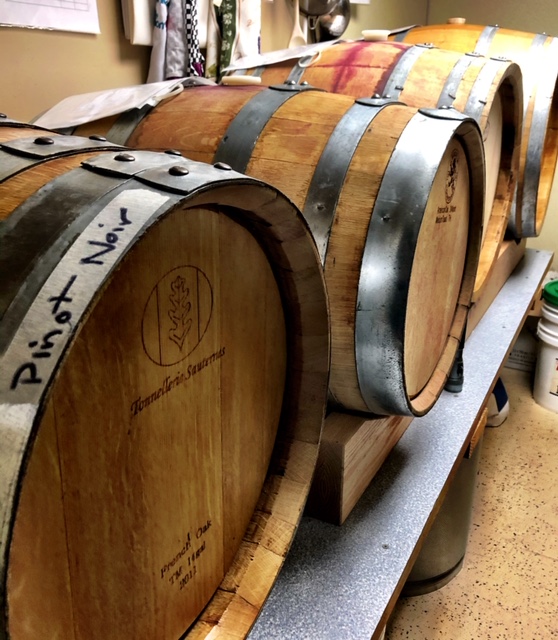
The next room I built was a barrel room. I finally took the step to barrel age my reds and have never looked back. The barrel aging makes the wine so soft and complex. I have seven barrels ranging from 15 gallons to 30 gallons. I suggest you stay in this range as a home winemaker. They are easier to handle and clean. You must also remember, you will need wine on “standby” to place into the barrel once you remove the existing wine to bottle. Plan well.
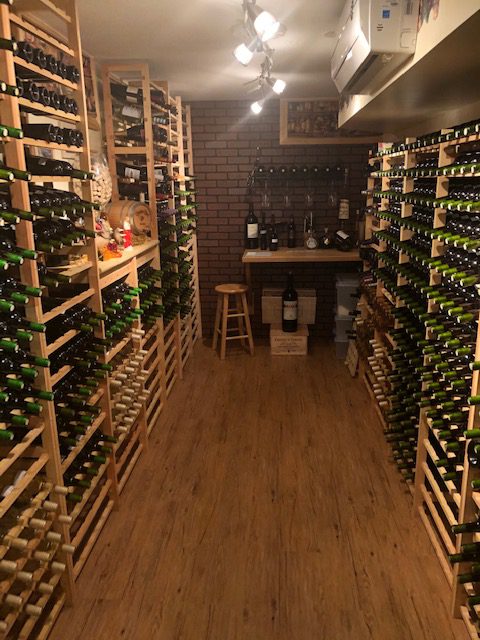
My final room was needed to store all the wine moving out of the other rooms – a bottles storage room. I bought wooden wine rack kits online, and after assembly I bolted them to the walls. I then put down a floor, nice lighting and a bit of decorating to tie it all together. The most critical thing I added was air conditioning, because bottle storage needs four things – cool constant temperature, darkness, proper humidity and no vibration. All the bottles are lying horizontally and peacefully aging.
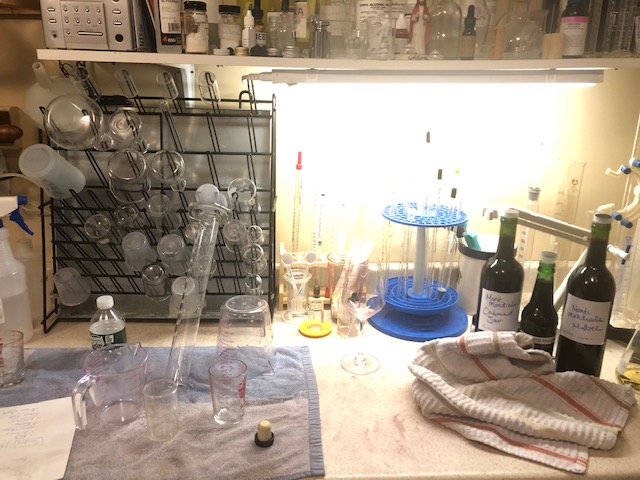
Besides proper areas to process your wine, you also need the tools to take care of this wine. Some of the “must have” tools are hydrometers, pH meters, pipettes, burrette, stir plate and an SO2 meter. These tools are needed to balance your grapes perfectly before pitching the yeast. They are also needed to adjust and protect your wine as it is aging.
Be sure to have other supplies on hand such as tartaric acid, potassium metabisulfite, fructose, tannins and oak. You will build your supplies and equipment as time goes on. Everything I talked about above will take you a level where you can become a dedicated, creative and proud winemaker!
Written by Winemaker Frank Renaldi
Peach Prosecco Popsicles
Peach Prosecco Popsicles
One of our all-time favorite summer treats is popsicles. You can make popsicles from pretty much anything, and they are perfect to cool down on a hot summer night! Not to mention, throwing in some fresh fruit and wine into a popsicle is one of the most genius inventions. We’ve got an easy peach prosecco popsicle recipe waiting for you, so keep reading!
Peach bellinis are a favorite cocktail! If you like them as well, you’re in luck because these popsicles are basically peach bellinis on a stick.
What you need and what to do:
You’ll need to buy some peach puree or make some yourself, which isn’t difficult at all. To make your own, grab 3 ripe peaches. Bring a pot of water to a boil, and place the peaches inside for about 1 minute. After about a minute, immediately remove the peaches from the boiling water and place into a bowl of ice water. Let the peaches sit in the cold water for about a minute or so, and you’ll be able to peel the skins off with your fingers. You can also use a knife if that’s your thing. Once you have removed the skins, you can begin to slice the peaches and remove the flesh off of the pits. Next, you’ll place the peach slices into a food processer or blender and blend until smooth. An easy alternative would also be to buy a bag of frozen sliced peaches if you want to skip the boiling and peeling. If your peaches are not sweet to your standards, feel free to add some sweetener to give it a boost. Mix your puree with Prosecco and pour it into popsicle molds. You can freeze overnight, or if you prep in the morning they can be ready for the late-afternoon.
Enjoy with family, friends, or a good quarantine movie night.
Want to make your own wine?
Musto Wine Grape Company is here to provide everything you need to make the wine of your dreams, and the support along the way to ensure your success! Give us a call at (877) 812 – 1137 to speak with a member of Musto’s crush crew to get you started!
King’s River Ranch Harvest Update
King’s River Ranch – 2020 Harvest
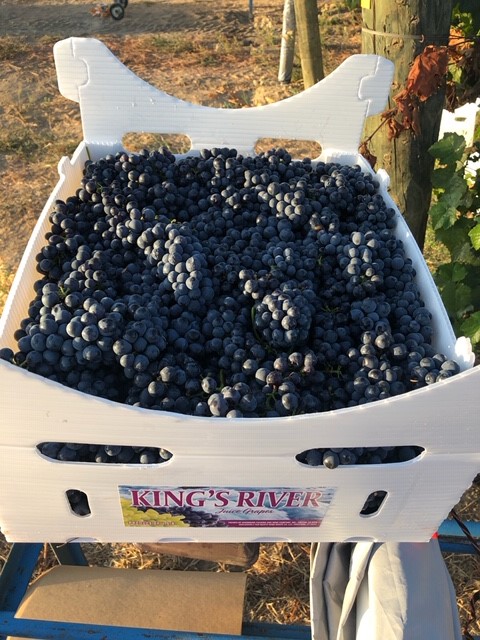
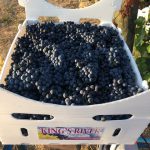
Nestled in Sanger, CA, southeast of Fresno, and on the way to Squaw Valley, Tahoe and the Sierra Foothills; is 40 acres of meticulously manicured vineyards known as King’s River Ranch. This season we are hearing that harvest is about 2 weeks earlier than last season coming out of King’s River. The grapes are developing well and they are having some great temperature swings in the vineyard.
The vineyard is made up of white ash & sandy loam soil. The vineyard has been in existence since 1954 and the family has grown everything from grapes for wine, raisins, peaches, plums, and apricots on this little piece of paradise. However, they ultimately decided to focus on what they love most – boutique style wines. The vineyard was planted in 2012 and produces Cabernet Sauvignon (Clone 337), Petite Sirah, Syrah, Barbera, Cabernet Franc, Tempranillo, Merlot, Sangiovese, Primitivo, Albariño, Muscat, Teroldego, and Pinot Noir. Each block is diligently managed. They thin leaves, drop fruit to secure intense flavors, and drip irrigate as to not over-water the vines.
Cabernet Franc
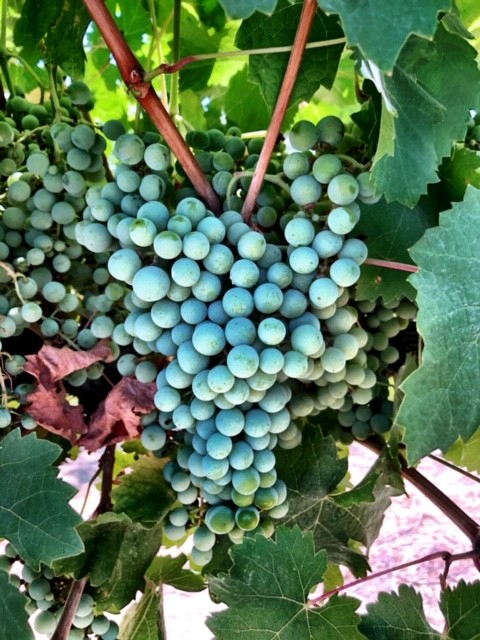
Cabernet Sauvignon
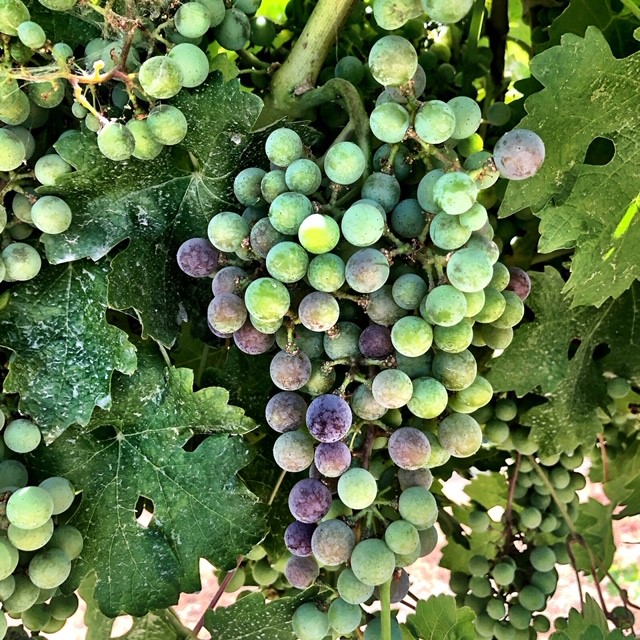
Merlot
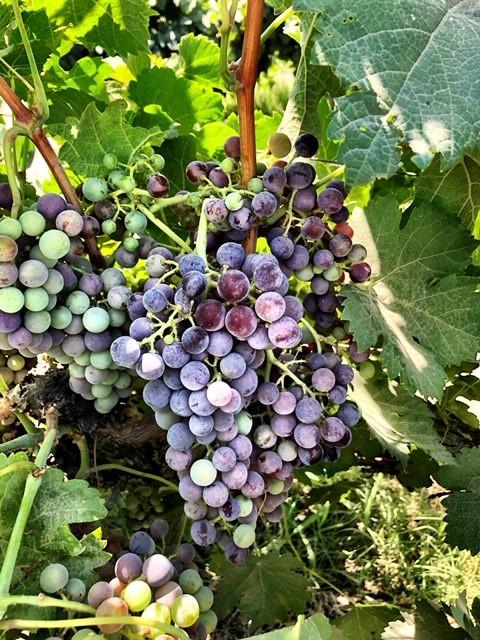
Muscat
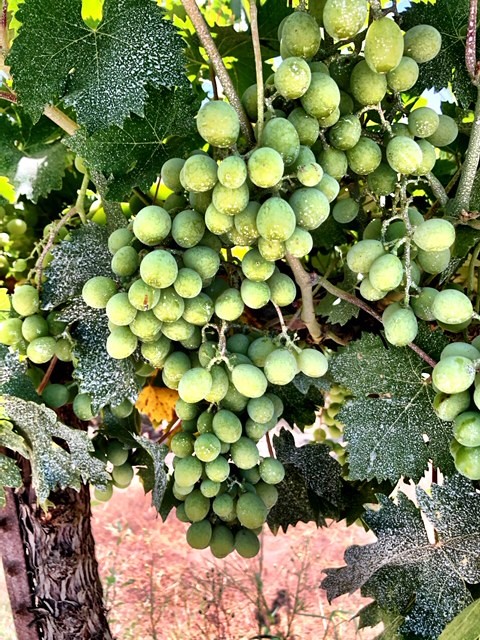
Petite Sirah
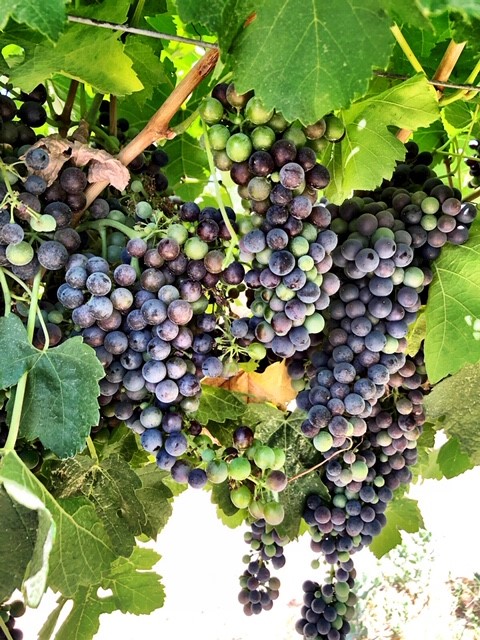
Primitivo
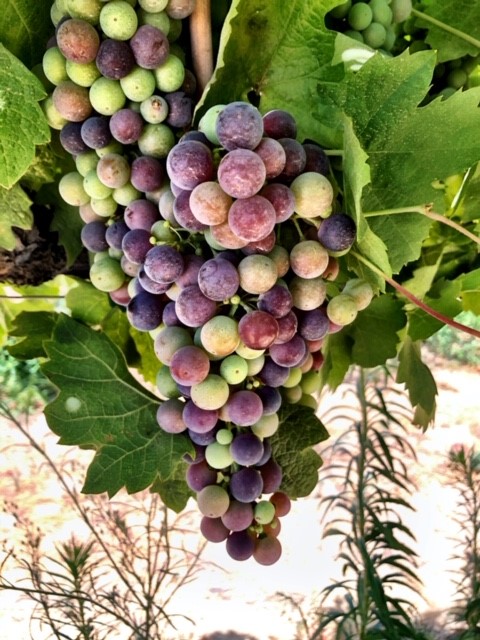
Sangiovese
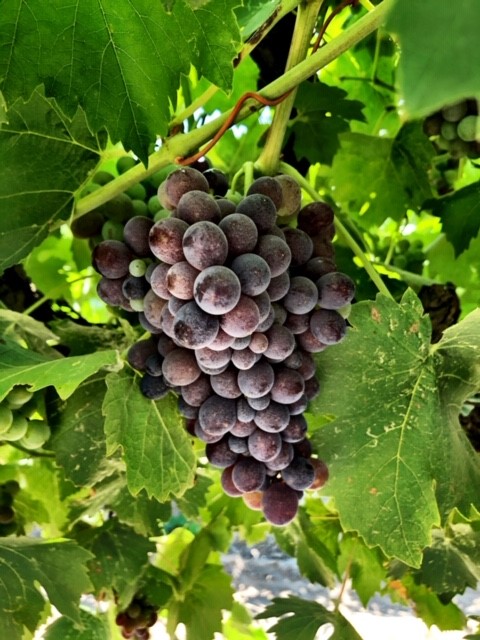
Sauvignon Blanc
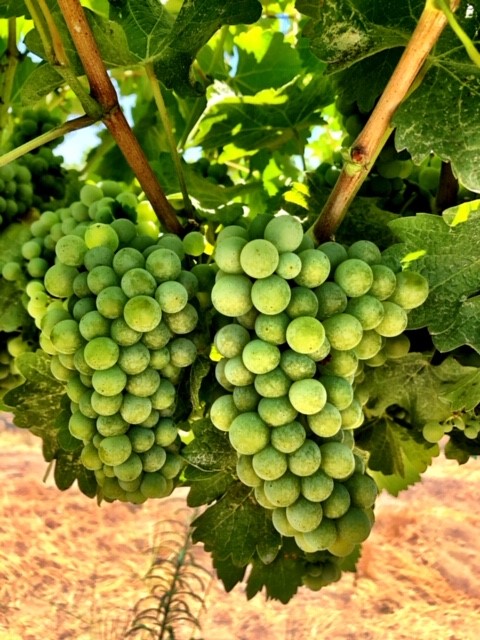
Tempranillo
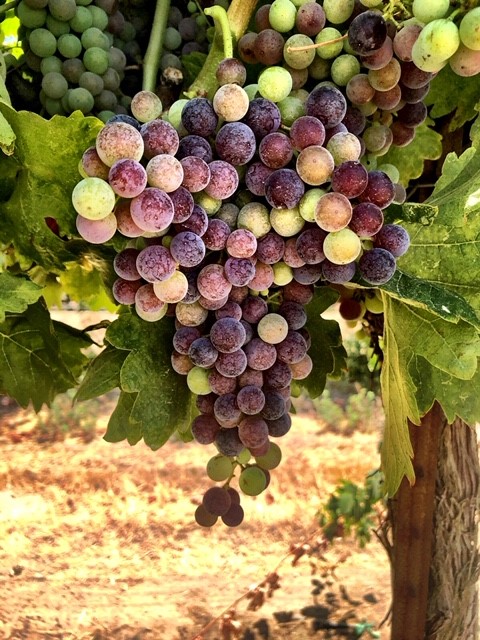
Teroldego
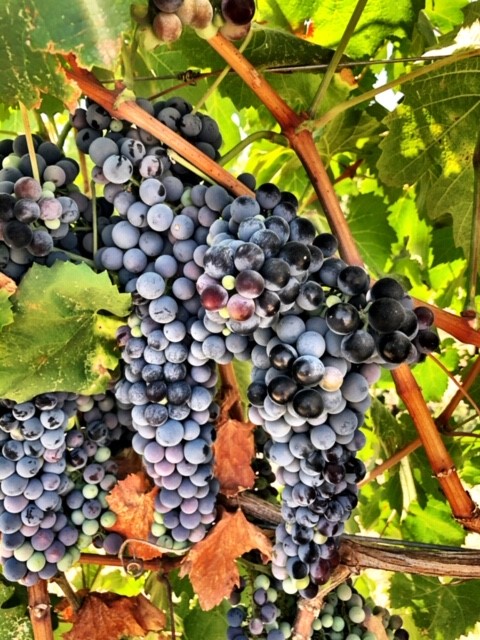
*All grape varieties are available in 36lb cases or in frozen must by request
For more information regarding the Fall Harvest please feel free to contact us at sales@juicegrape.com or give us a call at 877-812-1137. We are looking forward to helping you with your next great wine!
Mettler Ranch – Musto’s Newest Vineyard in Lodi, CA
The Mettler Ranch
Musto Wine Grape is excited to announce their newest vineyard addition, the Mettler Ranch. The Mettler family has been farming wine grapes since the 1770’s in California. They focused their vineyard growing in Lodi in the 1800’s. Their family is now in its eighth generation of wine grape growing, with the 6th and 7th generation both recipients of the Agricultural Hall of Fame. It’s safe to say that vineyard farming is in their blood.
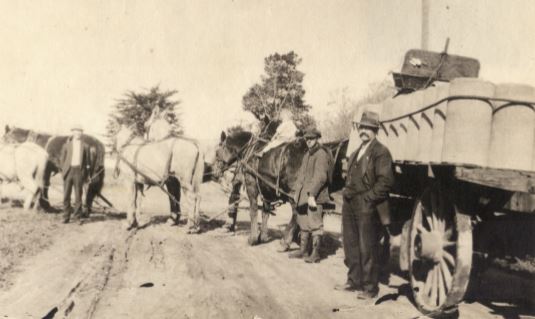
Regardless of their history, the Mettler family is constantly introducing new and progressive practices to create high quality wine grapes. They farm all of their vineyards sustainably (via LODI RULES) and as organically as possible; with certain blocks being certified organic by the CCOF (California Certified Organic Farmers). They use integrated pest management, cover crops, composting; and disease control through trellising, shoot positioning and leaf removal. The Mettler’s believe in farming the land for healthy vines and consistent wine quality.
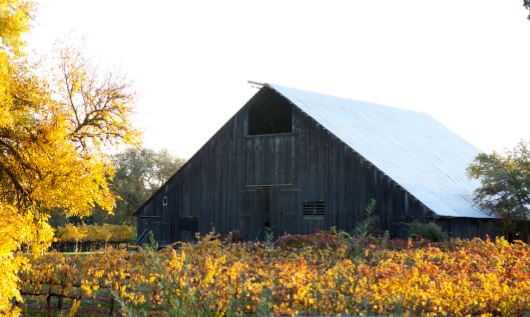
Organic Farming at a Glance:
Soil:
- Building organic matter within the soil is key to organic farming. You must feed the soil in order to feed the plant. The balance of the soil structure is critical not only in organic farming but to the overall health of the vine.
- Cover crops in vineyards are used to fix nitrogen and soil tilth. They create a habitat for beneficial insects and reduce erosion. Cover crops can also be helpful in weed control, and reduces air pollution by keeping dust down in the vineyards
- Use of compost on the vineyards floor if needed.
Disease Control:
- Prevention is key
- Modern trellising, shoot positioning, and leaf removal allow sunlight penetration and air flow into the vine’s canopy, greatly reducing mildew pressure.
Pest Control:
- Organic farmers must encourage a healthy ecosystem; to include and encourage predatory insect species, which eat pests
o By not using pesticides, beneficial insects remain in the vineyards. - Owl boxes placed in vineyards create a natural form of pest control
Weed Control:
- Mechanized in-row cultivator
- Hand hoeing
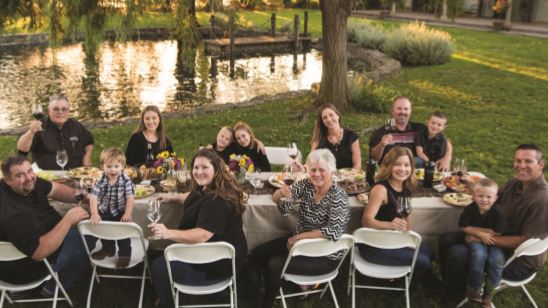
The Mettler family farms over 800 acres in the Lodi Appellation, some of which date back to their family’s original properties which are over 100 years old. In keeping with their progressive nature, they were the first to introduce French clones in the Lodi region. The family is very focused on producing wine grapes that make consistent and richly crafted wines.
PS- you might have noticed Berton Costamagna from Delta Packing (another one of our Lodi wine grape providers) in the Mettler family photo. This is because Berton is married to Kelli Mettler (now Costagmagna). Kelli is head of Wine Sales for her family’s winery. You might have met Kelli and Berton at our last Winemaker Competition Celebration. As a family run business, we at Musto Wine Grape love being able to work with other growing family businesses. If you visit Mettler Vineyards you’ll see their wine dogs and next generation running around in the vineyard, including Berton and Kelli’s son Caden.
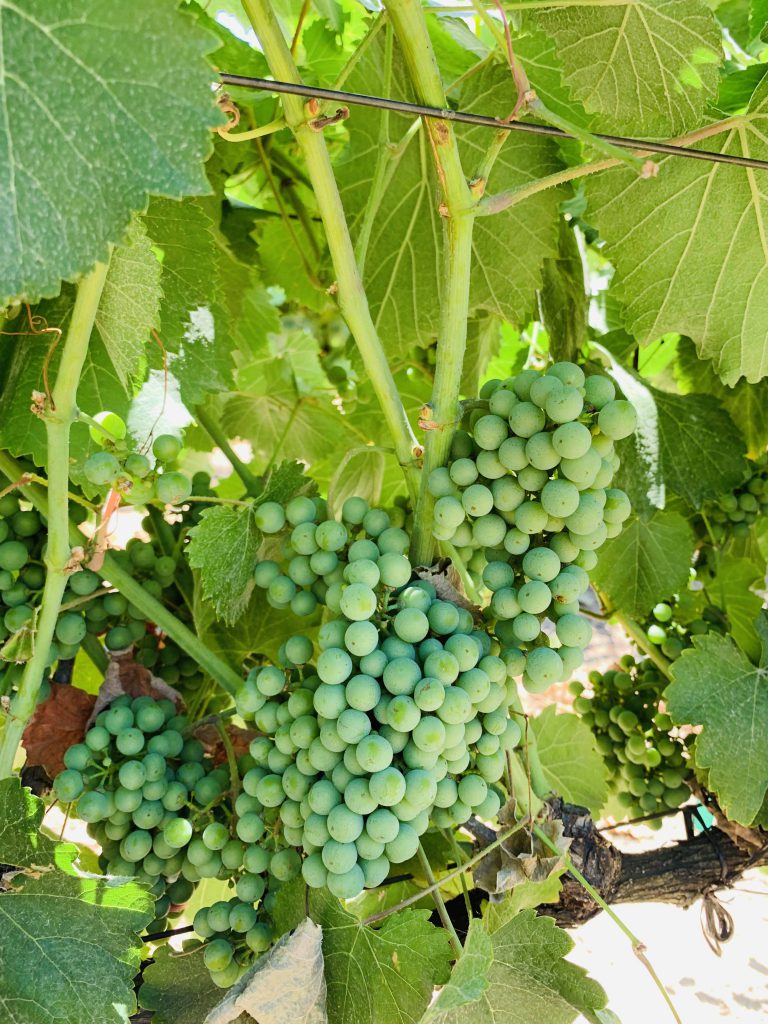
Wine Grape Varieties Available:
- Pinotage
- Grenache Noir
- Merlot
- Petite Sirah
- Syrah
- Cabernet Sauvignon
- Zinfandel
- Sangiovese
*All grape varieties are available in 36lb cases or in frozen must by request
The Mettler Vineyards:
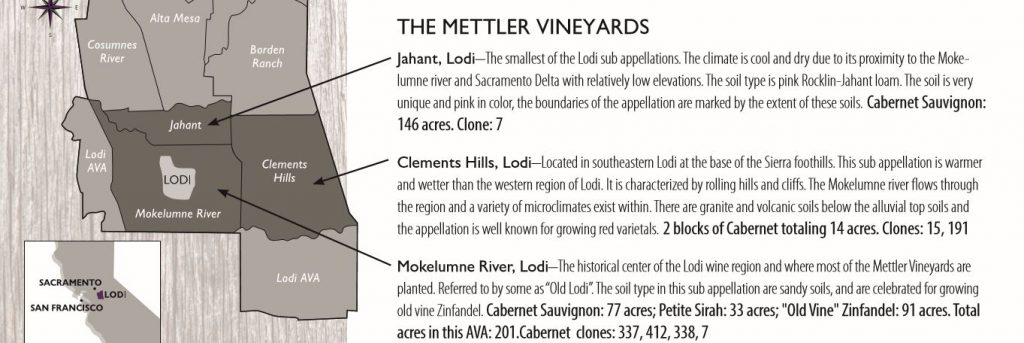
The Mettler Vineyards are located in Lodi’s Mediterranean Climate. Warm, dry summers, and cool moist winters. The dry warm summer days allow Lodi grapes to develop ripe fruit flavors while the distinctive breezes maintain the natural acidity for structure and complexity in the finished wines.
Mettler’s Wines of Distinction:
The Mettler family has their own winery located in Lodi, CA. Their winemaker, Adam Mettler recently won Winemaker of the Year from Wine Enthusiast. He creates award winning wines for many wineries in Lodi, including his family’s winery.
Awards Received:
- Cabernet Sauvignon: Red, velvety and complex with true varietal characteristics
- 92 Points – Wine Enthusiast 2019
- 91 Points – Wine Enthusiast 2020
- Petite Sirah: Deep and layered with concentrate flavors and excellent balance
- 94 Points – Wine Enthusiast 2019
- #33 of the Top 100 Wines of 2019 – Wine Enthusiast
- 92 Points – Wine Enthusiast 2020
- Old Vine Zinfandel: Hearty and full bodied with a genuine “zin” personality
- 91 Points – Wine Enthusiast (Feb. 2020)
- 92 Points – Wine Enthusiast (April 2020)
For more information regarding the Fall Harvest please feel free to contact us at sales@juicegrape.com or give us a call at 877-812-1137. We are looking forward to helping you with your next great wine!
Lanza-Musto Vineyards and Suisun Valley Harvest Update {071720}
Lanza-Musto Vineyards and Suisun Valley Harvest Update
as of 07-17-20
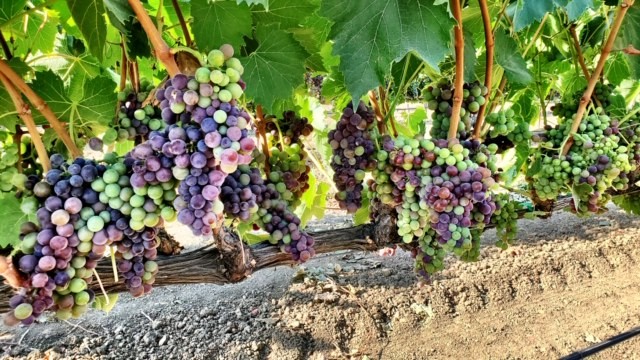
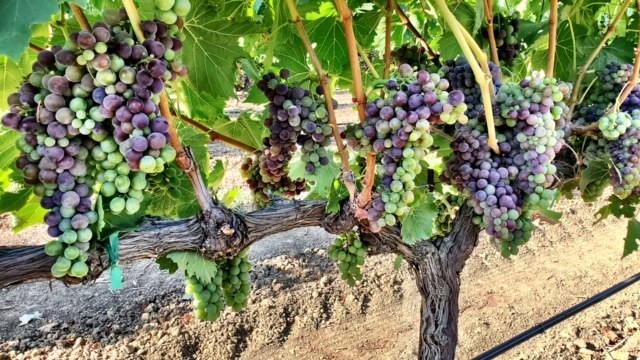
We were able to catch up with Ron Lanza this week. He said, “Harvest in Suisun Valley is looking to be about 1 to 2 weeks earlier than last year. Bud break was 10 days earlier than last year and Mother Nature seems to be keeping up with that trend. We are already seeing color (veraison) in the Brunello Clone Sangiovese vineyards! We have been busy doing a lot of thinning this year and the crop should be the perfect size. The Malbec is looking especially good this season. We are looking forward to sending these great grapes to the East Coast!”
Grape Varieties Available:
- Barbera
- Chardonnay
- Clone 8 (“Valley Cab”) Cabernet Sauvignon
- Clone 15 Cabernet Sauvignon
- Clone 169 Cabernet Sauvignon
- Koch Cabernet Sauvignon
- Malbec
- Muscat Cannelli
- Merlot
- Mouvedre
- Petite Sirah
- Petit Verdot
- Primitivo
- Riesling
- Brunello Clone Sangiovese
- Sauvignon Blanc
- Syrah
- Tempranillo
*All grape varieties are available in 36lb cases or in frozen must by request
Juice Varieties Available:
- Chardonnay
- Napa Gamay (Pink)
- Muscat Cannelli
- Riesling
- Sauvignon Blanc
*All juice varieties are available in 5.25 gallons pails, cold settled, zero additions or balancing done to the juice.
For more information regarding the Fall Harvest please feel free to contact us at sales@juicegrape.com or give us a call at 877-812-1137. We are looking forward to helping you with your next great wine!
2020 Central Valley Grape Harvest Update {7/10/20}
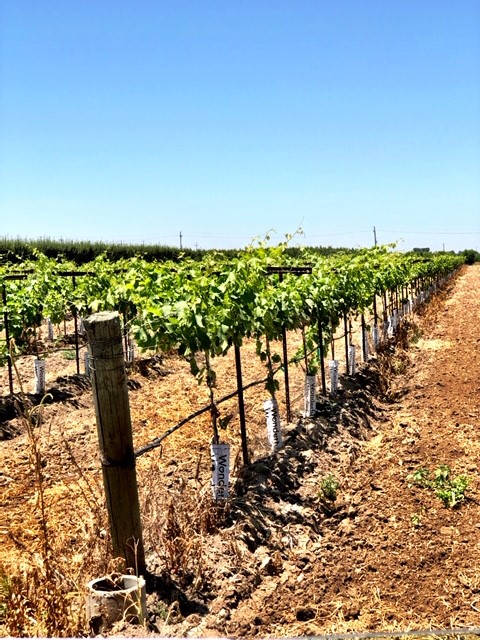
We spoke with Joe from Cry Baby Vineyards this week and he said, “the 2020 harvest is off to a great start. We had good growing conditions throughout the year and veraison is happening in the Black Muscat and Teroldego vineyards. The crop is looking to be of normal to light size. This means well balanced berries for great winemaking results. We are projected to have some higher degree days in the coming weeks. Due to this, we are thinking harvest might be 1-2 weeks earlier than last year. The earliest ripening fruit should start coming off the vine around August 20th if the weather stays on this track.”
We at Musto Wine Grape will keep you updated as the California harvest develops!
Frank Musto’s Black Muscat Vineyard
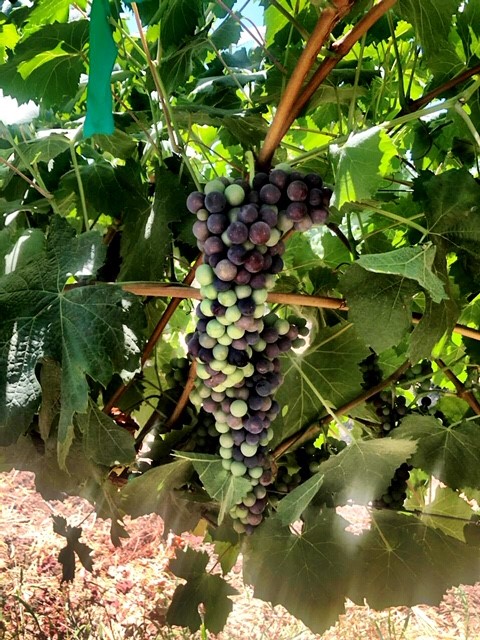
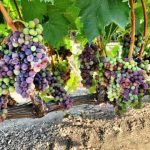
Black Muscat Grapes going through Veraison
What is Veraison?
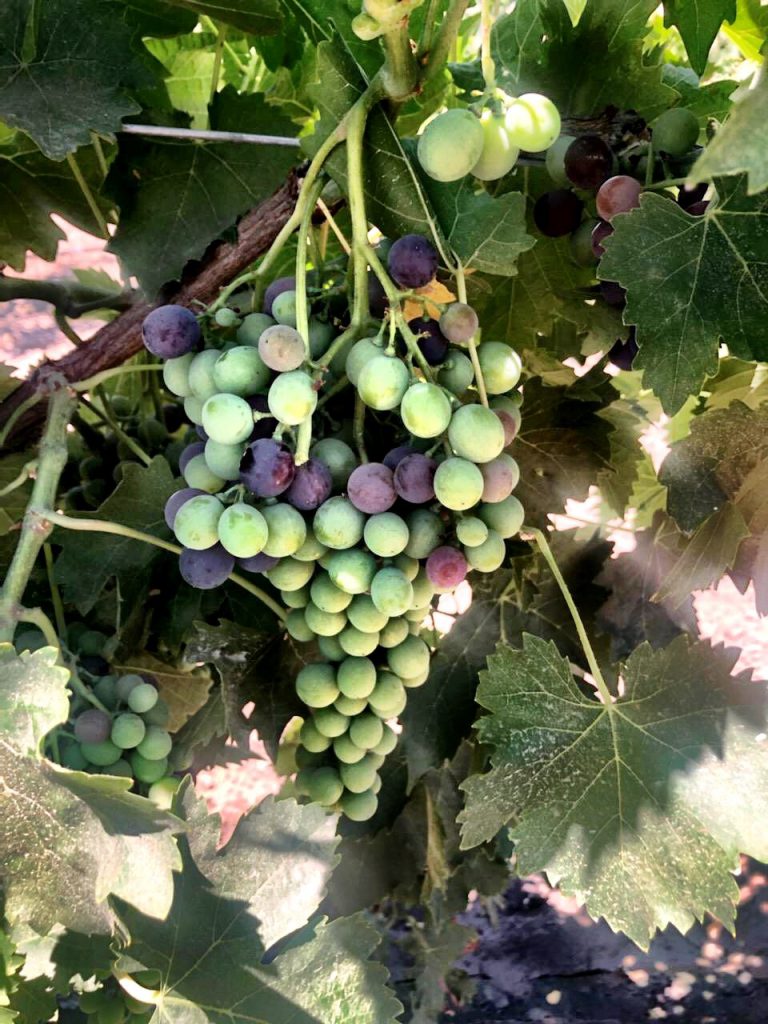
Veraison occurs when the berry transitions into the ripening stage. From now forward the berry will increase in sugar concentration until it is harvested at the desired brix level. Grapes for sparkling wine or champagne are harvested around 17 brix and grapes for still wine are harvested around 25 brix. The brix level will determine the alcohol level in the wine. For example, a grape picked around 25 brix should create a 12.5% alch by volume wine.
Teroldego going through Veraison
Interested in making Black Muscat or Teroldego?
Check out these blog posts below for more details!
Teroldego
Black Muscat
If you are interested in purchasing wine grapes or winemaking juices this fall please email sales@juicegrape.com or call 877-812-1137 for pricing and information. We are looking forward to speaking with you about your 2020 vintage!
2020 Lodi Wine Grape Harvest Update {7/9/20}
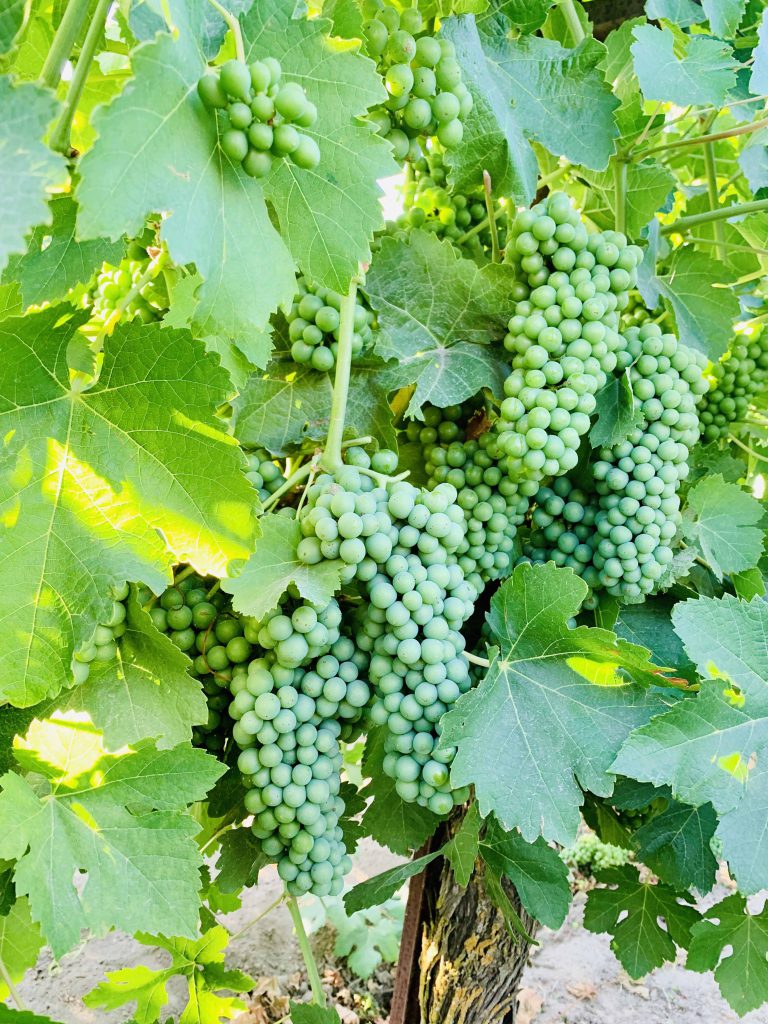
The 2020 Lodi Wine Grape harvest is starting to take shape. Crop timing is about 5 to 7 days ahead of last year, making it more of a “normal” crop year. The fruit set is looking average to light, but mostly average in size. This should produce good, well balanced berries for winemaking. Lodi has had ideal wine growing weather and is expected to have a great harvest this year.
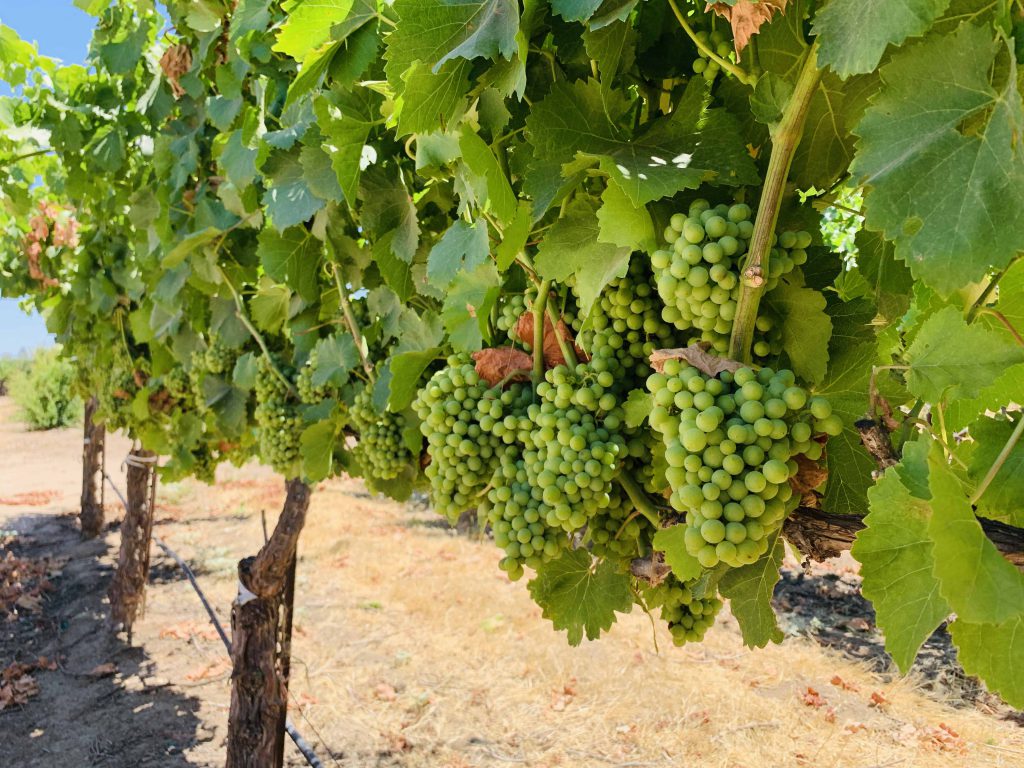
Here’s a quick look at some of Lodi’s more popular varieties and when they might start to harvest:
Chardonnay
- Crop: Average
- Harvest Start Date: 8/25/20
Pinot Grigio
- Crop: Average
- Harvest Start Date: 8/21/20
Pinot Noir
- Crop: Average
- Harvest Start Date: 8/28/20
Cabernet Sauvignon
- Crop: Average
- Harvest Start Date: 9/5/20
Sauvignon Blanc
- Crop: Average
- Harvest Start Date: 8/26/20
Merlot
- Crop: Average
- Harvest Start Date: 9/4/20
Zinfandel
- Crop: Average
- Harvest Start Date: 9/4/20





Recent Comments