


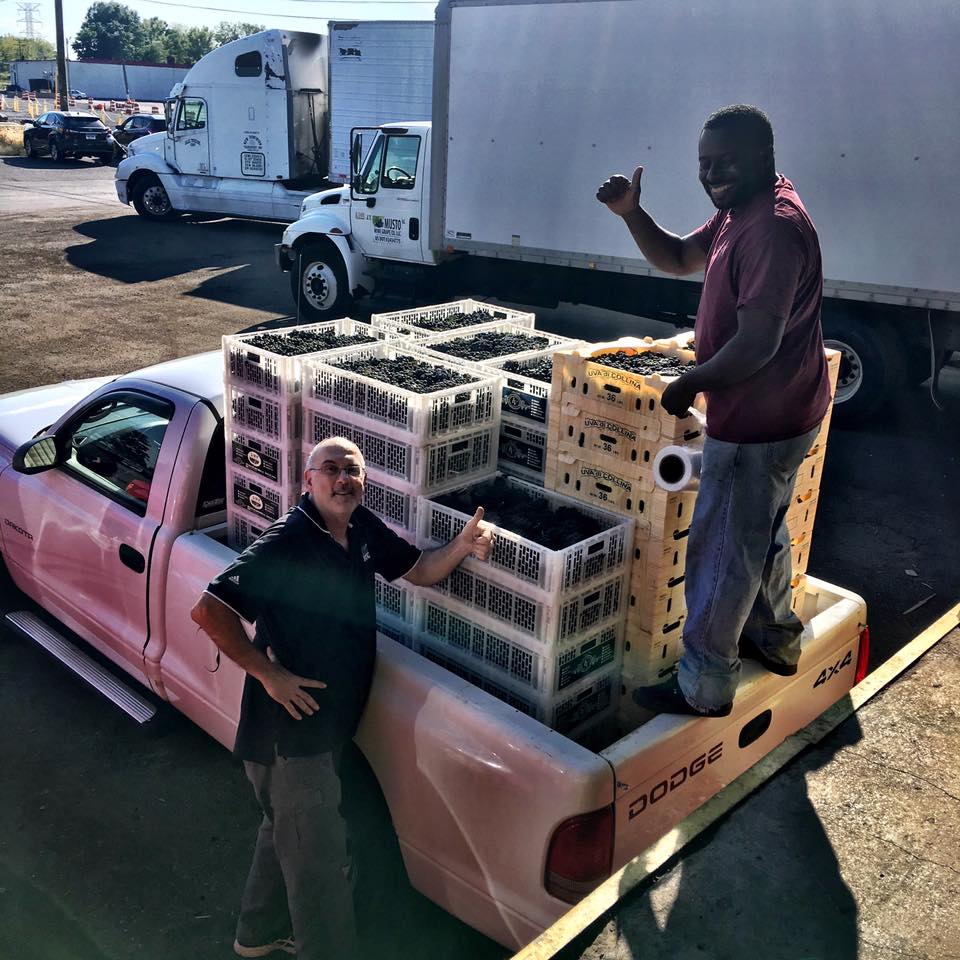
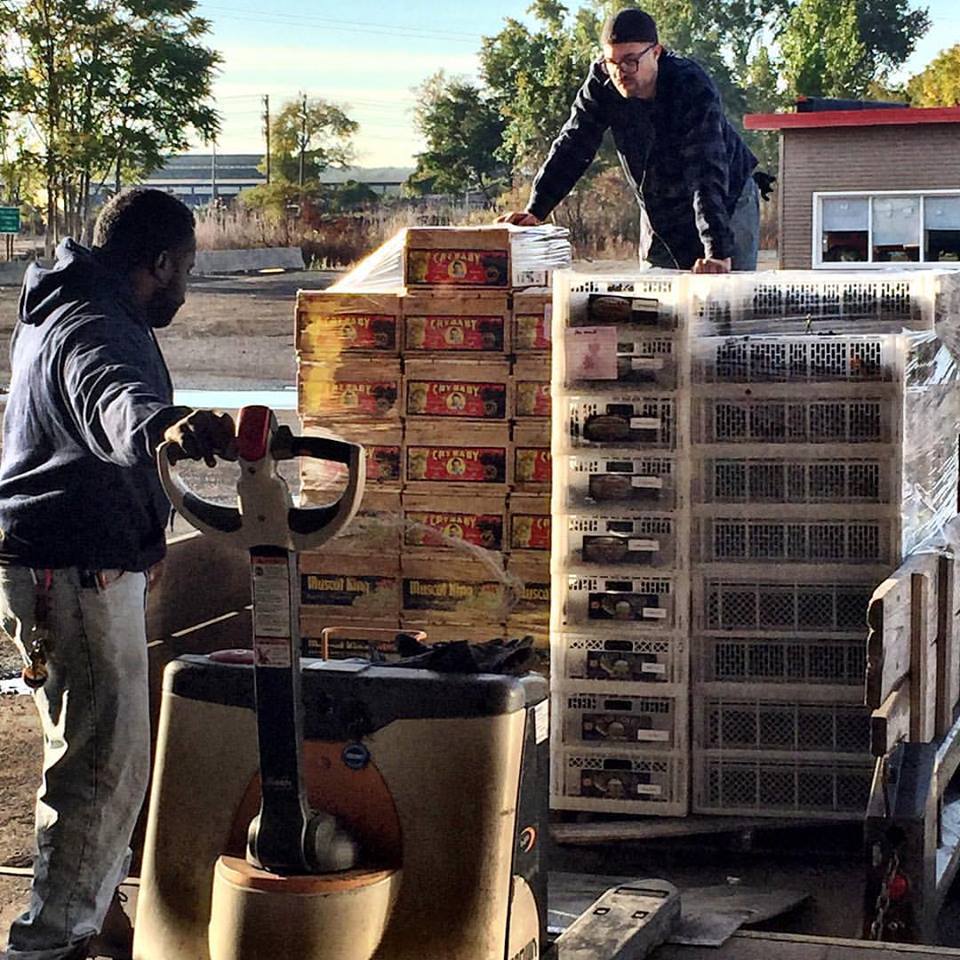
Musto Crush Crew Pre-Harvest Traditions

Ever wonder how we prep for harvest?

Frank Musto: “I always pick up two new pairs of work shoes in August, make sure I break them in before season. I usually burn through two pairs each season….Food of choice is McDonalds, nothing takes the pressure of a hard day like a Big Mac, large fries, and a diet coke…After Labor day, I kiss my wife good bye, pet the dog behind the ears, and tell them ill see them in late October.”
Christina Musto: “I’m usually pestering all of the growers for photos of the vineyards. Then I get my house into “harvest mode” stocking up on beer, cider, frozen meals, and chocolate. Finally, I treat myself to purchasing a special bottle of Schramsberg Brut Rose as an “in case of emergency” bottle.
Patrick Milio: “I bid farewell to friends and family, stock up on Beer, Bourbon, and Bubbles to enjoy after long days at the shop, and pre-emptively apologize to my digestive system for the terrible nightly takeout meals that are to come.”
Colin Mulryan: “I go through all of my old clothes to wear for the season, because it all gets thrown out at the end. And stock the fridge with beer.”
Ken Milio: Our Harvest tradition starts the week before as its time to clean and sanitize last year’s Crusher / Destemmer, Fermenting tubs, Must Plungers and other small items. You can tell how much wine was consumed last year by the cleanliness of the equipment this year. On crush day, our tradition is that all involved toast the new season with a shot of “ Honey Grappa “. After the crush, we again clean and sanitize the equipment then the drinking and eating begins.
Frank Renaldi: “The first thing I do to prepare for harvest is to think of another way to trick my wife into thinking I am not making a lot of wine. Last year I told her she miscounted the number of cases of grapes on the truck. The year before I told her each case of grapes weighed 10 pounds.
Then I get down to business and take inventory of my supplies and order what I need by July. I also decide on the grapes I want to work with and reserve my order. Then I check all my equipment to make sure it is ready for the big day. I talk to all my wine making friends and we get excited like little kids getting ready for their first day of school – well it does happen at the same time of the year. I think this year I will tell my wife, I had to buy more because the grapes were smaller this year.”
Barry St. Pierre: “First thing is to make and freeze a big pot of chili…for friends who stop by to help or for ourselves when we are too tired to make anything else. Full tanks have to be bottled or moved to free up space for new grapes and wine. Of course we pre-clean all of our equipment, especially our feet…need to be sure to remove all toe jam. By now all supplies are ordered, especially grapes from Musto…I seem to always get yelled at for not ordering early enough. Then sit back, open a bottle of wine, and wait for the grapes to ripen and arrive.”
Robert Herold: “As the harvest/crush/press day approaches, I start fortifying myself with wine several days in advance. For the actual activity day, nothing works as well as beer to make the task go smoothly. To quote a very good winemaker friend of mine, ‘it takes a lot of good beer to make a good wine’.”
JUICES IN STOCK AS OF 9-1-17 AND GRAPE ARRIVALS

Juices In Stock as of 9/1/17 and Grape Arrivals
JUICES:
Labels Available California Select:
|
Variety |
|
Barbera |
On the Road…. Safe to say all of this should be in by the Friday September 8th!
GRAPES:
|
Variety |
Label |
|
Merlot |
Smiling Baby |
|
Zinfandel |
Valley Beauty |
|
Seedless |
Smiling Baby |
|
Grenache |
Smiling Baby |
|
Zinfandel |
Valley Beauty |
|
Albarino |
Cry Baby |
|
Alicante |
O’Caprio |
|
Petite Sirah |
Cry Baby |
|
Syrah |
Cry Baby |
|
Ruby Cab |
Uva di California |
|
Old Vine Barbera |
Lucerene |
|
Old Vine Barbera |
Lugano |
|
Pinotage |
Costmagna |
|
Merlot |
Smiling Baby |
|
Pinot Noir |
|
|
Albarino |
Lodi Gold |
|
Chardonnay |
Lodi Gold |
|
Pinot Grigio |
Lodi Gold |
|
Viognier |
Lodi Gold |
|
Zinfandel |
Valley Beauty |
|
Grenache |
Smiling Baby |
|
Zinfandel |
Lucerene |
|
Chardonnay |
Lodi Gold |
|
Seedless |
Lucerene |
|
Seedless |
Loidi Gold |
|
Black Muscat |
Cry Baby |
|
Symphony |
Cry Baby |
|
Seedless |
Cry Baby |
|
Tempranillo |
Cry Baby |
|
Alicante |
O’Caprio |
|
Seedless |
Miss Seedless |
|
Old Vine Barbera |
Lugano |
JUICES:
Labels Available: California Select, Cry Baby, Colina
|
Variety |
|
Barbera |
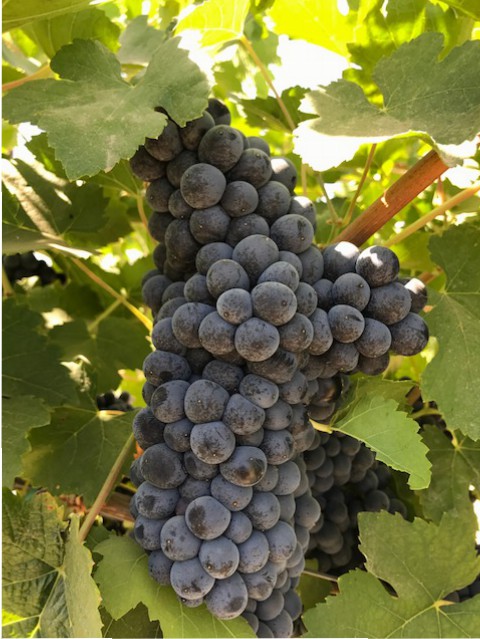
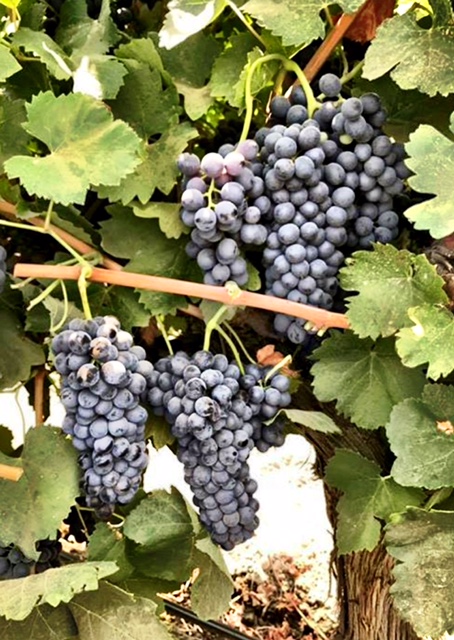
Clone 337 Cabernet

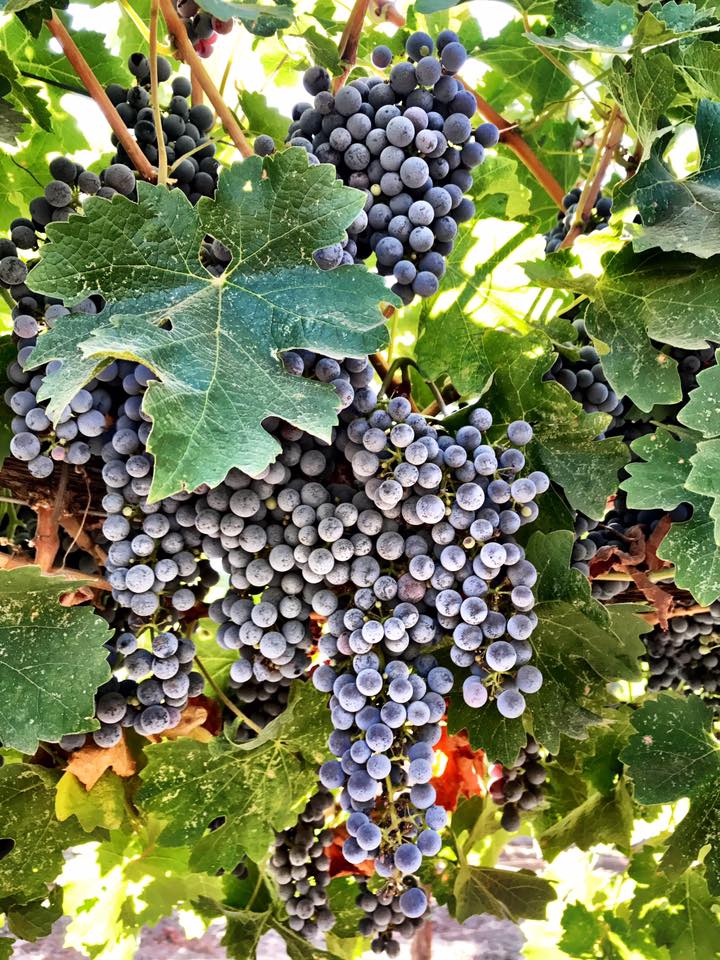
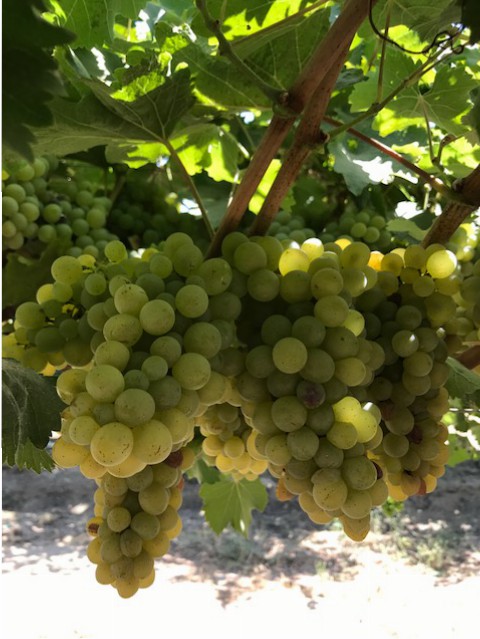
Good Morning from Madera! Our Clone 337 Cabernet is looking GORGEOUS and coming in at 21/22 Brix. We will work to harvest these around 24-25 Brix. According to the weather we will see a heat spike in the coming days. Central Valley harvest may be here before we know it! Seeing grapes as early as September 6th!
Clone 337 is best known as one of the premier French clones. It is similar to the Dijon clones and gives good yield, small intense berries, and very fruit forward flavors. These wines create a lush mouthfeel, have deep color, and intense dark fruit, chocolate, and intense tannins. Age in French or Hungarian Oak for an extra shot of intensity and depth.
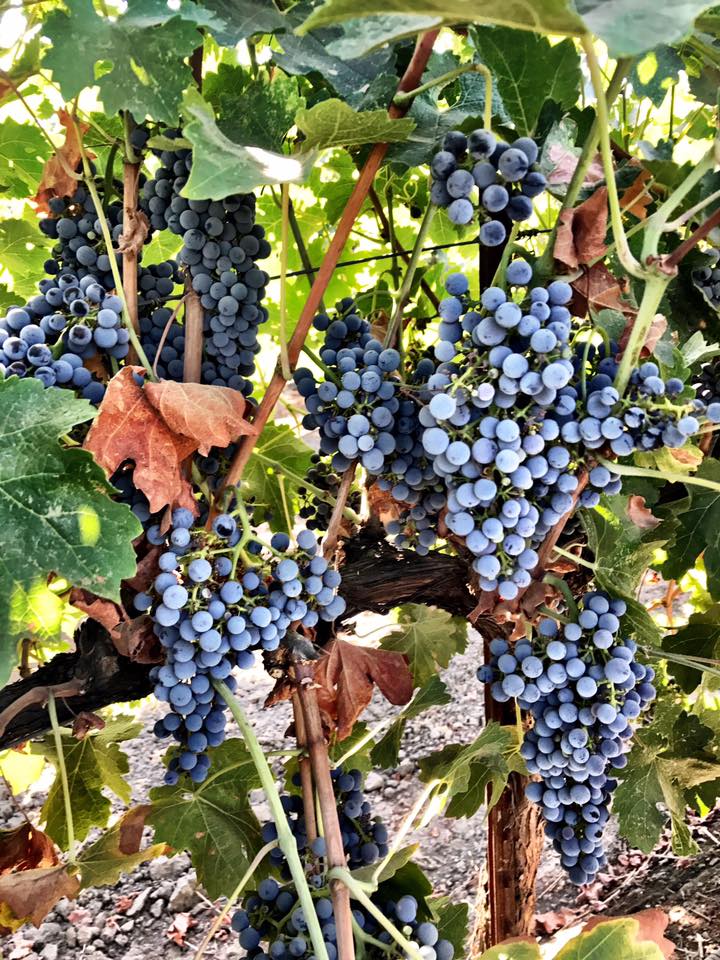
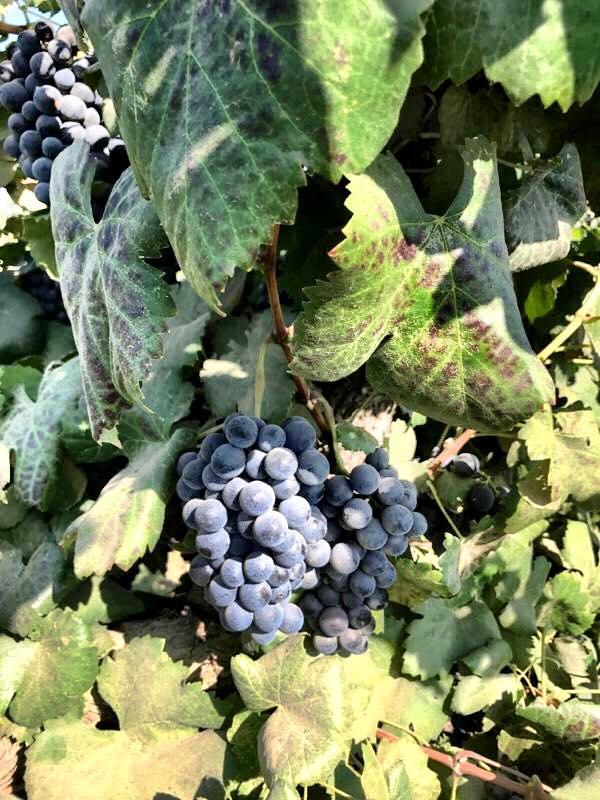
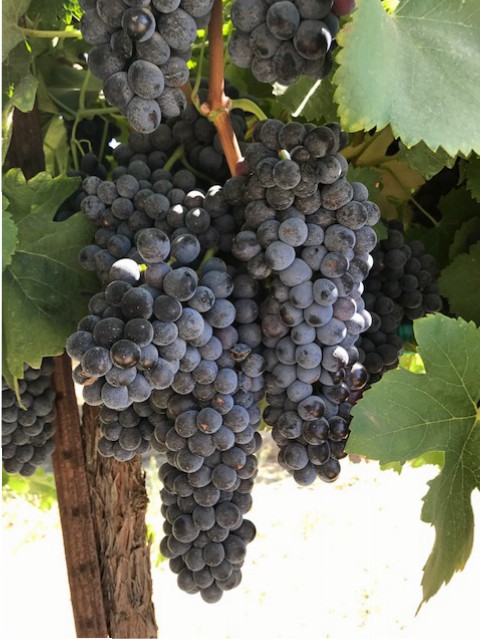
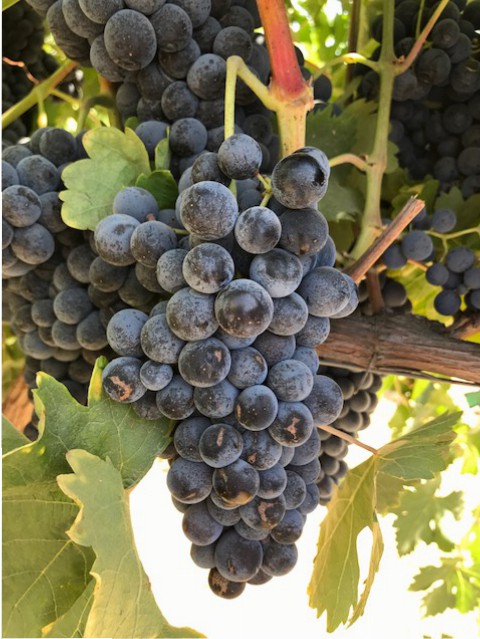
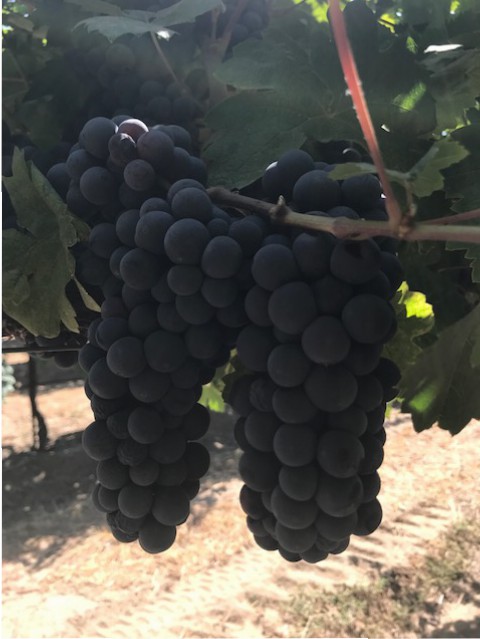
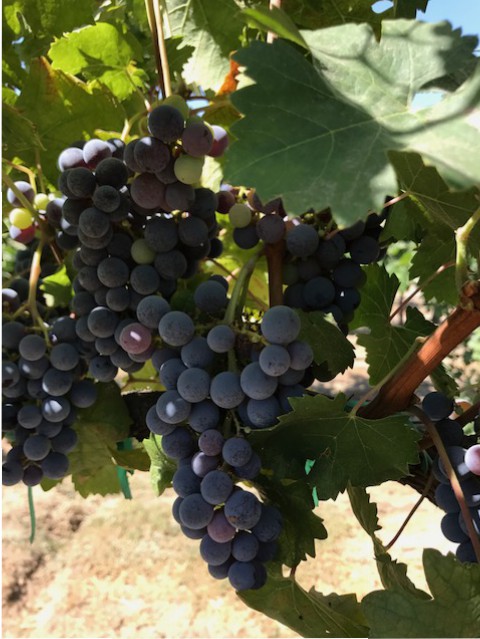
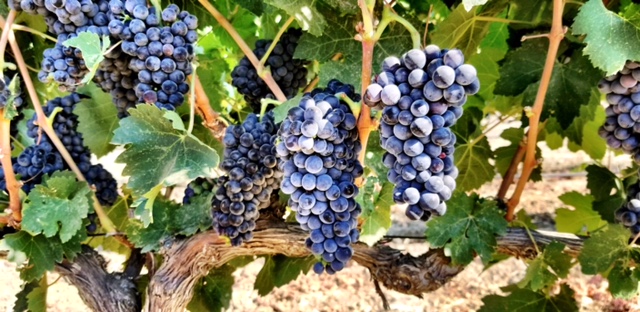
Morning views of the 70 year old head trained Alicante Bouchet

Morning views of the 70 year old head trained Alicante Bouchet. Head pruned by hand and small bunches full of flavor and color. Old vine is an understatement…..
Alicante is a variety that was cultivated in 1866. Its deep red color makes it great for blending with lighter red wines such as Zinfandel and Pinot Noir. A popular grape during prohibition, the old school Italian blend consists of 18 boxes of Zinfandel, 2 boxes of Alicante, and 1 box of Muscat or make it straight for a delicious light bodies red.

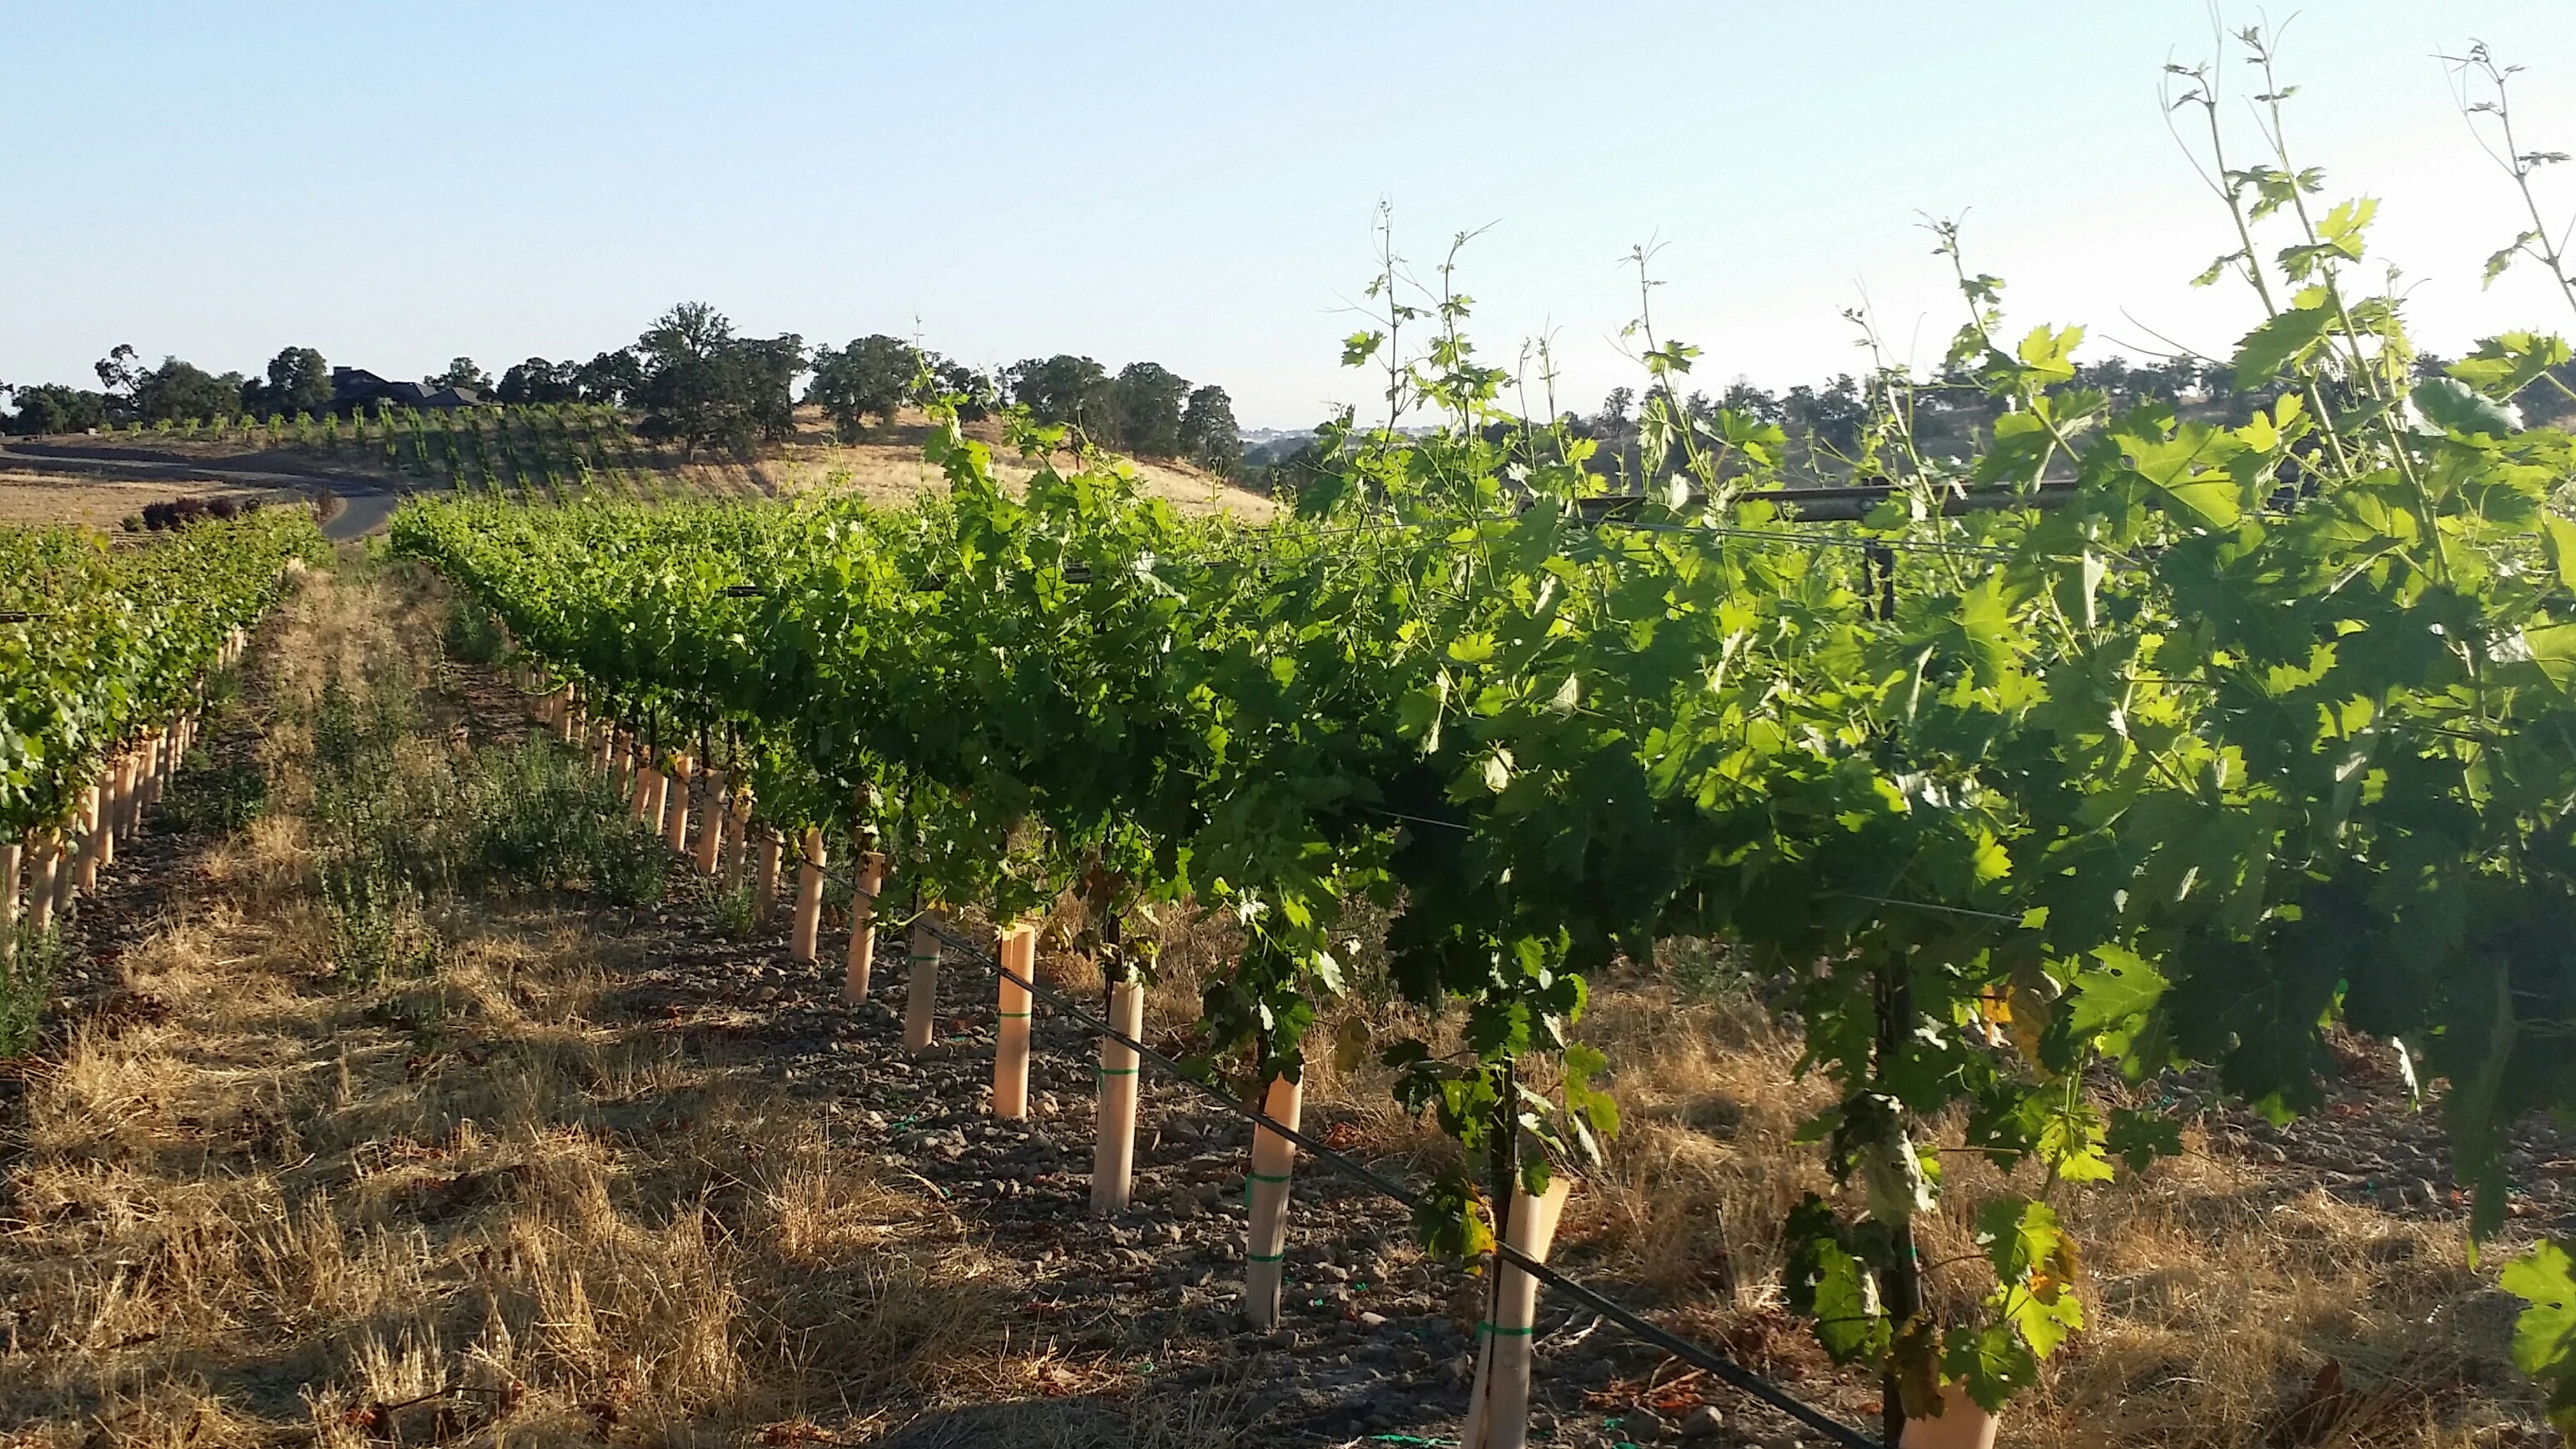
New Vineyard: King’s River

The King’s River Vineyard is located in Sanger, CA – Southeast of Fresno, on the way to Squaw Valley, Tahoe and the Sierra Foothills.
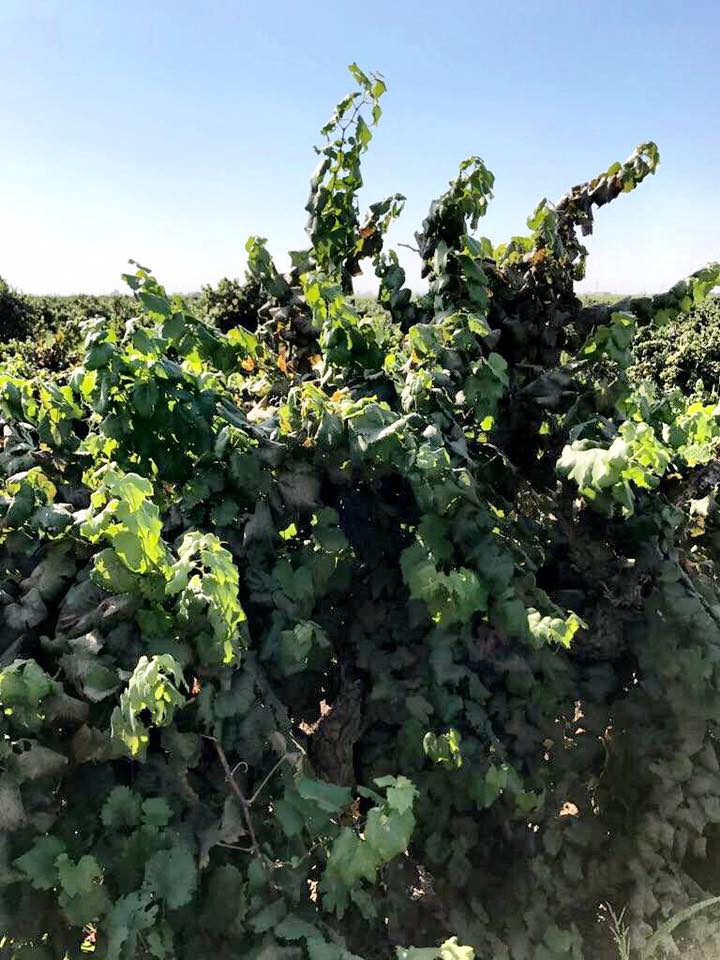
The vineyard is made up of 40 acres of white ash & sandy loam soil. The vineyard has been in existence since 1954 and the family has grown everything from grapes for wine and raisins to peaches, plums, and apricots on this little piece of paradise. However, they ultimately decided to focus on what they love most – boutique style wines. The vineyard produces Cabernet Sauvignon (Clone 337), Petite Sirah, Alicante, Syrah, Barbera, Cabernet Franc, Tempranillo, Primitivo, Albariño, Muscat, and Chenin Blanc. Each block is meticulously managed. They thin leaves, drop fruit to secure intense flavors, and drip irrigate as to not over-water the vines. This family definitely produces grapes of distinction.
Their Wine Awards Include…
• 2014 Reserve Petite Sirah- Silver Medal
• 2014 Syrah- Bronze Medal
• 2014 Alicante Bouchet- Bronze Medal
• 2015 Reserve Albarino- Bronze Medal
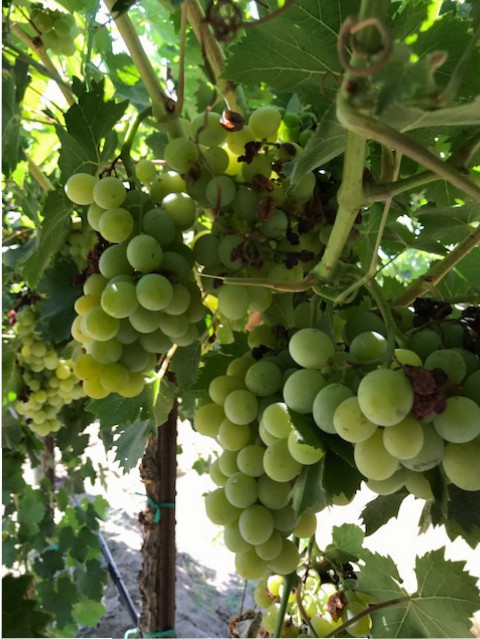
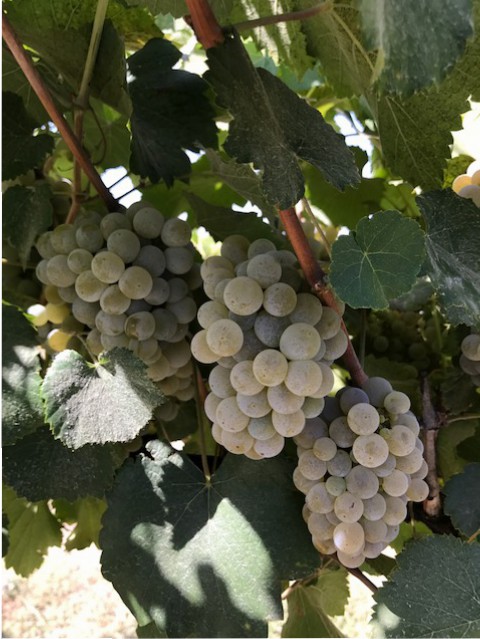
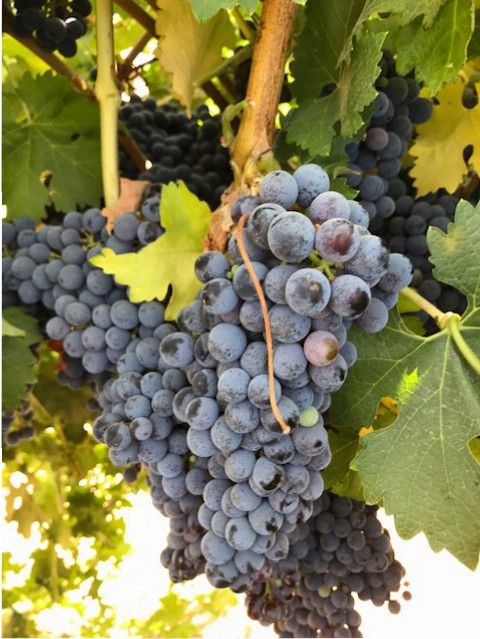
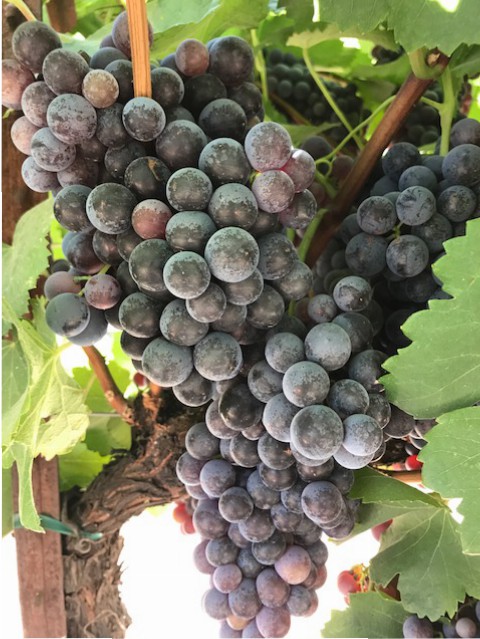
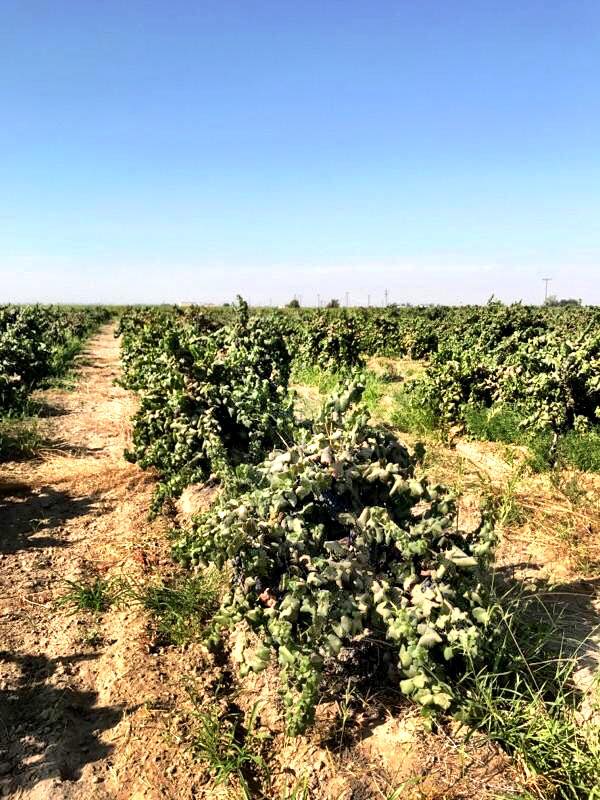
2017 Harvest Outlook for Suisun Valley, Lodi, and Central Valley

Suisun Valley Harvest Outlook
Everything is maturing along in Suisun Valley. We are seeing verasion come to end in varieties such as Merlot and Sangiovese. Petite Sirah, Cabernet 169, and later varieties are still going through the verasion process. Looking at the maturity level of the grapes harvest should start around September 4th in Suisun Valley – beginning with Sauvignon Blanc and Chardonnay. The next varieties to pick will most likely be Merlot around September 10th and, Sangiovese, and Malbec around September 16th. The later varieties such as Petite Sirah and Cabernet 169 should harvest around late September/early October.
Interested in the weather in Suisun Valley? Click here to see what our weather stations are picking up on a daily basis!
Lodi Harvest Outlook
Overall the Lodi crop looks great. The rain helped strengthen the deep roots this winter, which allowed the vines to grow a vigorous canopy. The big canopies from the record rain fall has protected the grapes from the summer heat. Therefore, it should be an average to slightly below average crop this year. Most varieties look normal, however Cabernet and Zinfandel look to be low slightly lighter than last year. The Lodi appellation is made up of mostly sandy loam soil and unlike the Central Valley they get constant cooler temps in the evenings. This area experiences 40 degree swings in temps that help with coloring the grapes and the skins are thicker which produce a dark juice high in tannins. This is why the region is famous for its delicious Zinfandels and Italian grape varieties!
Central Valley Harvest Outlook
With the extra rain fall Central Valley is looking to be a great harvest. The crop looks to be about the same as last year and we should be harvesting about 4-6 days later than last year. We anticipate some of the Central Valley fruit to start shipping to the East Coast around August 28th. Get your crushers ready!!
We should have an updated harvest report pertaining to Paso Robles, Napa/Sonoma, Contra Costa, and Washington State next week. Keep an eye out for our next email.
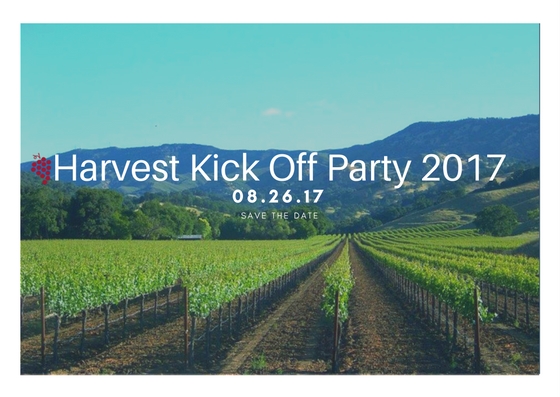
There is a lot going on at Musto Wine Grape Company and we are looking forward to seeing you on August 26th for Customer Appreciation Day.
Cheers to making your favorite wine!!
Lodi is now a Premier Region for Sustainably Grown Grapes

Lodi is becoming a force to be reckoned with, especially when it comes to sustainability….
“Lodi Rules for Sustainable Winegrowing is California’s original sustainable viticulture program. This program truly began from the ground up, with growers deciding it was important for the future of the Lodi region. Our certification process is rigorous, based in science, voluntary, and third-party audited. Lodi Rules certified growers make up an innovative community with a history and commitment to farming quality winegrapes through the implementation of viticulture practices that balance environmental, social, and economic goals. Lodi Rules was designed to communicate our commitment to sustainable agriculture to wineries and the general public.
Lodi Rules has two key components. First, Lodi Rules promotes winegrape grower adoption of over 100 sustainability practices, which are called “Standards”. The Standards were collaboratively developed by a team of Lodi winegrape growers and viticulture professionals, and were first accredited by Protected Harvest in 2005. The Lodi Rules Standards are the backbone of the program, and are organized into six Chapters: 1) Business Management, 2) Human Resources Management, 3) Ecosystem Management, 4) Soil Management, 5) Water Management, and 6) Pest Management. Each Standard meets three criteria: first, it is measurable; second, it addresses at least one of the three aspects of sustainability (environmental health, social equity, and economic viability); and third, it is economically feasible to implement. We believe that the Lodi Rules Standards are the most thoroughly and rigorously vetted set of sustainability practices in California’s viticulture industry. All Standards have been peer reviewed by world renowned third-party scientists, members of the academic community, and environmental organizations.
The second key component of Lodi Rules is the pesticide risk model, PEAS, which is unique to Lodi Rules. Pesticide Environmental Assessment System (PEAS) is a risk model used to quantify the environmental and human impact of all pesticides applied in a vineyard. The PEAS model generates an Environmental Impact Unit (EIU) for each pesticide, which is based on the pesticide’s impact on 1) acute risk to farm workers, 2) dietary risks from acute and chronic exposure to people who consume the product, 3) acute risks to small aquatic invertebrates, 4) acute risk to birds, and 5) acute risk to bees and pests’ natural enemies. Pesticide use by Lodi Rules certified growers must fall below 50 PEAS impact units for the season.
A vineyard qualifies for certification if it meets several criteria. First, growers accumulate points through implementing sustainability practices and must sum to at least 50% of the total points available in each Chapter. Growers must accumulate at least 70% of the total points available across all six Chapters. Implementation of some Standards is mandatory. Such Standards are those that the program designers believe are imperative for sustainability. Certification is awarded to an individual vineyard on an annual basis. Certified vineyards must pass an annual independent audit to verify the implementation of sustainability practices.
2013 marked a year of improvements to the Lodi Rules, the most significant of which was a content revision of the Standards. The Lodi Rules Committee began the revision process in 2011 with the explicit goal of increasing the scientific rigor of the Standards while also making the program more adaptable to a diversity of vineyard conditions and management goals. In January 2012, the Protected Harvest Board of Directors accredited the revised Standards. In 2017, the Standards were further edited for clarity and consistency, and two new Standards were added to give growers credit for sharing sustainable viticulture knowledge and for conducting on-site collaborative research. The current, accredited 2017 third edition Standards are available for download HERE.“
So if you are interested in sustainably grown grapes Lodi is a top contender for this year’s harvest!
Speak to a Musto Crush Crew Representative Today about your fall harvest order – 877.812.1137 / sales@juicegrape.com
12 Steps to Making Wine from White Grapes

Making Wine from White Grapes
1. Sanitize and Crush and Destem – Inspect your grapes and remove any moldy clusters. Crush and destem into clean and sanitized food grade plastic tubs. Always rinse your receiving vessel with a sanitizing strength potassium metabisulfite solution (2oz/gallon or 3tbsp/gallon). Make sure that the sanitizing solution touches all the surfaces of the vessel and that the vessel is completely emptied out of all sanitizing solution after. Shake free any drops as best you can from the vessel. Having remaining sulfite liquid in the vessel will prohibit fermentation. Do not rinse the sanitizer off with water after sanitizing as that will reintroduce bacteria to the environment.
2. Once all of the grapes are crushed, try to accurately measure your quantity of must. Add ¼ tsp of potassium metabisulfite for every 5 gallons of must that you have. Mix up the must thoroughly.
3. Wait for 2 hours after the sulfite addition and then add pectic enzyme to the must. Musto Wine Grape offers generic pectic enzyme or Cinn Free pectic enzyme that is specifically designed for white wine grapes. Follow the directions for the individual type of enzyme. Always mix it with water to create a 10% solution (if you use 5mls of enzyme, mix it with 45mls of water). The water allows it to better circulate throughout the must. Allow the pectic enzyme to work for 6 hours before pressing.
4. Press the Must – Wash the press and sanitize using potassium metabisulfite. Again, make sure the press does not have an excessive puddles or lingering amounts of sanitizing solution remaining. Sanitize the receiving container for fermentation (carboy, tank, demijohn, barrel) and any pumps or tubing that you may use. Anything that comes in contact with the wine should be rinsed with sulfite sanitizing solution. Place a screen or mesh (also sanitized) inside of the press to hold back any extra skins or seeds from getting through. Start by scooping up the must and placing it in the press. Some of the liquid will immediately flow through; this is the “free run”. When the press is full, slowly begin pressing. Do not try and press every last drop out of the must as this can lead to seed cracking and bitterness in the wine. Fill each container to within 6 inches of the top, to allow room for fermentation. This process will cause the juice to foam up and generate gas, therefore volume.
5. After pressing the grapes, mix the container thoroughly and take and record your measurements. Measure Brix, pH, and TA. If you need to adjust your juice at all, this is the time to do it. Ideally your Brix should be between 21-26 degrees, the pH between 3.2-3.5, and the TA between 6.5-8.5g/L. Your initial Brix reading, multiplied by .55, will give you a close estimate of your ending alcohol by volume percentage.
6. If you would like to use fermentation tannins (FT Blanc) or fermentation nutrients such as Opti-White, add them after measurements and adjustments have been made. Musto Wine Grape packages FT Blanc and Opti-White in small packs for 5 gallon batches. Mix any of these ingredients in thoroughly.
7. After measurements have been taken and any adjustments have been made, it is time to set yeast if you are using a cultured yeast strain. Use 1gram/gallon of wine must. Follow the yeast set directions on the packet explicitly and/or see the separate “Yeast Set” instructions.
8. After you atemperate and add your yeast, cover your tank with a floating lid or your carboy or demijohn with an airlock. An air lock will allow the carbon dioxide to escape the container without additional air getting in to oxidize the wine.
9. Stir the juice every other day to re-suspend the yeast and nutrients. Keeping the yeast in suspension is important to give it access to sugar and nutrients and to avoid the production of H₂S.
10. If you are using additional yeast nutrients to assist in fermentation you will add them after fermentation has started. Fermaid O is added at the beginning of fermentation (1 day after yeast set) and all others (BSG yeast nutrient, Fermaid K, AnchorFerm) will be added at 1/3 depletion of the Brix (2/3 of the beginning amount of Brix). Follow the directions for the individual yeast nutrient, hydrating with water and mixing thoroughly.
11. If you are adding malolactic cultures to your wine (Chardonnay), you may also chose to do this at 1/3 Brix depletion. If using a malolactic nutrient (Opti-Malo Plus) with the bacterial culture, hydrate the nutrient in a separate container from the bacteria and add to the must directly before the addition of the bacteria. Follow all directions on the bacteria and nutrient packets explicitly.
12. Monitor the progression of the juice by taking daily hydrometer readings. Using a sanitized wine thief or syringe, pull a sample of fermenting wine that is large enough to fill the hydrometer cylinder. Always sanitize the hydrometer and the cylinder before taking a reading. Look to the meniscus of the wine surface in relation to the hydrometer for the most accurate reading. When the wine is fermented to dryness (0.90 Specific Gravity), is has completed its primary fermentation. Allow the lees particles to settle, and then rack the wine into a sanitized container. Be sure that the container is filled within ½” of the top to prevent air exposure. At this point, it is imperative to add ¼ tsp of potassium metabisulfite per 5 gallons of wine. The sulfites will kill off any harmful microbes and prevent the wine from oxidizing.
The Winemaker’s Think Tank: Vol 24 – 5 Cost Effective Tips to Help you Save Money in Your Winemaking

What’s the Winemaker’s Think Tank?
Every Thursday we will post about a few frequently asked questions that our winemaker has answered. If you have a winemaking question you would like to have answered, please email us at support@juicegrape.com and we will try to get into next week’s post. Cheers! 🙂
Cost Effective Tips to Help you Save Money in Your Winemaking
1. Alternative Varietals – Most winemakers aspire to make a big, bold Cabernet Sauvignon or supple Merlot. While these grapes make excellent world class wine, they are not the only varietals that can give you these results. Call your grape supplier and ask for a list of varietals that they can source for you. Do some research on lesser known varietals such as Carignane, Cinsault, Grenache, or Gamay. Perhaps making one of these varietals in the style of your preferred varietal, will yield some satisfactory, and more cost effective results.
2. Reusing Barrels Safely and Effectively – Barrels contribute two factors to wine: oak flavor and a round mouthfeel. While the first few vintages aged in the barrel will be bursting with oak flavor, over time, the oak flavor will dissipate from the barrel, rendering it neutral. While the barrel may not be able to contribute a lot of flavor to the wine, it will still add an important reductive character through micro-oxidation. Wine will still continue to evaporate out of the barrel and yield a creamier, smoother mouthfeel. If the winemaker desires more oak flavor, oak may be added to the barrel in the form of chips, staves, spirals, or cubes. This method will allow the winemaker to keep using the barrel for many vintages, rather than replacing them when the oak flavor diminishes.
3. Oak Alternatives – Barrels have much of the visual “romance” associated with winemaking, however they can be a very costly investment. For a new home winemaker making smaller batches, it may not even be feasible to get a small enough barrel. Rather than putting the wine into a barrel, why not put the “barrel” into the wine? Oak is now available toasted in the same way a barrel would be and in a variety of forms and sizes. In each form, it will deliver oak flavor to the wine, some shapes having more surface area and acting more quickly, whereas other shapes may take longer to infuse flavor. These are a very cost effective and efficient way of imparting oak flavor to wine.
4. Involve Friends – As your home winemaking progresses, often times winemakers want more sophisticated processing and analytic equipment. While a Destemmer/Crusher or a Bladder Press may last you many years, it is a costly initial investment. One way to help defray the cost of the equipment is to purchase it with other winemakers. If you have friends who also make wine or can network through a wine appreciation society, you can find other vintners who may be willing to split the cost of the machines with you. This can turn crushing and pressing into a party! Not only will the cost be divided, but so will the labor. Another way to try and reduce the cost of equipment is to try and purchase used equipment. Keep an eye on Craig’s List and wine classifieds for pieces of equipment someone wants to part with. Also, a local winery may have some equipment that they no longer use as they have scaled up and they jump at an opportunity to sell it rather than allowing it to collect dust.
5. Increase Production – As with many item in life, buying in bulk is more cost effective. Speak with your local grape broker to see if they offer volume discounts. If you have formed a winemaking group to share equipment costs, then perhaps you can get a better price on grapes if you purchase together, rather than separately. The same idea applies to corks and bottles. Buying larger quantities, provided you have adequate storage space, will save you money.
We hope this information helps with your winemaking. If you have any follow up questions or winemaking questions in general, please email us at support@juicegrape.com.
13 Steps to Making Red Wine from Grapes

13 Steps to Making Red Wine from Grapes
1. Sanitize and Crush and Destem – Inspect your grapes and remove any moldy clusters. Crush and destem into clean and sanitized food grade plastic tubs, stainless steel tanks, or glass carboys or demijohns. Always allow an extra 20% of volume for fermentation purposes as the wine will “expand” throughout fermentation. Always rinse your fermentation vessel with a sanitizing strength potassium metabisulfite solution (2oz/gallon or 3tbsp/gallon). Make sure that the sanitizing solution touches all the surfaces of the fermentation vessel and that the vessel is completely emptied out of all sanitizing solution after. Shake free any drops as best you can from the fermentation vessel. Having remaining sulfite liquid in the vessel will prohibit fermentation. Do not rinse the sanitizer off with water after sanitizing as that will reintroduce bacteria to the environment.
2. Once all of the grapes are crushed, try to accurately measure your quantity of must. Add ¼ tsp of potassium metabisulfite for every 5 gallons of must that you have. Mix up the must thoroughly.
3. Wait for 6-8 hours after the sulfite addition and then add pectic enzyme to the must. Musto Wine Grape offers generic pectic enzyme or Color Pro pectic enzyme that is specifically designed for red wine grapes. Follow the directions for the individual type of enzyme. Always mix it with water to create a 10% solution (if you use 5mls of enzyme, mix it with 45mls of water). The water allows it to better circulate throughout the must. Allow the pectic enzyme to work for 12 hours before yeast set.
4. Twenty four hours after crushing the grapes, mix the container thoroughly and take and record your measurements. Measure Brix, pH, and TA. If you need to adjust your must at all, this is the time to do it. Ideally your Brix should be between 23-28 degrees, the pH between 3.4-3.7, and the TA between 6-7g/L. Your initial Brix reading, multiplied by .55, will give you a close estimate of your ending alcohol by volume percentage.
5. If you would like to use fermentation tannins (FT Rouge, oak dust) or fermentation nutrients such as Opti-Red, add them after measurements and adjustments have been made. Musto Wine Grape packages FT Rouge and Opti Red in small packs for 5 gallon batches. If using oak dust, use 1/4cup for every 5 gallons of must. Mix any of these ingredients in thoroughly.
6. After measurements have been taken and any adjustments have been made, it is time to set yeast if you are using a cultured yeast strain. Use 1gram/gallon of wine must. Follow the yeast set directions on the packet explicitly and/or see the separate “Yeast Set” instructions.
7. After you atemperate and add your yeast, you may cover the vessel lightly with an old sheet or towel or place the lid gently on top of the bucket, if an airlock is in place. An air lock will allow the carbon dioxide to escape the pail without additional air getting in to oxidize the wine.
8. Obtain a must punch tool, a long stainless steel spoon, or your bare hands, and sanitize your tool or hands with sulfite sanitizer. This is what you will use to “punch down” or mix up the must three times a day. Try to mix everything very well, pushing all of the skins back down to the bottom, getting them very wet, and bringing up the piqued from the bottom. This should be done as often as possible, preferably three times a day. [Before work (7am), after work(5pm), and before bed (10pm)] When punching down every evening, take a sample of the liquid and using your hydrometer, track the Brix depletion. You should notice a drop in Brix daily.
9. If you are using additional yeast nutrients to assist in fermentation you will add them after fermentation has started. Fermaid O is added at the beginning of fermentation (1 day after yeast set) and all others (BSG yeast nutrient, Fermaid K, AnchorFerm) will be added at 1/3 depletion of the Brix (2/3 of the beginning amount of Brix). Follow the directions for the individual yeast nutrient, hydrating with water and mixing thoroughly.
10. If you are adding malolactic cultures to your wine, you may also chose to do this at 1/3 Brix depletion. If using a malolactic nutrient (Opti-Malo Plus) with the bacterial culture, hydrate the nutrient in a separate container from the bacteria and add to the must directly before the addition of the bacteria. Follow all directions on the bacteria and nutrient packets explicitly.
11. Punch down and take Brix measurements daily. When your hydrometer reads 0.90, you have fermented to dryness. At this point your malolactic fermentation may still continue, but the primary alcoholic fermentation is complete. You may now press the wine. Wash the press and sanitize using potassium metabisulfite. Again, make sure the press does not have an excessive puddles or lingering amounts of sanitizing solution remaining. Sanitize the receiving container (carboy, tank, demijohn, barrel) and any pumps or tubing that you may use. Anything that comes in contact with the wine should be rinsed with sulfite sanitizing solution. Place a screen or mesh (also sanitized) inside of the press to hold back any extra skins or seeds from getting through. Start scooping up the must and placing it in the press. Some of the liquid will immediately flow through, this is the “free run”. When the press is full, slowly begin pressing. Do not try and press every last drop out of the must as this can lead to seed cracking and bitterness in the wine. Fill each container to within ½” of the top and secure a bung and airlock in place. Malolactic fermentation will exude a small amount of carbon dioxide and there will be trapped gas within the wine that will need to escape the container.
12. Allow the wine to sit for 2-3 weeks. You can conduct malolactic chromatography or bring a sample to a winemaker at Musto Wine Grape for analysis to ensure that your secondary fermentation is finished. At this point you should see a nice thick layer of lees in the bottom of the carboy or demijohn. You will want to place the full vessel onto an elevated surface such as a table and place the new, sanitized, empty vessel on the floor below. Using a sanitized siphon, rack the wine into the new carboy. You may have space at the top which will need to be “topped off” with more wine. You can either use wine from another container, or finished wine to do this. It is very important that there is less than a 1/2” of headspace in each container. At this point you should also add 1/4tsp of potassium metabisulfite per 5 gallons of wine.
13. Now it is time to let your wine age. You will need to rack it and add additional SO₂ every 3 months. Make sure you sanitize all equipment and containers when racking and keep them topped off within ½”. Come visit Musto Wine Grape for bottling advice and supplies.
Recent Comments