Yeast suggestions for the following grapes via Manuela Astaburuaga
Yeast suggestions for the following grapes via Manuela Astaburuaga. Manuela is the enologist at “Correa Albano” and has studied in both France and New Zealand. Her family also owns many of the vineyards we source from.
- Sauvignon Blanc – For the SB the most important thing is the yeast that express the thiols aromas. Try VIN13 to bring out such thiol aromas like tropical fruits.
- Carmenere & Merlot – Try a yeast that expresses the black fruits like CSM
- Cabernet Sauvignon –You want the fruit and earthiness to shine. Try D254, BM4X4, or CSM. Maybe think about blending yeasts for more complexity!
- Pinot noir – RC 212 is one of the best yeasts for Pinot Noir.
Manuela’s Favorite Blend: Merlot-Carmenere
Why does Sauvignon Blanc wine taste so good from Chile? (According to Manuela)
- “The different temperature between day and night is very important to the aroma expression, we have that kind of climate in our Valley (Curicó) so our SB is very aromatic and with a good acidity. We ferment at 58-50ºF to preserve the aromas.”
Winemaker Spotlight: Grettchen van der Merwe of our South African Vineyards
How did you get started winemaking? What first attracted you to winemaking?
I grew up in the Cape Winelands and studied Viticulture and Oenology at Stellenbosch University. I love the process of winemaking, the chemistry of it. Wine is a living thing and it is wonderful to be able to make something with the potential to be enjoyed for years to come as it grows and matures in the bottle.
What do you look for when you make wine? What is your general winemaking philosophy?
It is all about the grapes, get the best grapes possible and make sure you have the basics right, but don’t try to over engineer the process.
What is the most difficult aspect of making wine? What’s or biggest challenge as a winemaker
You are working with nature so you cannot predict what’s to come in a season and every season has its own challenges. I think the most difficult are seasons where the vines are stressed, be it from high temperatures or wet weather that can increase risk of fungal infections in the vineyard.
Are you filtering your wines?
There is a movement toward unfiltered wines, especially as consumers become more educated and willing to accept a little sediment in the bottle. I do prefer to filter my wine, but use the most coarse (largest micron size) filter available. Basically just to give the wine a rough polish as it goes into the bottle.
Are there any new winemaking techniques or tools you’d like to experiment with?
They aren’t necessarily new tools, but you can achieve a lot with good use of enzymes and tannins at vinification. I like to cold soak my grapes before fermentation; you get the benefit of good color and flavor development without the harsh tannic extraction that happens after fermentation (when alcohol is present).
What’s your favorite wine region?
Many different regions excel at specific varietals, which is part of what makes wine exciting, you can have a Syrah from South Africa; Australia and France and all three can be fantastic but also completely different in style.
We want to give a BIG Thank you to Grettchen for answering our winemaker questions and we look forward to meeting her in person on April 2nd. We would like to invite all of our winemakers to meet her Monday April 2nd from 1:00-6:00PM at our Hartford, CT Location. Grettchen will be speaking about her vineyards and favorite winemaking practices. RSVP to Christina at cmusto@juicegrape.com. This event is FREE to join and we would love you bring in some wines that you have made for Grettchen to try. Looking forward to seeing you all on April 2nd!
The Winemaker’s Think Tank: Vol 37 – “How do I make Rose?”
What’s the Winemaker’s Think Tank?
Every Thursday we will post about a few frequently asked questions that our winemaker has answered. If you have a winemaking question you would like to have answered, please email us at support@juicegrape.com and we will try to get into next week’s post. Cheers! 🙂
How do I make Rose?
There are a few different approaches to making rose wines. The most traditional way is to crush red grapes, leave the juice in contact with the skins for a limited amount of time, then press off the juice rather quickly (within a few hours) to yield a deep pink colored juice. Once this juice is fermented, it will yield a rose wine. The best grapes to use for this type of production would be any red varietal with a higher acidity. Early picked red grapes or a very fruit forward varietal tend to make the best roses. Some varietals that we have worked with successfully to make beautiful roses are Barbera, Grenache, Gamay, Chambourcin, and Pinot Noir.
Another approach would be to take a white wine and to add a small portion of red wine to it, predominantly for body and color. A very small amount of red wine will provide adequate color to change a white wine into a rose color. A small amount of prep work needs to be done before the blend is created. If the red wine was put through malolactic fermentation, the MLF must be complete before the wine is added into the white wine. If the red wine has not completed MLF, it cannot be used to blend as the bacteria will begin to metabolize the malic acid within the white wine. To prevent this, first make sure that the wine has completed MLF, then add Lysozyme to prevent the further proliferation of bacteria. It is always imperative to make sure that the wines have also been adequately sulfited prior to blending as well. It is very important to do bench trials of the blends before the addition of the red wine to ensure the desired results. A small amount (5-10%) of the red wine will add a nice touch of color and body to a white wine, creating a beautifully blended rose.
We hope this information helps with your winemaking. If you have any follow up questions or winemaking questions in general, please email us at support@juicegrape.com.
The Winemaker’s Think Tank: Vol 32 – “What do I do if I have a stuck fermentation?”
What’s the Winemaker’s Think Tank?
Every Thursday we will post about a few frequently asked questions that our winemaker has answered. If you have a winemaking question you would like to have answered, please email us at support@juicegrape.com and we will try to get into next week’s post. Cheers! 🙂
What do I do if I have a stuck fermentation?
Sometimes, even though we take great care as winemakers to avoid it, we can get caught with a stuck fermentation. Yeast are incredible creatures, capable of very rapid reproduction, but they do have their limiting factors. It is very important to know the limitations of the certain yeast strain that you are using for your wine. Evaluate your must’s pH to ensure that it is above 3.2, the lower pH environmental threshold for most yeast strains. Take into consideration the alcohol tolerance of the yeast that you selected. If you take the initial Brix level and multiply it by .55, you will have a pretty close estimate of your ending alcohol by volume. Make sure that you haven’t put in a yeast that is unable to handle the rising alcohol levels of the must. Another important factor to consider is the temperature of the must. All yeast strains have a preferred temperature window in which they like to work and reproduce. Because fermentation is an exothermic reaction, check your temperatures (if making reds always take a measurement under the cap) and be sure they haven’t gotten so warm that the yeast may be dying off. The opposite is also true, ensuring that your juice or must have warmed up enough to allow the yeast to begin their processing. Lastly, another important factor to consider in the health of your fermentation is the nutrition of your yeast. Aside from the sugar that they consume, yeast also need proteins, vitamins, and minerals to complete a healthy fermentation. Using a nutrient, such as Fermaid, will give the yeast the other elements needed to properly process the juice.
After the careful evaluation of these factors, you may need to add a small amount of water, nutrients, or heat or cool the must/juice. A winemaker at Musto Wine Grape is happy to help you with the amounts and timing of these additions. If all of these factors have been evaluated and adjusted for, prior to fermentation, and you still have a stuck fermentation, you will need to restart the fermentation. Please contact support@juicegrape.com and a trained winemaker can help you with a restart procedure.
We hope this information helps with your winemaking. If you have any follow up questions or winemaking questions in general, please email us at support@juicegrape.com.
The Winemaker’s Think Tank: Vol 30 – How do I test for pH?
What’s the Winemaker’s Think Tank?
Every Thursday we will post about a few frequently asked questions that our winemaker has answered. If you have a winemaking question you would like to have answered, please email us at support@juicegrape.com and we will try to get into next week’s post. Cheers! 🙂
How do I test for pH?
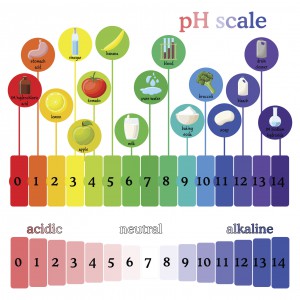
Testing for pH is a reasonably simple process for your wine. Based on your budget, you can obtain a variety of pH measuring implements. There are pH test strips that will give you an approximate level of pH in your wine. They give a color reaction that when compared to a chart, indicates the pH of the wine. The next level up in sophistication as well as price is a basic pH meter. Musto wine grape offers a simple handheld pH meter that can be calibrated in a matter of minutes and gives precise and accurate pH readings. The probe must be stored properly in a storage solution to ensure that it does not dry out. The probe lasts from 12-18 months, depending on its care and must be purged after this time frame. With the most basic model, you throw out the entire unit and buy a new one. With the more sophisticated models of pH meters, the probe is replaced separately from the unit (which should last indefinitely).
We hope this information helps with your winemaking. If you have any follow up questions or winemaking questions in general, please email us at support@juicegrape.com.
Winemaker Spotlight: Greg Ambrose
My wine passion started 17 years ago when my father officially started to teach me to make wine. He had tried unofficially in the early 70’s but I was a reluctant 7 year old with other things on my mind. I began making wine from grapes with a friend and we started with a single 30 gallon barrel. We picked up grapes from a local distributor and worked out of my friends single car garage (half full of lawn tools).
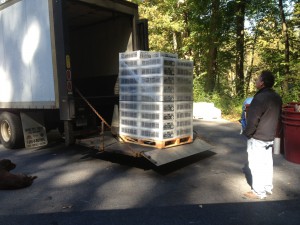
We spent the next 9 years trying to source better grapes, each year looking to step up in quality. And then the Musto team contracted with the Lanza family which made a tremendous improvement in the quality of our wines. I still search for higher quality grapes but have come to the realization that we are now working with the best possible fruit available.
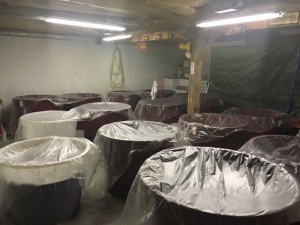
Our coop now consists of 7 families and we have outgrown the single car garage. We moved production to my double car garage which has been converted to our crush pad and fermentation room. The garage has been insulated, painted and new lighting and an exhaust system installed. The Musto family now ships us over 5 tons of grapes each fall.
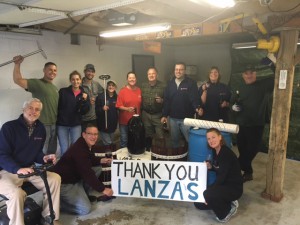
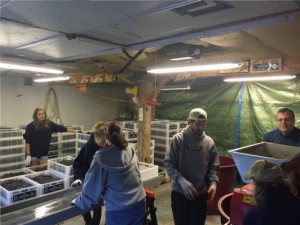
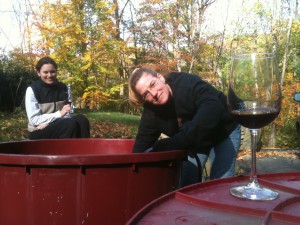
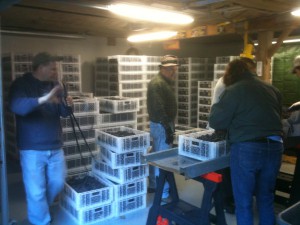
We receive grapes and clean all our equipment on day 1 and crush the grapes on day 2. Crush day is filled with music, great food, wine, more food then more wine. It’s truly Christmas, New Years and the Super Bowl all rolled into one! With a lot of hands to help, we run a sorting table to clean the grapes and then load the crusher destemmer. We ferment in 15- 500 liter tubs and produce around 350 cases of wine. The tubs completely fill the garage and after a short cold soak they ferment for about 10 days. We usually order 6-7 varieties with each family making their own blends we end up with 10-15 wines styles.
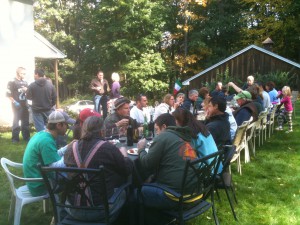
Mid day the 30 of us stop working and sit down for lunch. It’s always at a single long table and we eat as one big family. This has become an important tradition with family and friends and includes toasts and short speeches and plenty of laughter. It’s a very special day and it actually gets me emotional even to write about it.
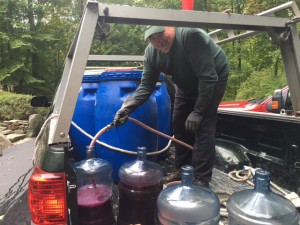
Pressing two weeks later is another story. It’s takes us two full days to press and then deliver the wine to each of the seven homes. Using pickup trucks, food grade drums, pumps and long hoses, we deliver wine to each house in the same way oil deliveries are made. We pump the wine down into each cellar and fill the barrels at each house. It’s more of a working weekend than crush day but we still mange to fit in great food and great wine. After making delivery runs we assemble back at the crush pad/garage for clean up. The day always ends up with a post event review. With more food and wine, we talk about how things went this year and suggestions for improvements to our process that we might make next year. Usually there is robust conversation about who stood out as an MVP and they receive an ovation.
The Musto and Lanza families are fantastic partners and we consider them part of our family.
Want to be featured in the “Winemaker Spotlight” series? Send Christina an email with a description about your harvest traditions and photos of your winemaking cellar to cmusto@juicegrape.com to be featured!
The Winemaker’s Think Tank: Vol 27- What are Brix?
What’s the Winemaker’s Think Tank?
Every Thursday we will post about a few frequently asked questions that our winemaker has answered. If you have a winemaking question you would like to have answered, please email us at support@juicegrape.com and we will try to get into next week’s post. Cheers! 🙂
What are Brix?
Brix is the unit of measurement of the sugar content within fruit, and specifically to winemaking, grapes. One degree Brix is equal to 1 gram of sucrose within 100 grams (100ml) of liquid. The average Brix level for grapes is between 20-30.
We hope this information helps with your winemaking. If you have any follow up questions or winemaking questions in general, please email us at support@juicegrape.com.
Rose´ is Here to Stay
Rose´ has become an important part of the wine market. What originally started out as White Zinfandel has transformed into a large and growing wine category made from a lot of different wine grapes. One of the most important grapes used in the production of Rose´ is Grenache.
The Grenache grape is part of the original “Rhone Rangers” crew and one of the most widely planted red wine grape varieties in the world (over 500,000 acres planted so far..). It ripens late so it needs hot, dry conditions such as those found in Spain, where the grape most likely originated. Grenache flourishes in the AVA’s such as Central Valley, Fresno County, Lodi, and other Mediterranean–style climates.
Usually a brilliant ruby pink hue with notes of ripe strawberry, orange, hibiscus and sometimes with a hint of ripe peach. You’ll find Rose´of Grenache wines to have moderately high acidity, but most have quite a bit of color and body. Perfect pairing with this wine would be a summer evening and takeout Greek Gyros with dill tzatziki.
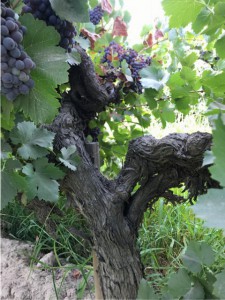
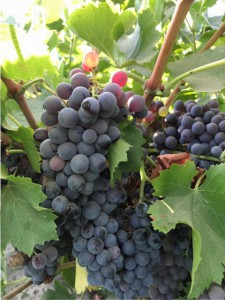
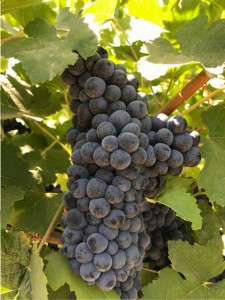
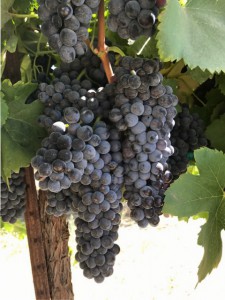
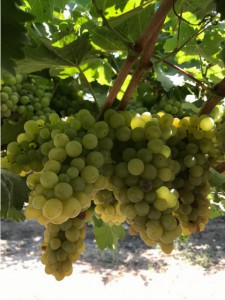
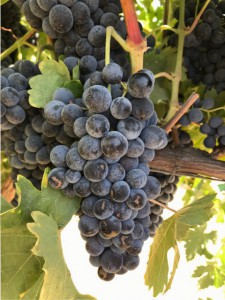
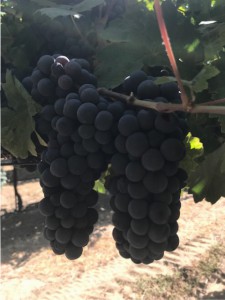
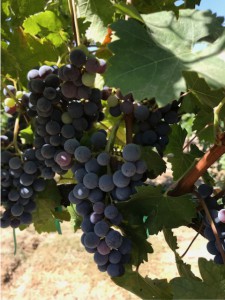
Below are some photos of our beautiful Grenache Noir from our newest vineyard- King’s River. They will be arriving in early September. Make sure to put in your pre-order for this Rose´worthy grape!
New Vineyard: King’s River
The King’s River Vineyard is located in Sanger, CA – Southeast of Fresno, on the way to Squaw Valley, Tahoe and the Sierra Foothills.
The vineyard is made up of 40 acres of white ash & sandy loam soil. The vineyard has been in existence since 1954 and the family has grown everything from grapes for wine and raisins to peaches, plums, and apricots on this little piece of paradise. However, they ultimately decided to focus on what they love most – boutique style wines. The vineyard produces Cabernet Sauvignon (Clone 337), Petite Sirah, Alicante, Syrah, Barbera, Cabernet Franc, Tempranillo, Primitivo, Albariño, Muscat, and Chenin Blanc. Each block is meticulously managed. They thin leaves, drop fruit to secure intense flavors, and drip irrigate as to not over-water the vines. This family definitely produces grapes of distinction.
Their Wine Awards Include…
• 2014 Reserve Petite Sirah- Silver Medal
• 2014 Syrah- Bronze Medal
• 2014 Alicante Bouchet- Bronze Medal
• 2015 Reserve Albarino- Bronze Medal
The Winemaker’s Think Tank: Vol 25 – Why is my wine evaporating?
What’s the Winemaker’s Think Tank?
Every Thursday we will post about a few frequently asked questions that our winemaker has answered. If you have a winemaking question you would like to have answered, please email us at support@juicegrape.com and we will try to get into next week’s post. Cheers! 🙂
Why is my wine evaporating?
Just like water or any other liquid, with prolonged exposure to air, wine can evaporate. When aging wine in an enclosed container such as a tank, carboy, or demijohn, the container should have an airtight seal via an inflatable gasket or an airlock and bung. This will help prevent against oxidation and will reduce the amount of evaporation dramatically. If you still see some evaporation happening in one of these closed containers, evaluate your bungs and seals as they may not be working properly.
The main source of evaporation in winemaking is through barrel aging. Barrels are a porous environment that allows the wine to “breathe” over time. This “breathing” process is essentially evaporation. The wine is exposed to air through the porous staves and small portions of the wine evaporate into the atmosphere. This has positive effects on the wine as it creates a creamier mouthfeel, can reduce the perception of acidity, and imparts oak flavor. The barrel must be filled monthly with additional wine to reduce the head space and replace the evaporated product. This will prevent the wine in the barrel from oxidizing. While the breathing process may be a source of frustration, as you witness your wine evaporating into thin air, it will help you to create a fuller, heavier, more lush wine.
We hope this information helps with your winemaking. If you have any follow up questions or winemaking questions in general, please email us at support@juicegrape.com.





Recent Comments