Spring Fresco juices
Fresco Juices
Ever bake a cake from a box and it came out delicious? Did you know you could do the same with winemaking?
Mondiale Fresco is proud to be the only product to offer home winemakers their own vineyard in one unique package. Each pail of juice is pre-balanced and adjusted to ensure you have the best winemaking success possible. Just warm up the juice to fermentation temperature and watch it go.
What does “pre-balanced” and “adjusted” mean?
Every season Mother Nature gives us a different wine grape harvest. Some years the acid, pH, and sugars are all in line with each other. Most times they aren’t and there needs to be some slight adjustments made pre-fermentation to ensure top wine quality. The Fresco juices are adjusted so that the acid, pH, and sugar levels are all in balance with each other. This makes for an easier fermentation and, a very pleasing wine.
Depending on the varietal of wine you choose, enzymes and tannins might be added – all pre-measured, and ready-to-go, just open the packet and add to the pail. These add-ons help with wine clarity and mouthfeel, contributing to the “taste like made from scratch”, or in this case, as if fermented on the skins. The Fresco juices are the best juices to work with for busy winemakers. You get the juice warmed up, watch it ferment, age, and bottle.
No muss, no fuss. Just delicious wine.
What varieties are available from Chile?
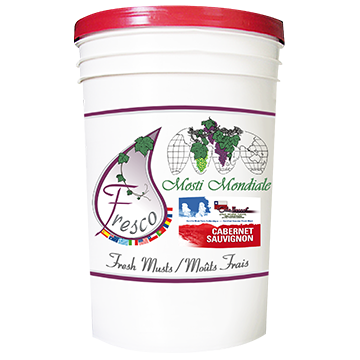
Cabernet Sauvignon:
This Chilean Cabernet Sauvignon offers a beautiful deep ruby colored robe with a predominant bouquet of blackberry and raspberry accompanied by a hint of pepper. Its slightly aggressive attack and long finish on the palate grant this wine the potential for a longer aging period.
Body: Full
Aroma: Fruity, Spicy
Origin: Chile
Winemaker addition: Light Oak
Alcohol: 13.2%
Carmenere:
This variety is considered as the flagship red wine of Chile. This crimson red wine has big character along with soft tannins and spicy undertones all at once. The mouth filling flavors are enhanced by the ever present oak.
Body: Full
Aroma: Fruity, Spicy
Origin: Chile
Winemaker addition: Dark Oak
Alcohol: 13.2%
Chardonnay:
Our golden straw-colored Chardonnay displays a tropical fruit bouquet complete with vanilla undertones. On the palate you’ll find notes of passion fruit and citrus – a well-balanced wine easily enjoyed during a meal or by a cozy warm fireplace.
Body: Full
Aroma: Fruity, Woody
Origin: Chile
Winemaker addition: Light Oak
Alcohol: 13.2%
Chardonnay Semillon
This wonderful blend brings together two halves of a whole into a harmonic union. The Semillon contributes flavors of honey and butterscotch to the Chardonnay’s nuances of tropical fruits and vanilla. A true symphony of flavors.
Body: Full
Aroma: Caramelized, Fruity, Woody
Origin: Chile
Winemaker addition: Dark Oak, Light Oak
Alcohol: 12.6%
Malbec:
Mosti Mondiale’s Chilean Malbec is an unforgettable journey through Chile’s wine country. A beautiful garnet robe, dark red cherry flavors and a nose comprising of cigar tobacco and coffee all combine for a delectable experience.
Body: Full
Aroma: Fruity, Herbaceous, Woody
Origin: Chile
Winemaker addition: Dark Oak
Alcohol: 12.9%
Merlot:
Our Chilean Merlot’s deep burgundy color, violet undertone and almost overwhelming bouquet of ripe red cherries and spices make it a true contender in the Chilean red wines category.
Body: Full
Aroma: Fruity, Spicy
Origin: Chile
Winemaker addition: Dark Oak
Alcohol: 12.9%
Sauvignon Blanc:
Light amber color with a strong citrusy bouquet and herbal undertones. Crisp and clean on the palate, can be enjoyed on its own or with light dishes or appetizers.
Body: Medium Full
Aroma: Fruity, Herbaceous
Origin: Chile
Winemaker addition: Light Oak
Alcohol: 12.4%
Viognier:
A medium-bodied white wine with aromas of freshly picked green apples and apricots that displays a stunningly long and floral aromatic finish. Take a sip of Chile!
Body: Medium Full
Aroma: Floral, Fruity
Origin: Chile
Winemaker addition: Dark Oak, Light Oak
Alcohol: 13%
What varieties are available from South Africa?
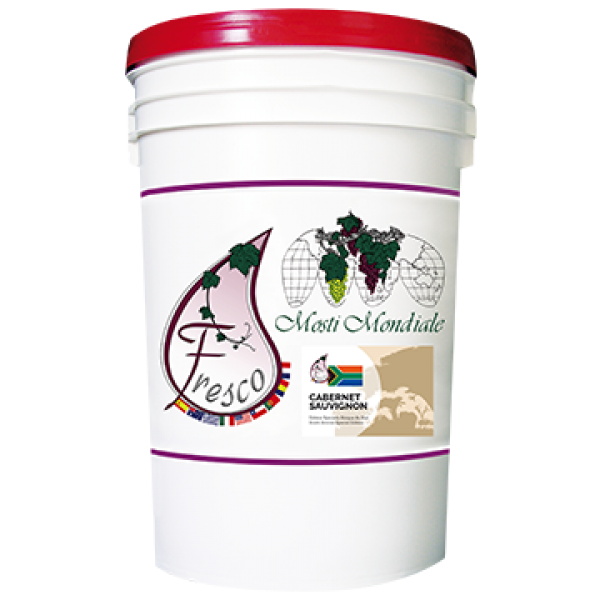
Cabernet Sauvignon
In the world of wines, the Cabernet Sauvignon is one that does not get neglected – and with good reason! The intense mouthfeel coupled with fruity notes of cassis, plums and cherries make this wine an unequivocal master of provoking the senses. Dry, full-bodied and slightly woody arising from the natural overabundance of tannins. If you are courageous enough to set this South African Cabernet Sauvignon aside for 12+ months, it will give new meaning to the phrase “ages like fine wine”!
Body: Full
Aroma: Fruity, Woody
Origin: South Africa
Alcohol: 13.2%
Pinotage
A South African line-up is not complete without a Pinotage. This bold red wine is synonymous with South Africa and it’s no wonder why – its hints of dark and red fruits combine to produce a medley consisting of blackberries, raspberries and licorice on the palate. More subtle flavors include rooibos, tea leaf and flavorful pipe tobacco. The bouquet exudes hints of wood and spices. Relatively high acidity provides a strong finish, making it the perfect pairing for game meats, gourmet burgers and homemade pizza.
Body: Full
Aroma: Fruity, Herbaceous, Spicy, Woody
Origin: South Africa
Alcohol: 13.5%
Sauvignon Blanc
You would be hard-pressed to find a more refreshing wine than a young, crispy South African Sauvignon Blanc. This splendid white wine is made to be enjoyed quite young. The combination of greenish, vegetal and mineral flavors emanating a few weeks after fermentation will make it very difficult to put this one away for a while. Off-dry with a lively acidity and medium finish. Serve slightly cool with light seafood platters.
Body: Medium
Aroma: Herbaceous, Woody
Origin: South Africa
Alcohol: 12.4%
Shiraz
Experience one of South Africa’s most renowned grapes: a dry, full-bodied cherry-red Shiraz with fruity, spicy notes when young. As it ages, subtler flavors like coffee, chocolate begin to take over. The nose slowly develops a hint of charcoal, which adds to the mysteriousness of this classic wine. Enjoy it with company if you really want to share it, but don’t be ashamed of keeping it your own little secret!
Body: Full
Aroma: Caramelized, Fruity, Spicy, Woody
Origin: South Africa
Alcohol: 13.2%
What varieties are available from Australia?
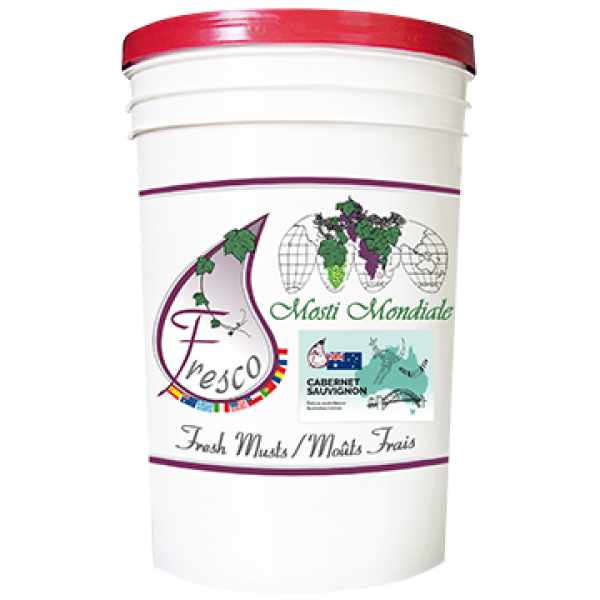
Cabernet Sauvignon
Full bodied deep garnet red. This wine offers up flavors of blackcurrant, blackberries with a slight hint of cedar. The tannin structure of the Cabernet Sauvignon matched with French Oak, create a wonderful symphony of tannins.
Body: Full
Aroma: Fruity, Woody
Alcohol: 13%
Chardonnay
This Australian Chardonnay offers up a complex fruity bouquet, with hints of ripe stone fruit and an underlying citrus note. On the palate it is well balanced with just the right amount of oak enhancing its full bodied flavor.
Body: Full
Aroma: Fruity, Woody
Winemaker addition: Light Oak
Alcohol: 13%
Merlot
Soft and mellow texture right from the start. This Merlot offers hints of cassis with light floral notes.
Body: Medium
Aroma: Floral, Fruity
Winemaker addition: Dark Oak
Alcohol: 12.5%
Orange Muscat
This white wine has citrus and honey notes with a slight sweet finish. On the palate it is fresh and crisp with a lingering clementine flavor.
Body: Light
Aroma: Caramelized, Fruity
Winemaker addition: Sweetener
Alcohol:12%
Petit Verdot
Bold and full bodied, the Australian Petit Verdot offers up flavors of dark fruits; black cherry, plums, with firm tannins and hints of spice.
Body: Full
Aroma: Fruity, Spicy
Winemaker addition: Dark Oak, Light Oak
Alcohol:13.5%
How do I make my own?
Musto Wine Grape Company is here to help you make the wine of your dreams! The Spring winemaking season starts in late April, early May. Secure your winemaking grapes or juices and give us a call at (877) 812-1137 to speak with one of our Musto Crush Crew members. We can get you set up with everything you need and provide customer support along the way to ensure your success!
How to Make Wine from Chilean Winemaking Juice
So how can you start making your own wine from Chilean juices? Follow these 10 Easy Steps (for fresh juice) and you’ll be on your way!
- Choose a Chilean variety that speaks to you.
- Come to Musto Wine Grape and pick up your pail of juice.
- Bring it home, pop open that lid, and add 1/4 tsp potassium metabisulfite to it. Add pectic enzyme if you’re going to (5 drops per gallon of juice). Give it a stir.
- Allow it to come up to room temperature – we’re talking 60 degrees or so.
- Choose your fermentation vessel: will you keep it in pails or ferment in a carboy or demijohn? Make sure everything is clean and sanitized. *Be sure there is enough room to account for fermentation foaming*
- If you are going to add fermentation tannins or additives (like oak dust, Booster Rouge, Booster Blanc) you can add that now. *Note: do not add tannins such as FT Rouge within 8 hours of adding enzyme*
- Pitch the yeast once the temperature has reached at least 60F. Yeast strain choices will vary depending on the juice you choose – ask a winemaker at Musto Wine Grape for a strain recommendation for the varietal you’re making. Follow the yeast starter directions explicitly. Be very careful of temperatures, never adding yeast if there is more than a 18 degree difference between the yeast starter liquid and the juice.
- Carefully monitor the fermentation by checking Brix levels daily. Add yeast nutrients as needed if you choose to do so.
- If you are adding malolactic cultures to your wine, you may also chose to do this at 1/3 Brix depletion. If using a malolactic nutrient (Opti-Malo Plus) with the bacterial culture, hydrate the nutrient in a separate container from the bacteria and add to the must directly before the addition of the bacteria. Follow all directions on the bacteria and nutrient packets explicitly.
- When the fermentation is complete, rack off the lees and continue aging. Many Chilean wines are aged with oak – if you choose to do this, you can do so in oak barrels or with oak alternatives (such as chips or staves).
Want to read more about making wine from Fresh Juice? Check out this blog post.
Can I make my own? Musto Wine Grape Company is here to help you make the wine of your dreams! The Spring Chilean winemaking season starts in late April, early May. Secure your winemaking grapes or juices and give us a call at (877) 812-1137 to speak with one of our Musto Crush Crew members. We can get you set up with everything you need and provide customer support along the way to ensure your success!
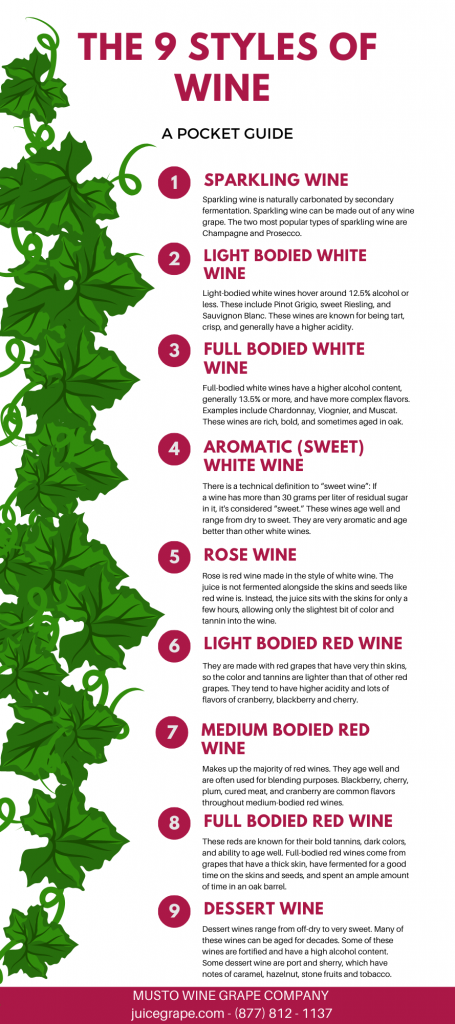
The Body of Wine: What is it?
When you are first starting out in the wine-tasting world, you come face to face with the intensity and complexity of certain wines as you taste them. One of the things that your palate will start to recognize is the thickness and texture of the wine in your mouth. We identify this mouthfeel as the body of the wine. It can be difficult to explain a wine’s body because it is not as obvious as sweetness or acidity.
The body of wine can be described in three ways:
When the body of a wine is light, think of drinking a glass of water. It’s thin, goes down easily, and is smooth.
When the body of a wine is medium, think of drinking a glass of skim milk. The consistency is thicker, but not too thick, and sticks around in your mouth a little longer.
Lastly, when the body of a wine is full, think of drinking a glass of whole milk. This would be the thickest, with the longest-lasting finish.
Light-bodied wines
Light-bodied wines are light and delicate on your palate making them popular during the summer because they are crisp and refreshing.
Medium-bodied wines
These wines are known for being “in-between” because there is no true cut off for where they actually sit on the tasting spectrum. Sometimes they can be more light-to-medium bodied, or they can be medium-to-full. These wines are usually the best to pair with food because they have the perfect balance of tannins and acidity.
Full-bodied wines
These robust and powerful natured wines are bold. These would include deep red wines and ports, and these characteristics come from their skins which are packed with tannins. If you taste a full-bodied wine, you’ll notice it leaves a coated finish in your mouth.
What gives a wine its body?
Tannins, sugar, and acids all contribute and determine the overall body of a wine. Something that can help you determine the body of a wine is its alcohol level. Alcohol adds to the intensity and thickness of a wine. The more alcohol that wine has, the heavier it becomes and the bigger mouthfeel it offers. The grape itself determines the body, starting in the skins. Thick-skinned grapes like Cabernet Sauvignon contain a lot more extract than Pinot Noir, which is thin-skinned. Production methods also impact the weight of the wine as well, say if the wine was oaked. White wines tend to be much lighter than red wines, but there can be fuller-bodied white wines – like buttercream chardonnay.
Can I make my own?
Musto Wine Grape Company is here to help you make the wine of your dreams! The Spring Chilean winemaking season starts in late April, early May. Secure your winemaking grapes or juices and give us a call at (877) 812-1137 to speak with one of our Musto Crush Crew members. We can get you set up with everything you need and provide customer support along the way to ensure your success!
Wine Grape Spotlight – Malbec
Malbec is a grape variety with a deep, inky color, producing dry red wines that boast robust tannins and a long, smooth finish.
Where is Malbec from?
Malbec was almost exclusively grown in France, where it played a primary role as one of the main Bordeaux grapes. The climate and pests in France did not allow for Malbec to perform to its utmost potential. Struggling to thrive, growers saw it as weak, finicky, and susceptible to disease as well as rot. It is mainly associated with Argentina and Chile now because it thrives there. It took well to the climate, excelling in the high elevation and heat, making it one of the most widely planted grapes. In the United States, you can find the majority of wine grape plantings in California, yet Malbec only makes up for 0.5% of those plantings.
Malbec Characteristics
This grape can yield a wide range of fruit aromas that vary widely depending on the climate they are grown in. Cooler climates like France and Washington state yield black cherry, raspberry, and plum aromas. For warmer climates like Chile, you’ll get more blackberry, blueberry, plum, and black cherry. They’re juicy and jammy, with notes of vanilla, tobacco, dark chocolate, and oak. They have medium acid and moderate levels of tannins. Chilean Malbec’s boast with red fruit flavors like cherry, raspberry and have floral and slight earthy notes.
Can I make my own?
Musto Wine Grape Company is here to help you make the wine of your dreams! The Spring Chilean winemaking season starts in late April, early May. Secure your Malbec and give us a call at (877) 812-1137 to speak with one of our Musto Crush Crew members. We can get you set up with everything you need and provide customer support along the way to ensure your success!
A Guide to Cabernet Sauvignon
What is Cabernet Sauvignon?
Known as the king of red grapes, Cabernet Sauvignon enjoys the same regal status in California as it does in its native home of Bordeaux, France. Californian Cabernet Sauvignon tends to be more fruit-forward and mellow, with rich dark fruit notes. The most common aromatic and flavor components found in this varietal are plum, black cherry, blueberry as well as warm spice, vanilla, black pepper, and tobacco. Aside from being known for its dark color and full body, it’s known for often being over 13.5% in alcohol content. The average alcohol content of a Cab from California floats around 14.5%. At Musto Wine Grape we carry a variety of Cabernet Sauvignon grapes from multiple AVAs in California, as well as all of the yeasts, nutrients, and equipment you’ll need.
What kind of yeast should I use when making Cabernet Sauvignon?
*Note that full expression of the desired characteristics for any of the following yeast strains is based on proper care and feeding if the yeasts, along with using quality fruit and good winemaking practices. It is also strongly recommended that Go-Ferm and Fermaid-K are used as well as temperature management throughout the entire fermentation. As always, if you need assistance with any part of your winemaking process, do not hesitate to reach out to us at sales@juicegrape.com or give us a call at (877) 812-1137 to speak with someone who can assist with any product recommendations, procedures, or problems.
BM45 yields a big mouthfeel, notes of cherry liquor, rose petal, jam, plum, berry as well as earthy and spicy elements. It offers color stability and helps to minimize vegetative characteristics.
BDX is an all-around great choice for berry, plum, and jam characteristics. It has a moderate fermenting rate and offers good color retention. By re-enforcing existing tannins, it develops structure in the wine. Because of this, we advise to not use with unripe fruit.
RP15 emphasizes the berry aspects of the fruit, along with color stability, increased mouthfeel, and agreeable tannins.
D254 yields a big mouthfeel and rounds tannins as well as intense fruit. It has a focus on berry and jam characteristics, but more so of dried fruit than fresh. It’s also great for color stability and adds body to blends.
D80 offers big volume and fine grain tannins. It is great for encouraging more positive tannin intensity to a blend.
Where do you source your Cabernet Sauvignon from?
We offer Cabernet Sauvignon from multiple AVA’s within California and Washington:
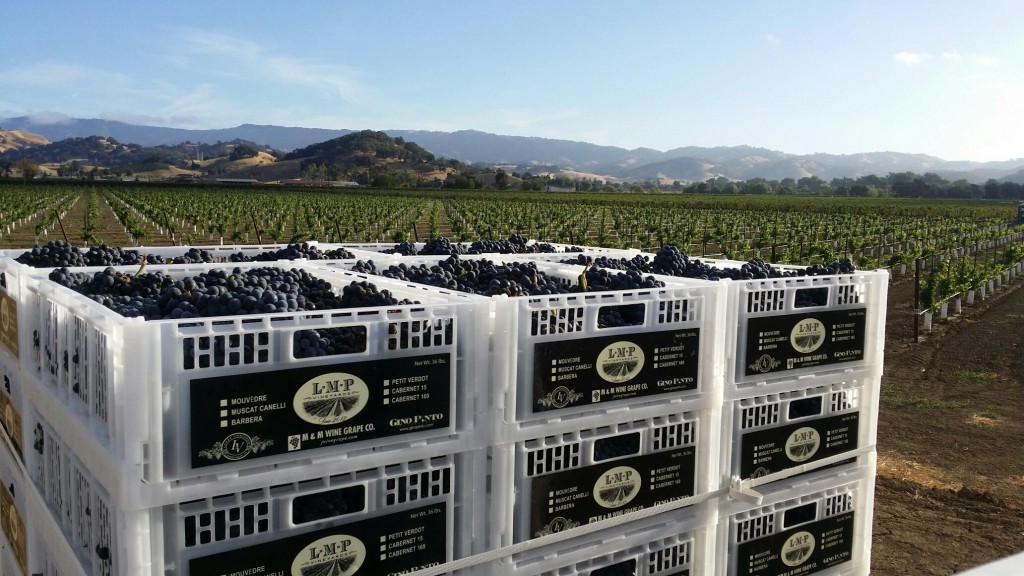
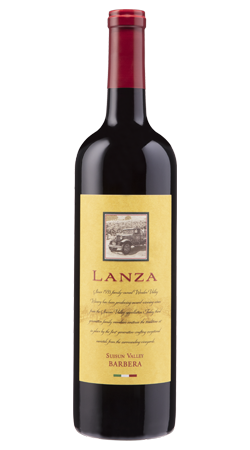
Lanza-Musto Vineyards in Suisun Valley, CA (Valley, 169, 15, and Koch)
Mettler Family Ranch in Lodi, CA
Napa Valley, CA
Washington State (Clone 33)
Sonoma County, CA (Chalk Hill)
Amador, CA
King’s River, CA
Paso Robles, CA
Central Valley, CA
Is there a certain winemaking procedure specific to Cabernet Sauvignon?
You can follow our Red Wine Grape Procedure which you can find here, if you are using juice you can find the procedure here and if you are using frozen must, here. The procedure is standard for making red wines, but using the proper yeasts and nutrients specific for Cabernet Sauvignon and consistent monitoring will have the biggest impact on your final wine.
Where can I buy grapes, juice, or must?
At Musto Wine Grape Company, all red grape varieties are available in 36lb cases, in frozen must by request, or in 6-gallon fresh juice pails. For Sterile Juice options that can be shipped year-round and without refrigeration click here.
Finally, if you need the best options and equipment suited for you and your winemaking goals, email sales@juicegrape.com or call (877) 812 – 1137 to speak with one of our Musto Crush Crew members who can help. We are here to provide all of the winemaking products you need to make the wine of your dreams, as well as the customer support to ensure your success!
Red, Red Wine Infused Cupcakes
Have you ever wanted to drink your wine and eat it too?
Well here’s your chance!

We teamed up with local baker The Mixing Bowl by Jules to create this recipe. These chocolate cupcakes are infused with our homemade red wine, filled with a raspberry and wine chocolate ganache, and topped with cream cheese frosting.
Decadent? Yes! But sometimes you just need to treat yourself!
Here is what you need:
Cupcakes
- 2 cups of sugar
- 2 eggs
- 1 teaspoon of vanilla
- 1 ¾ cups of all-purpose flour
- ¾ cup chocolate cocoa
- ½ cup of vegetable oil
- 1 cup of red wine
- ¼ teaspoon of salt
- 1 ½ teaspoons of baking powder
- 1 ½ teaspoons of baking soda
- 1 cup of water (boil)
Ganache
- ½ cup of cream
- ½ cup of fresh raspberries
- ½ cup of red wine
- 1 ½ cups of semi-sweet chocolate chips
Frosting
- 2 sticks of salted butter
- 8 oz of cream cheese
- 6 cups of powdered sugar
- Pre-heat your oven to 350 degrees and yields approx. 24 cupcakes.
- Bring one cup of water to a boil on your stove top. Once it starts boiling turn the heat off and let it cool down.
- Next you’re going to start making the batter. Pour the sugar, eggs, and vanilla into your mixer and blend.
- Once the ingredients are fully incorporated, add the flour and cocoa, one cup at a time.
- Next you’ll add in the vegetable oil and slowly pour in the red wine while mixer is on.
- After that, add the salt, baking soda, and baking powder and mix until everything is blended. Don’t over mix!
- Turn the mixer back on and slowly pour the water into the batter. The batter will be thin.
- Next place your cupcake liners in your pans. You’ll want to fill each about ½ way full. Tip: If you have a cookie scooper, use that to pour batter otherwise a spoon will work!
- Bake for 15-17 minutes or until the top is domed and sturdy. Once they are done let them cool for at least 30 minutes before filling and frosting.
Raspberry wine ganache

- Pour your cream and raspberries into a sauce pan on medium heat. Use a spoon to break down the raspberries while they are heating up.
- Pour in the red wine and continue to stir and let mixture come to a boil. Once it starts bubbling, turn off the heat.
- Add the chocolate chips and whisk until incorporated.
- Wait at least an hour for the ganache to thicken up or refrigerate overnight.
Cream Cheese frosting

- Add both butter and cream cheese to mixer and mix on the lowest setting for 1-2 minutes.
- Add each cup of powdered sugar one at a time and blend until frosting is smooth and fluffy.
Now the fun part…building your cupcake
Once your cupcakes are cool and your ganache is thicker, you can either fill your cupcakes with ganache or dip the top – it’s up to you!
- Take a knife and cut out the centers of your cupcake and save the top of it!
- Using a spoon or a piping bag if you have one, fill the centers with the chocolate ganache. If you refrigerate it overnight, you’ll want to heat it up for 30 seconds to 1 minute before adding.
- Put the top back on and cover the ganache!
- Next you can, either frost with a knife or use your favorite piping tip and swirl! For the finishing touch, add a raspberry for garnish!

And finally ENJOY your cupcakes with your home made wine!
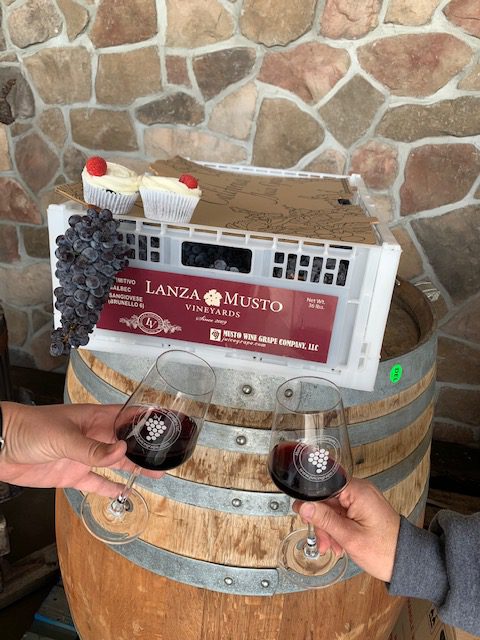
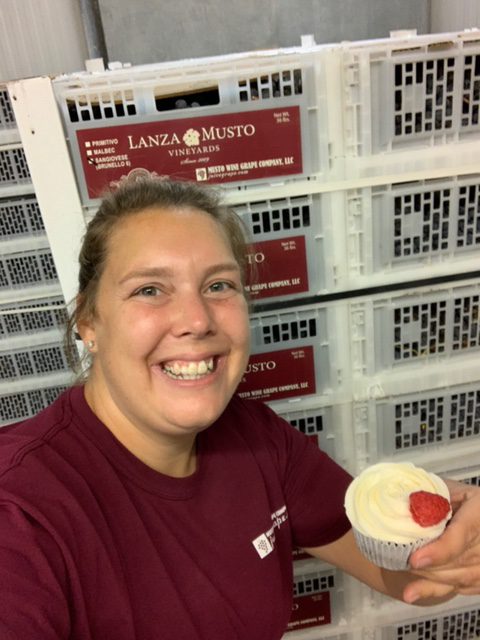
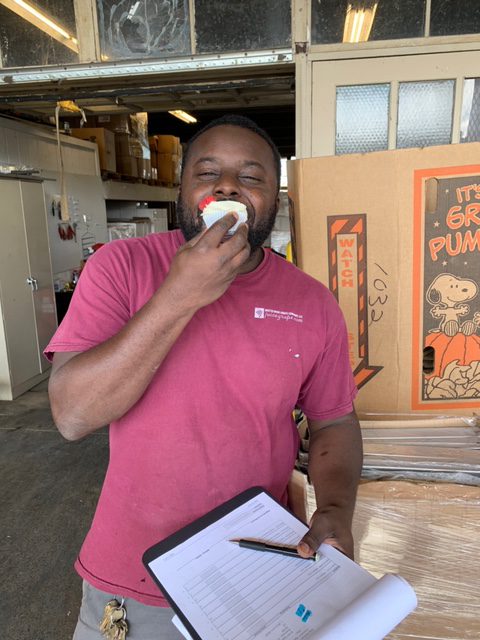
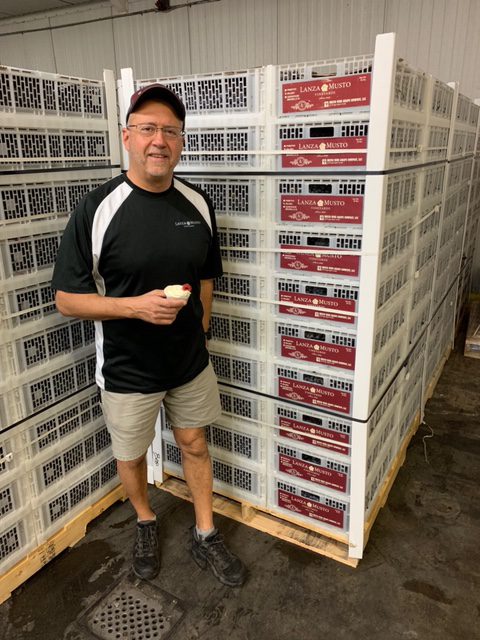
The Musto Crush Crew certainly enjoyed these cupcakes! 🙂





Recent Comments